
What’s one of the first things that comes to mind when you think Valentine’s Day? The sweet chocolate and candy treats, of course!
Sweet Valentine’s Day Gift Jar with Cricut
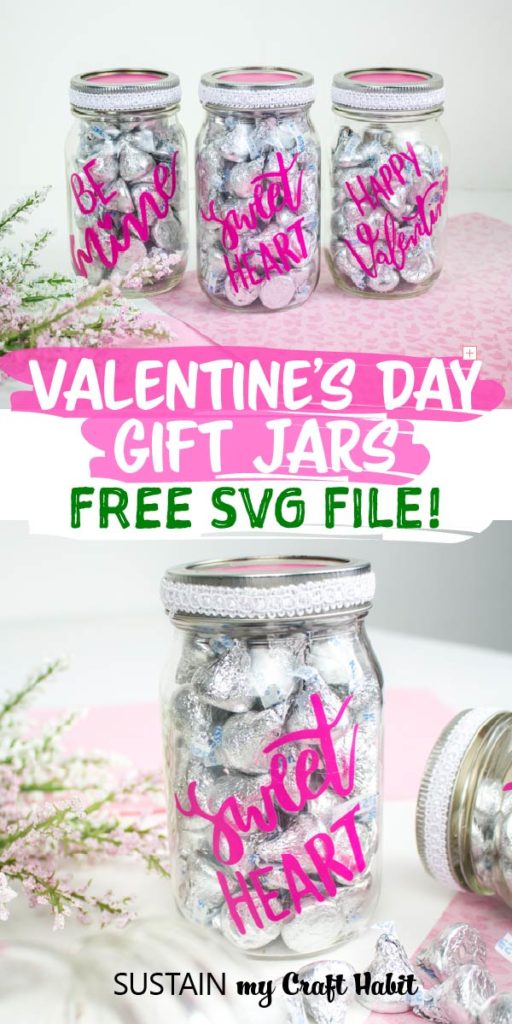
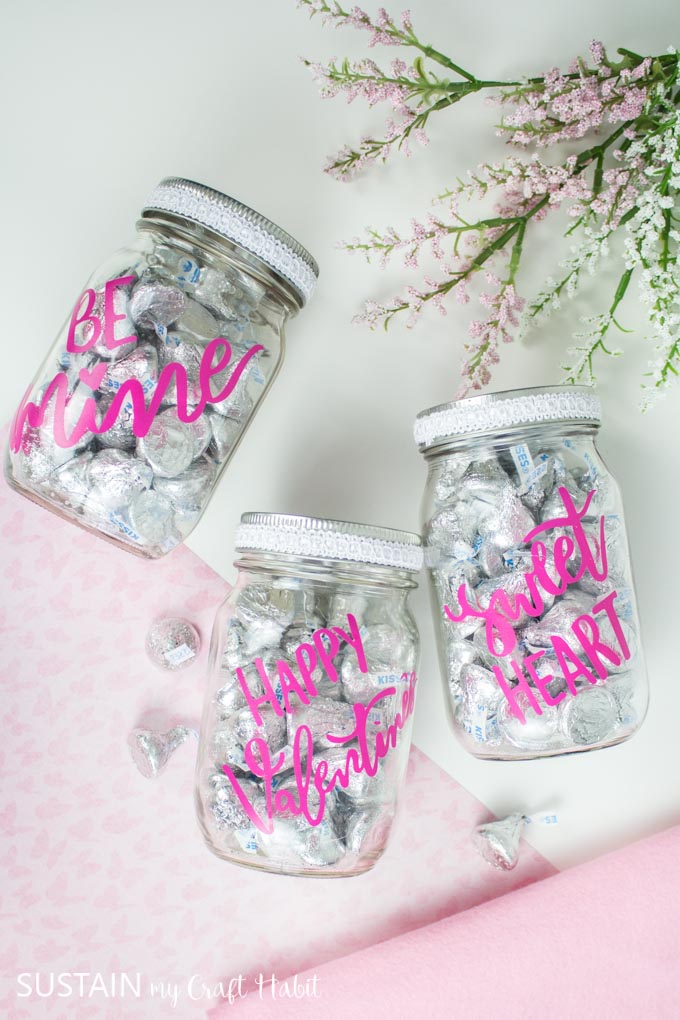
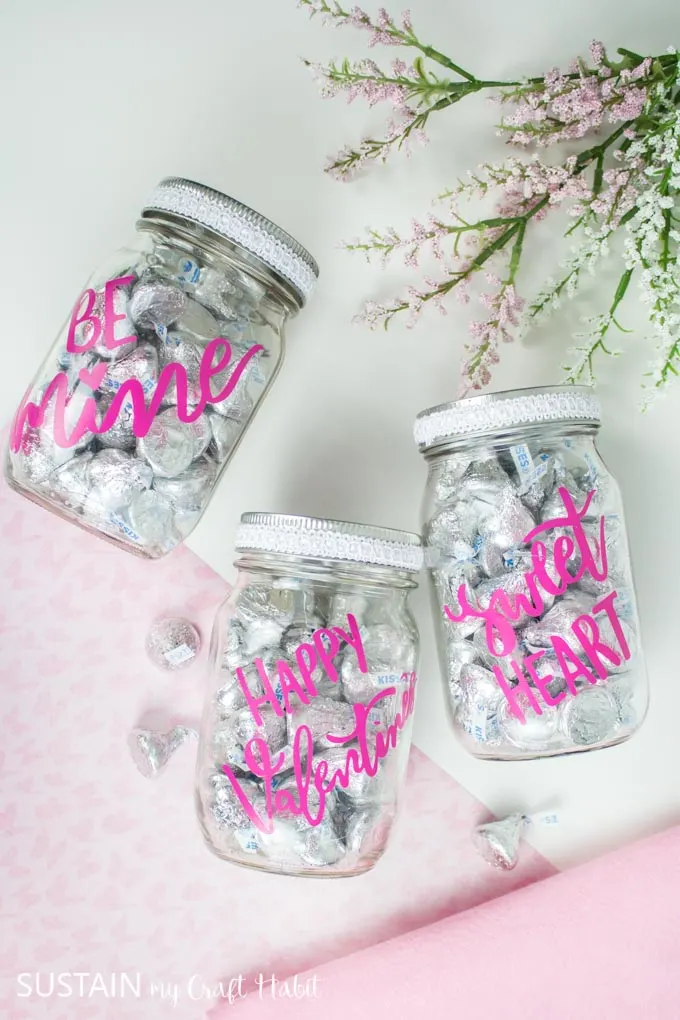
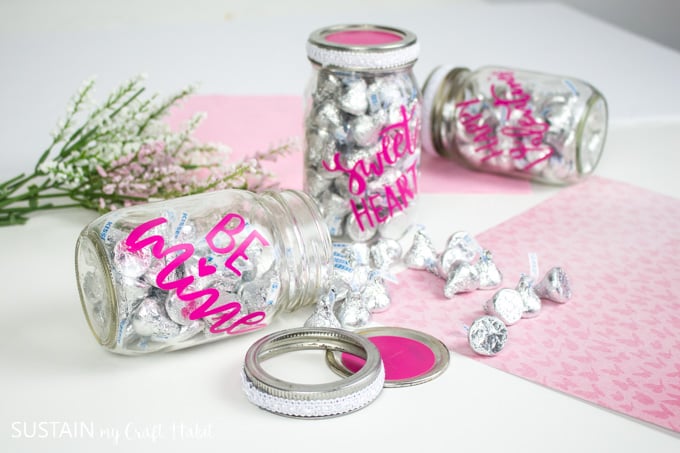
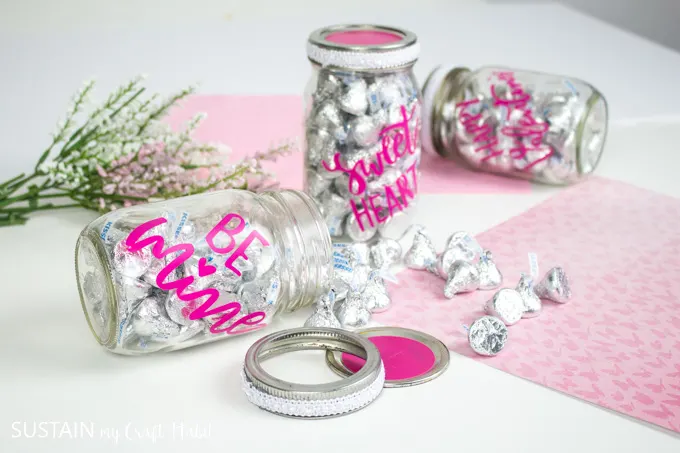
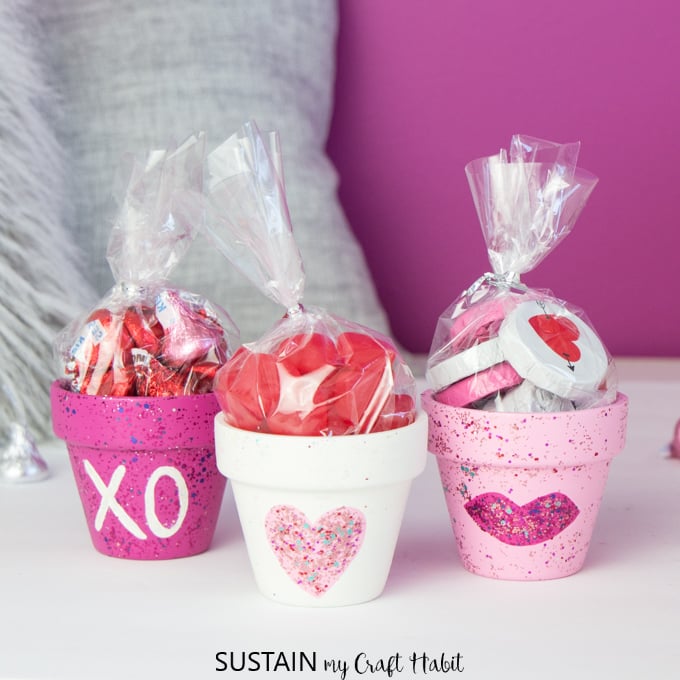
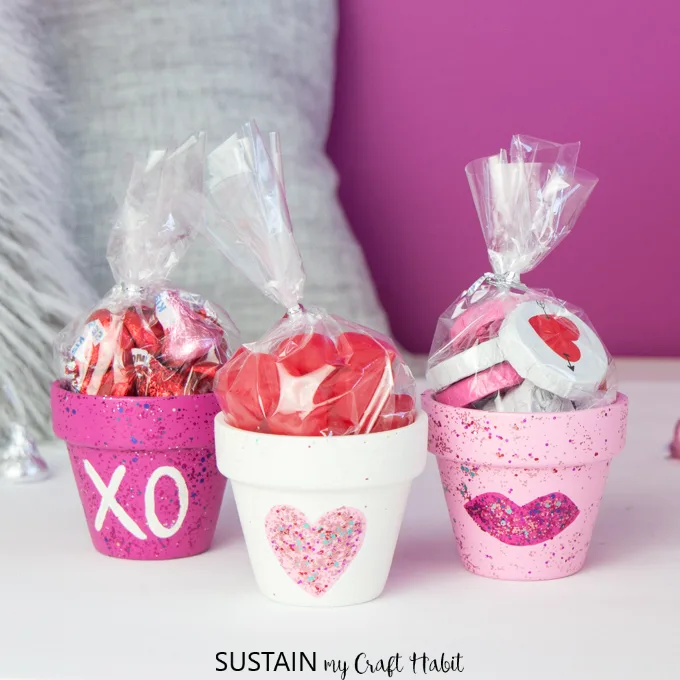
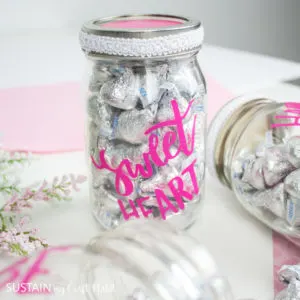
The mix of hot pink vinyl lettering and silver chocolate kisses pretty much sum up Valentine’s Day! Although I’m not much for elaborate Valentine’s Day gifts, I do like to give sweet treats to my daughter and her cousins. Last year, I made these pink glittering painted clay pots to hold some candies.

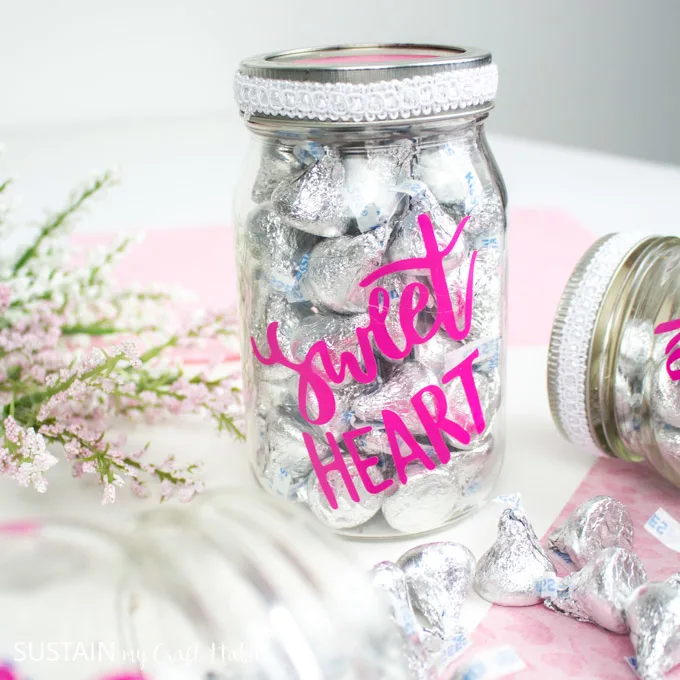
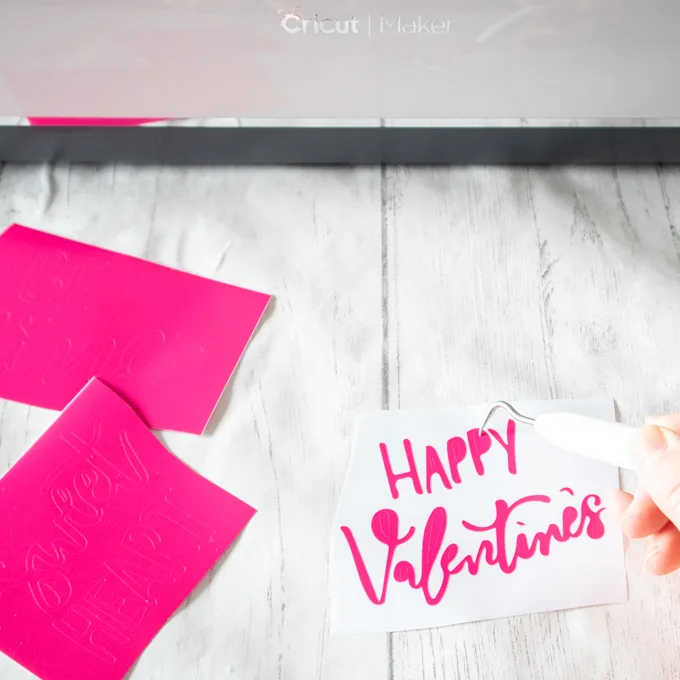
And who doesn’t love simple mason jar crafts? Using the downloadable hand-lettered SVG cut file, it’s easy to prepare these candy jars for your loved ones. There’s a set of three phrases to choose from: Be Mine, Valentine’s Day and Sweetheart. Use one or all to make your sweet candy jars this Valentine’s Day.
But mason jars aren’t only great for sweets at Valentine’s, they can be used to make votive candle holders as well! I’ll be sharing that Cricut Valentine’s project with you soon.
More Candy Jar Ideas
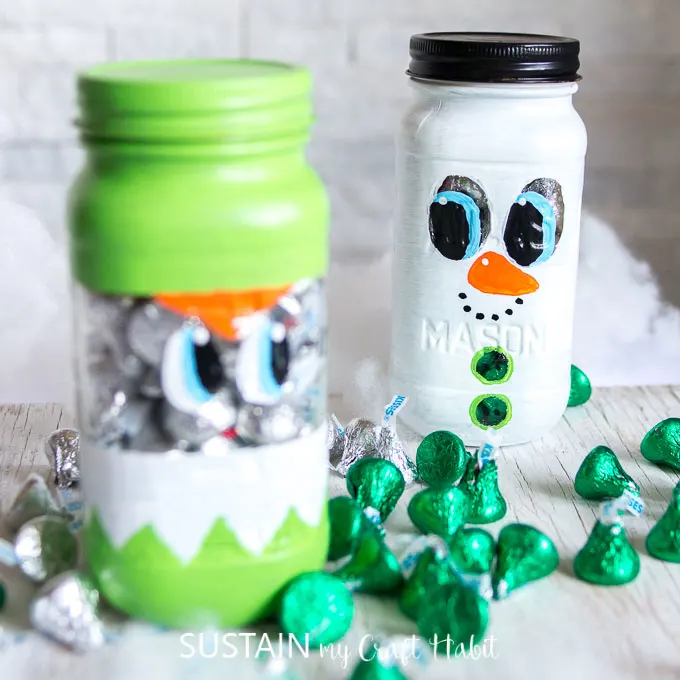
For the sweet tooth in your life, check out these adorable DIY candy jar ideas for holidays throughout the year:
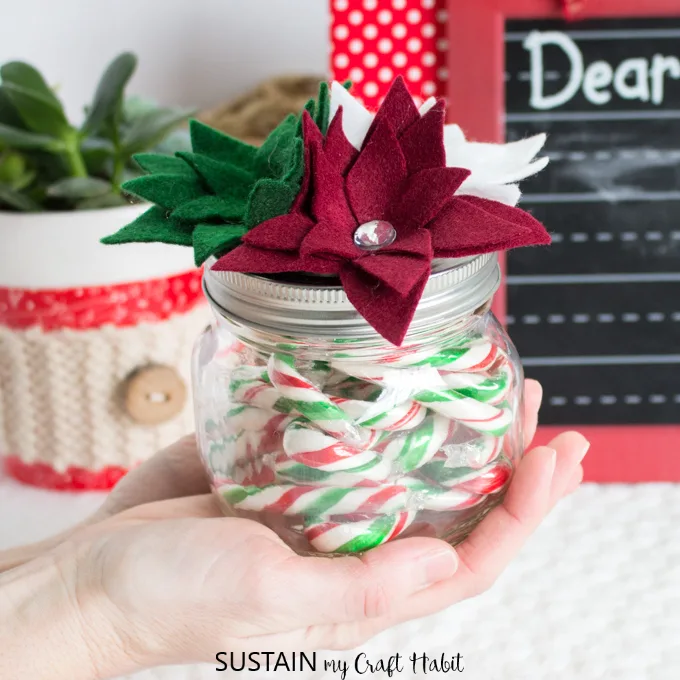
- felt poinsettia capped mason jars
- Christmas themed mason jars
- mini Easter felt baskets
- Valentine’s painted clay pots
- Mason jar candle holders


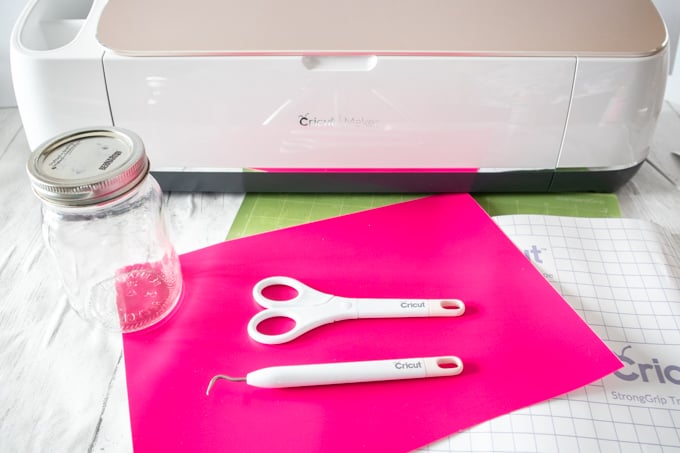
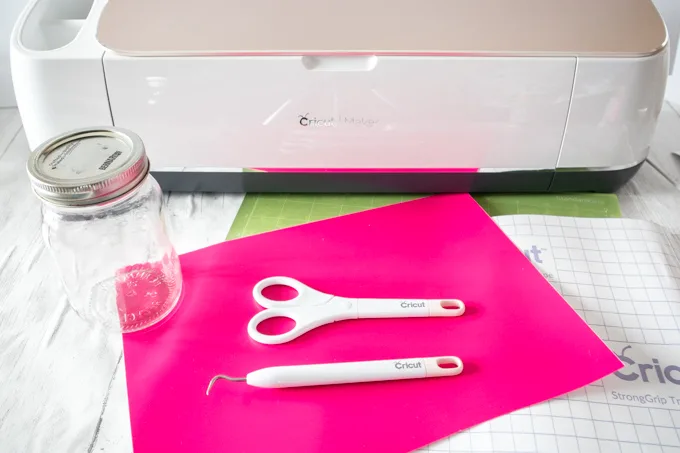
Materials Needed for this Valentine’s Candy Jar:
This post contains affiliate links – should you choose to purchase through these links we make a small commission at no cost to you. Read our full disclosure statement here.
- Valentine’s Phrases SVG File
- Cricut Maker with Fine Point Blade
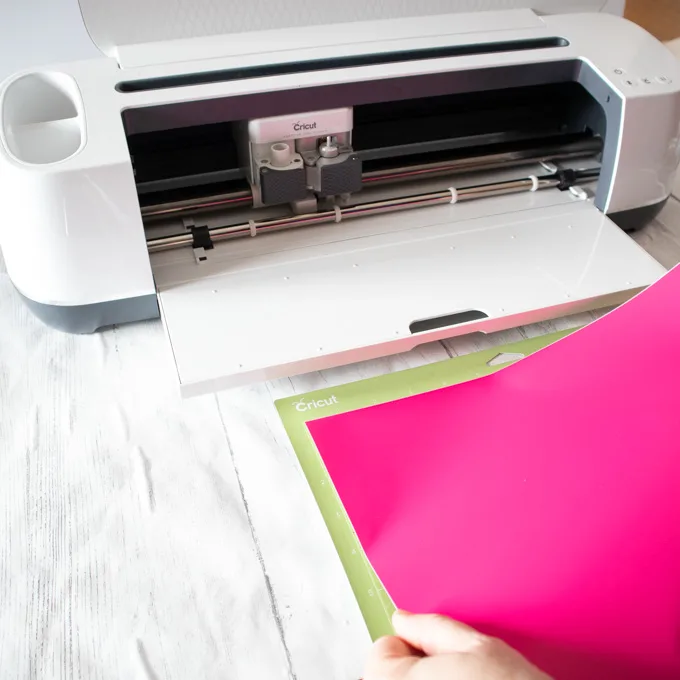
- Standard grip mat
- Cricut Premium Vinyl, Removable (Pink from Vibrant Value Pack)
- Cricut Transfer Tape
- Mason Jars, 16oz with lid
- Scissors
- Cricut Weeder
- Ribbon, ¼” wide
- Silver Hershey Kisses candy (or other candy of your choice)
Video Tutorial:
How to Make a Valentine’s Candy Jar with Cricut:
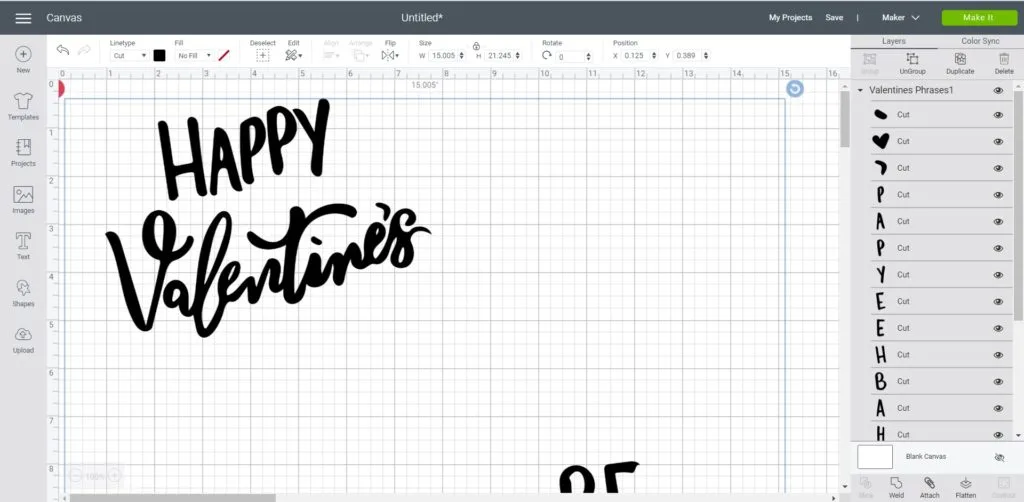
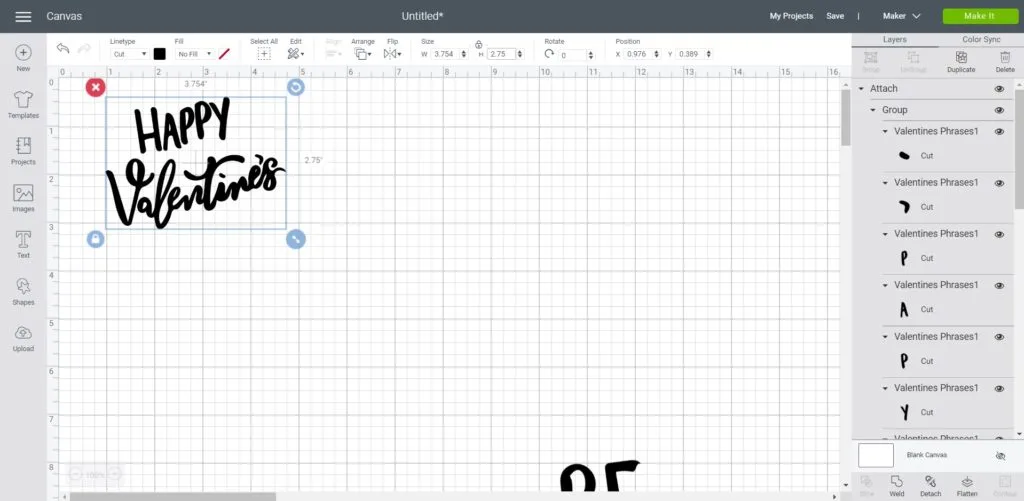
Upload Valentines Phrases SVG File into Design Space and then click on “Ungroup”. Click here to learn how to upload a SVG file into Cricut Design Space.

Click and drag over each of the phrases separately. With phrase highlighted, click on “Group” and then “Attach”. Repeat for all phrases.
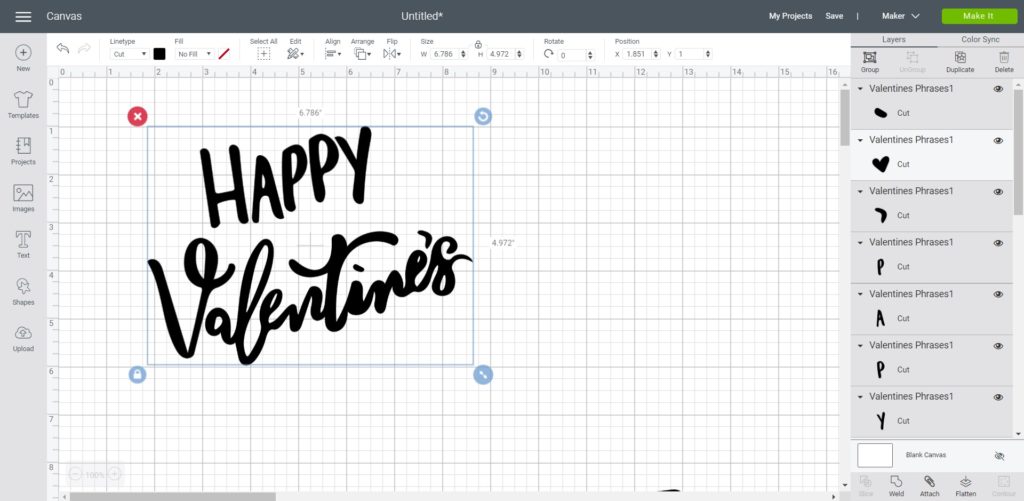
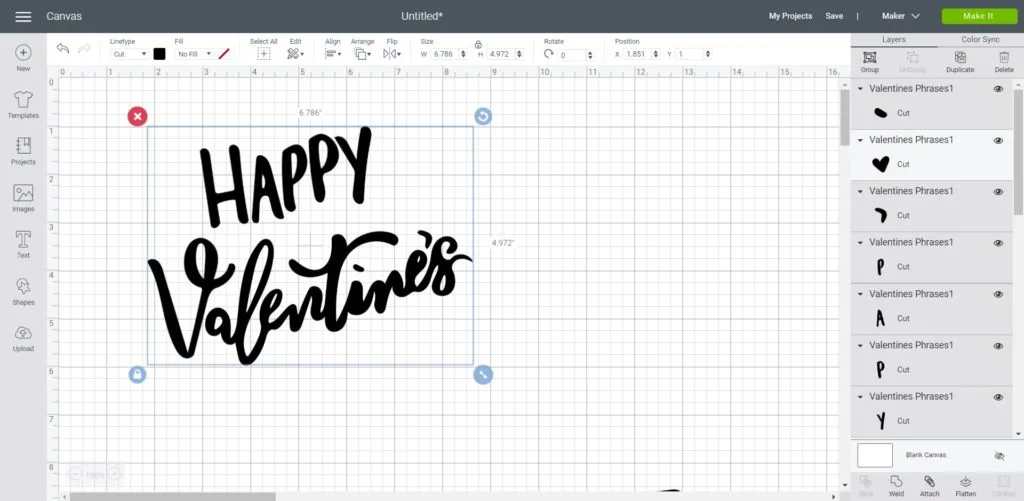
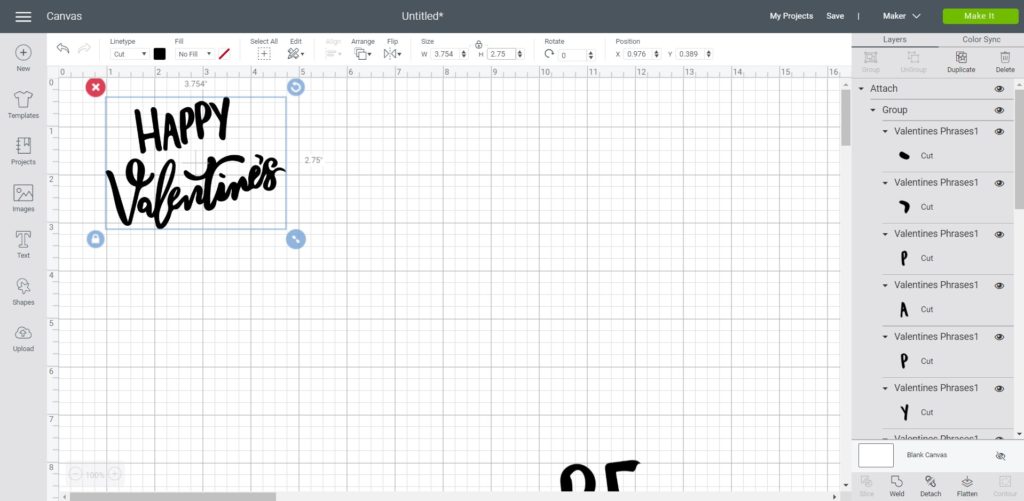
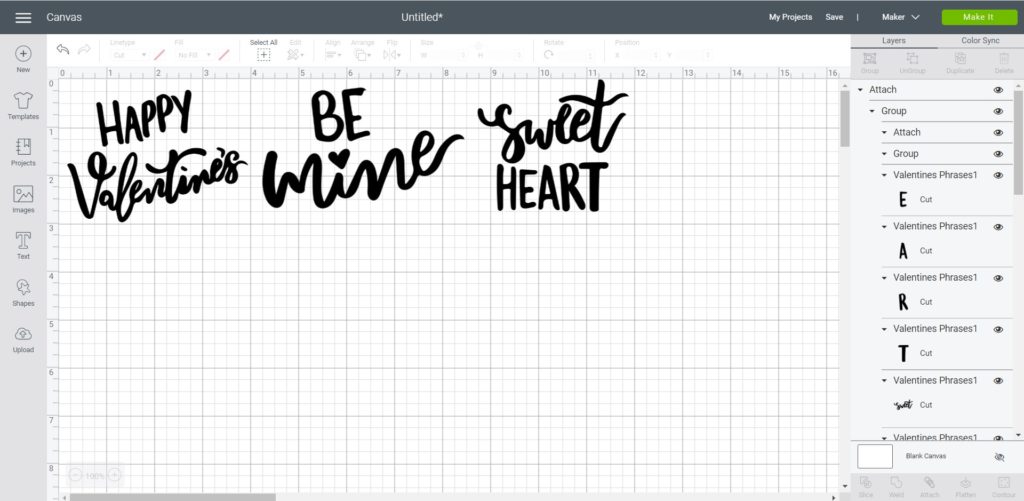
Adjust “Happy Valentine’s” and “Sweet Heart” phrases size to 2.75″ high and the “Be Mine” phrase size to 2.25” high on the Design Space canvas.
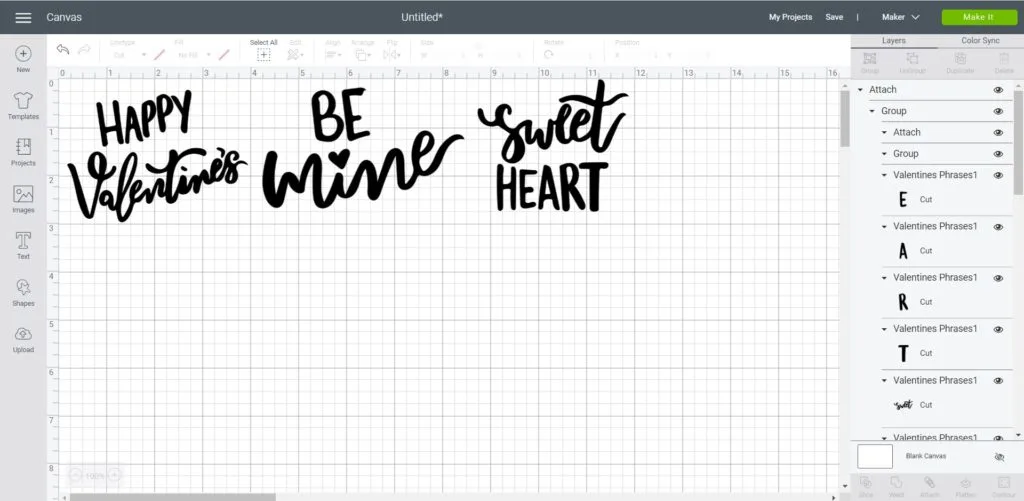
Select “Make It” in Design Space.

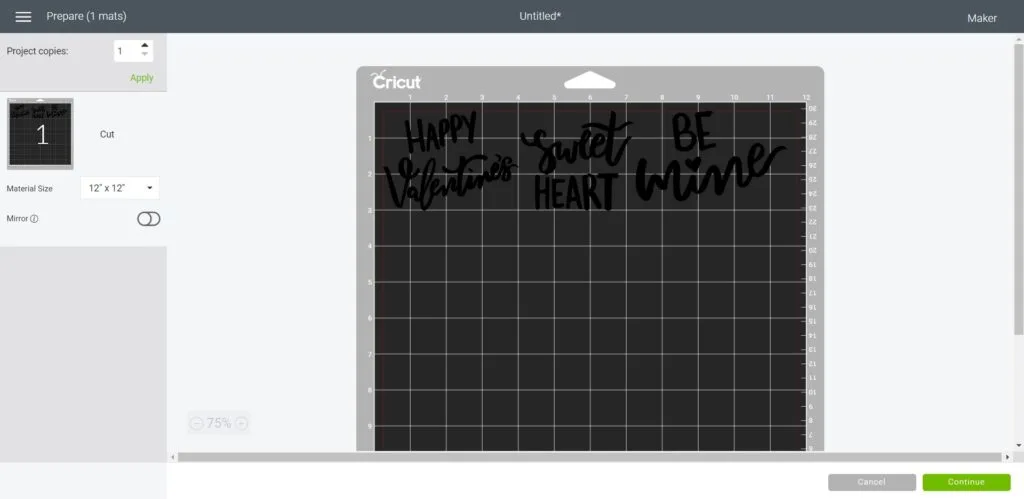
Set material type to Premium Vinyl. Follow prompts for loading mat into Maker and cutting the premium vinyl. When cut is complete, unload mat from the Maker.
Applying the Vinyl to the Mason Jar
Thoroughly wash jars with soap and hot water and let them dry completely before using.
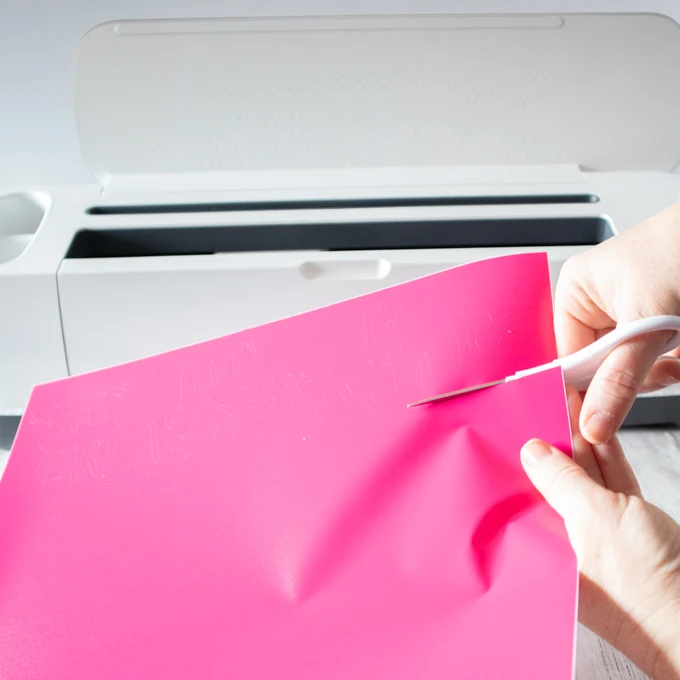
Remove the Premium Vinyl from the mat.

Cut around each phrase with a pair of scissors.

Using the weeding tool, peel away the excess vinyl around the cut phrases and discard.

Cut a piece of transfer tape a bit larger than the size of the phrase.


Peel away the transfer tape backing and place the transfer tape over top of the vinyl phrase. Gently rub the vinyl to help it stick to the transfer tape.
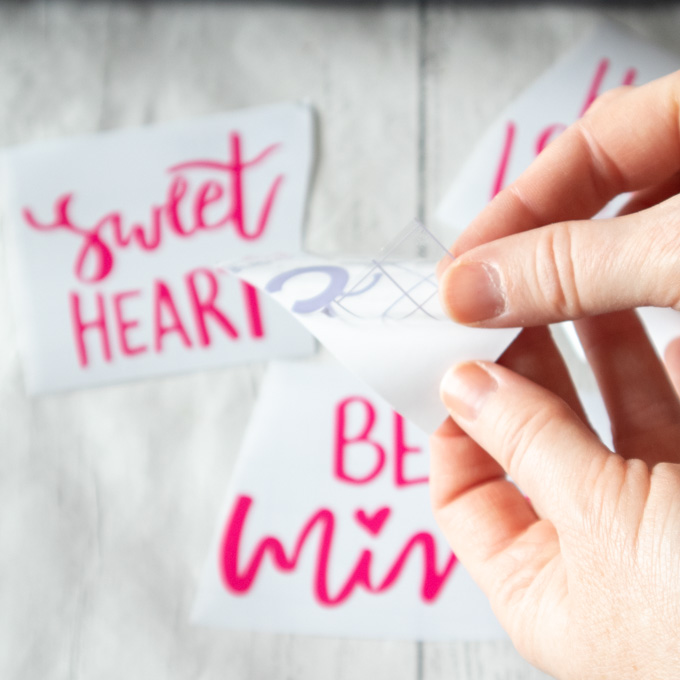
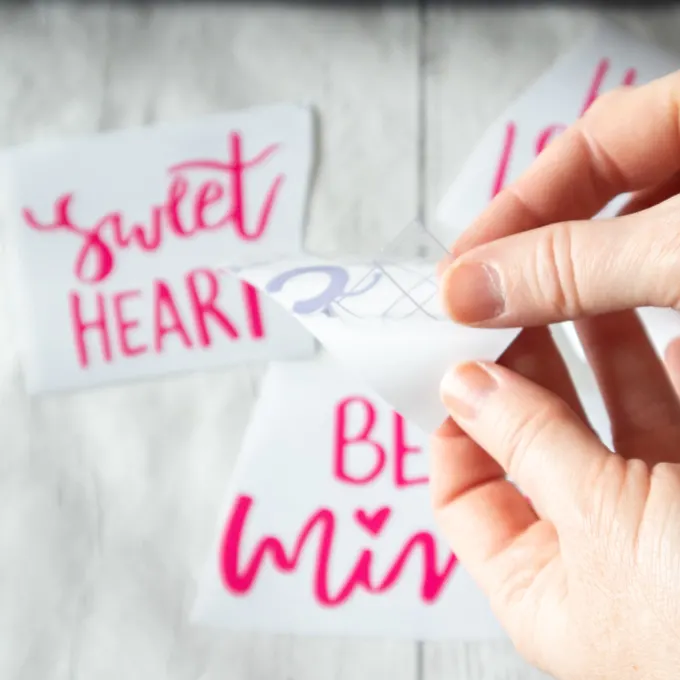

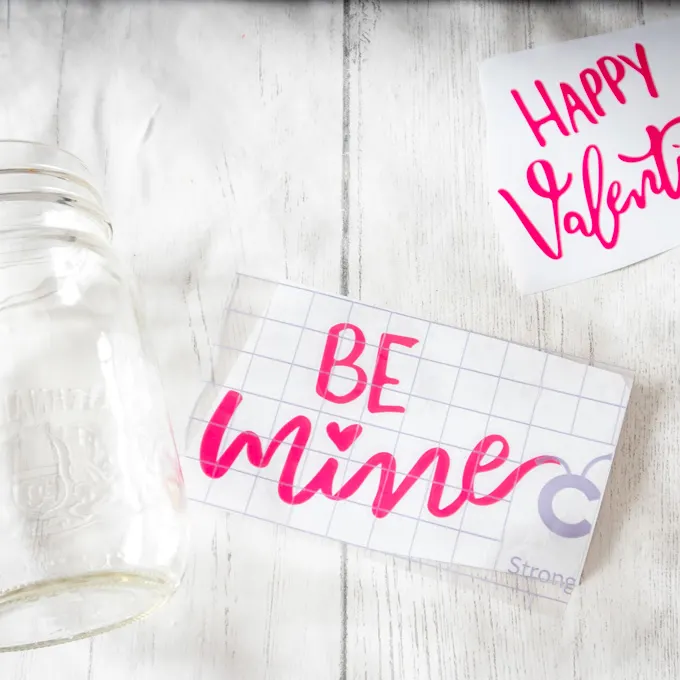
Next, peel away the vinyl backing, leaving just the phrase adhered to the transfer tape.
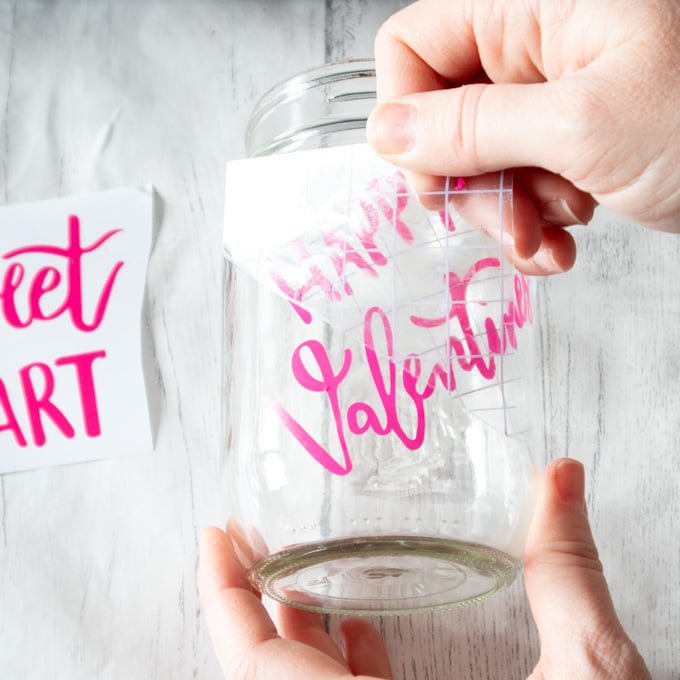
Position the phrase with the transfer tape on to the smooth side of a jar and press in place. You can place the lettering straight across or at an angle.
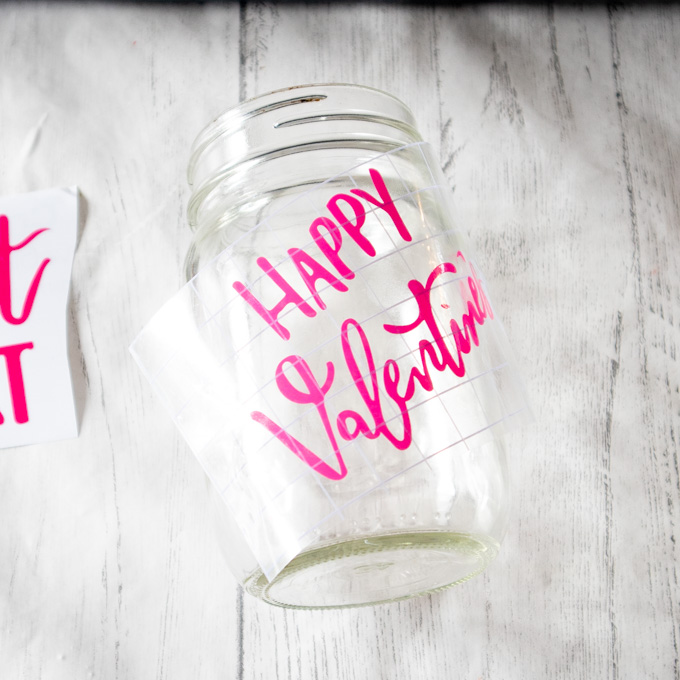
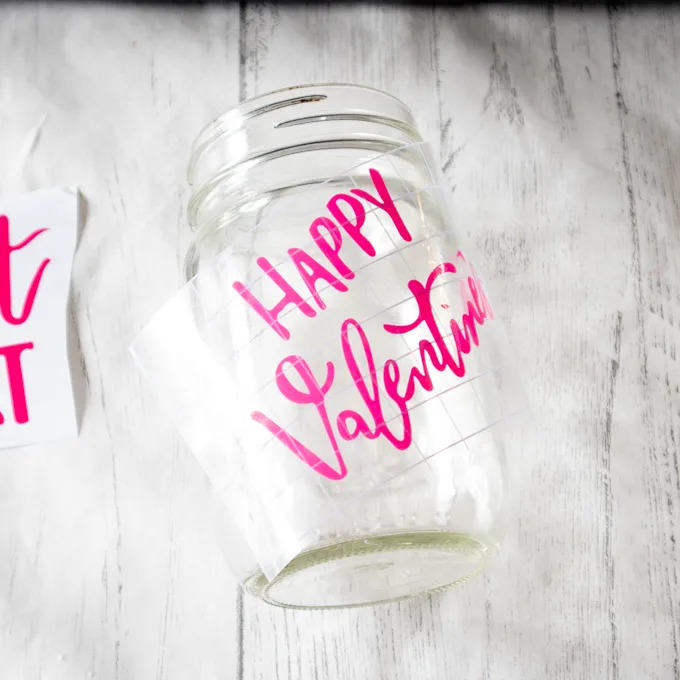
Press the vinyl phrase down with your fingers or with the Cricut scraping tool to help it to stick to the glass jar.
Slowly and carefully remove the transfer tape leaving the vinyl phrase on the jar.

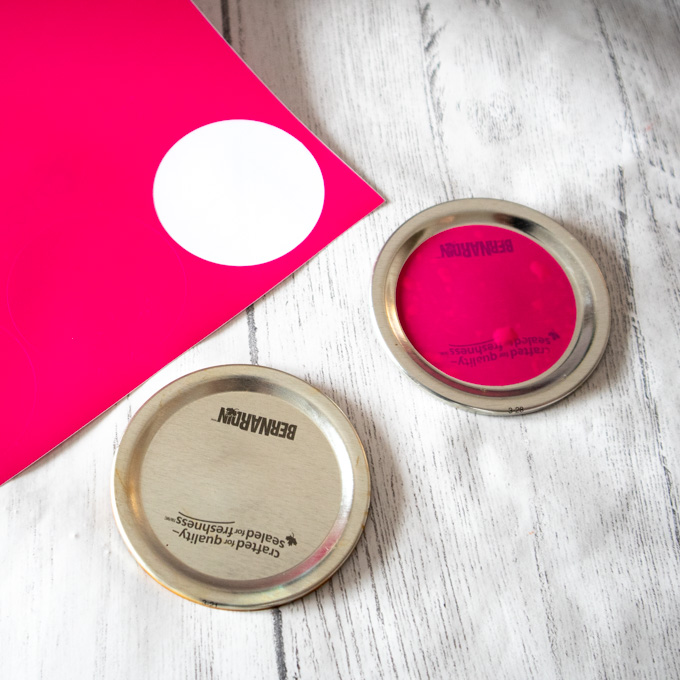
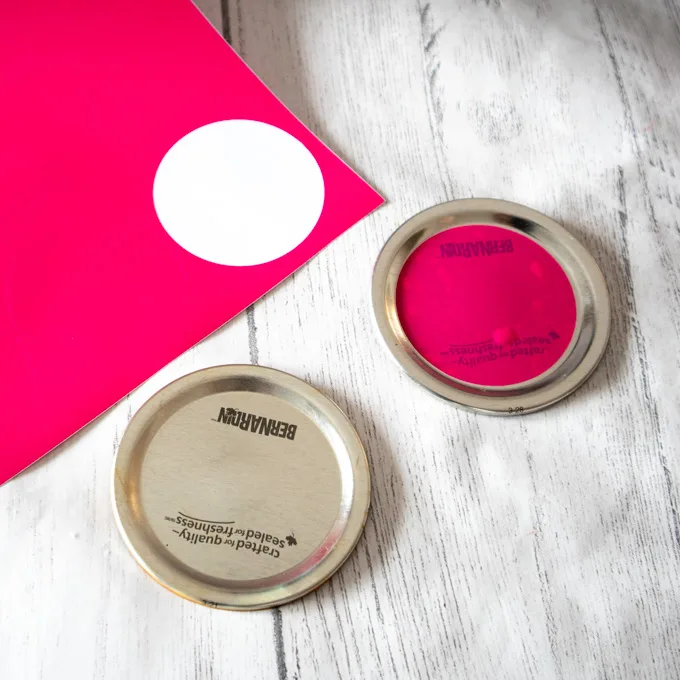
As an added option, you can cut circles from the same colored premium vinyl to cover the jar lid. Simply select the Shapes icon in the Design Space canvas and adjust size to 2” or other size to fit your mason jar lid.
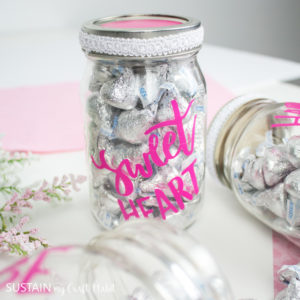
To finish, tie or glue a piece of ribbon around the jar lid. Fill the jar with sweet treats such as Hershey’s Kisses chocolates.
By the way, no one said you can’t make one for yourself;) Happy Valentine’s Day, friends!
Looking for more Valentine’s craft ideas?
Here are a few you can try:
- painting rocks with mandala-inspired hearts
- how to paint pine cone roses (with video!)
- printable “I Lava You” note card
- scrap fabric heart garland
Like it? Pin it for later!


Sweet Valentine’s Day Gift Jar with Cricut
Materials
- Valentine’s Phrases SVG File
- Cricut Maker with Fine Point Blade
- Standard grip mat
- Cricut Premium Vinyl Removable (Pink from Vibrant Value Pack)
- Cricut Transfer Tape
- Mason Jars 16oz with lid
- Scissors
- Cricut Weeder
- Ribbon ¼” wide
- Silver Hershey Kisses candy or other candy of your choice
Instructions
- Upload Valentines Phrases SVG File into Design Space and then click on “Ungroup”.
- Click and drag over each of the phrases separately. With phrase highlighted, click on “Group” and then “Attach”. Repeat for all phrases.
- Set material type to Premium Vinyl. Follow prompts for loading mat into Maker and cutting the premium vinyl.
- Remove the Premium Vinyl from the mat and cut around each phrase.
- Using the weeding tool, peel away the excess vinyl around the cut phrases and discard.
- Peel away the transfer tape backing and place the transfer tape over top of the vinyl phrase. Gently rub the vinyl to help it stick to the transfer tape.
- Next, peel away the vinyl backing, leaving just the phrase adhered to the transfer tape.
- Position the phrase with the transfer tape on to the smooth side of a jar and press in place.
- Press the vinyl phrase down with your fingers or with the Cricut scraping tool to help it to stick to the glass jar.
- Slowly and carefully remove the transfer tape leaving the vinyl phrase on the jar.
- To finish, tie or glue a piece of ribbon around the jar lid and fill the jar with sweet treats.