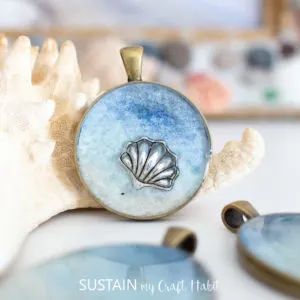
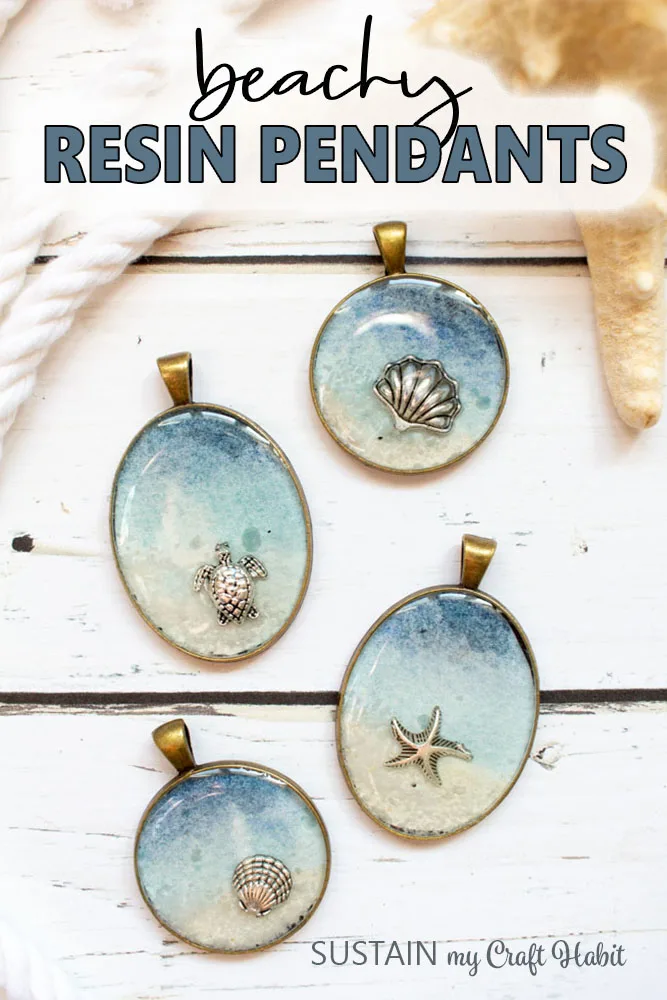
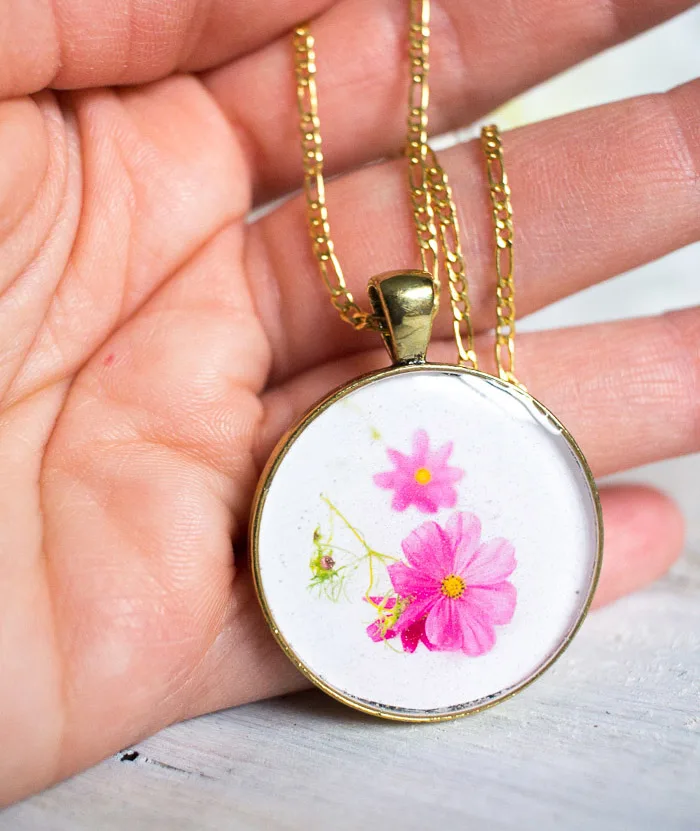
You don’t need to be a watercolor artist to make these pretty beach themed jewelry pendants. You’ll be amazed at how simple it is to make beachy looking pendants with jewelry resin.
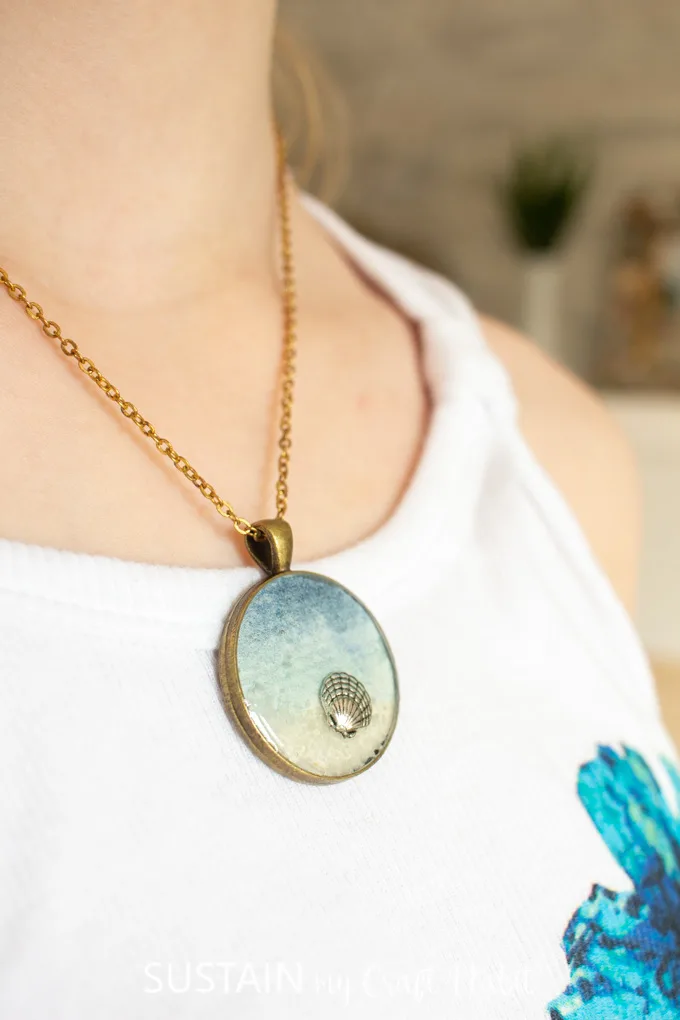
Pretty DIY Beach Themed Jewelry
Did you know you can set something as fine as grains of sand in a pendant using jewelry resin? We did just that with this craft which gives the pretty pendants a bit more dimension and interest.
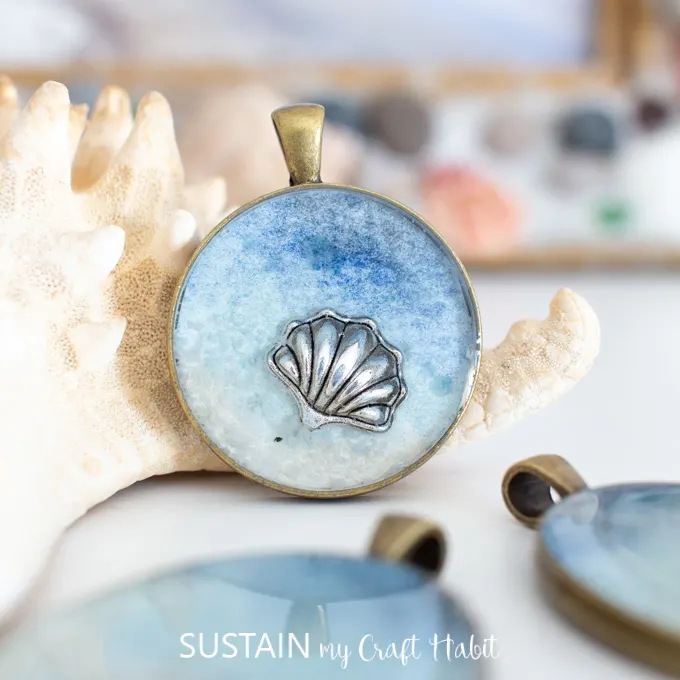
Other Beach Inspired Resin Crafts
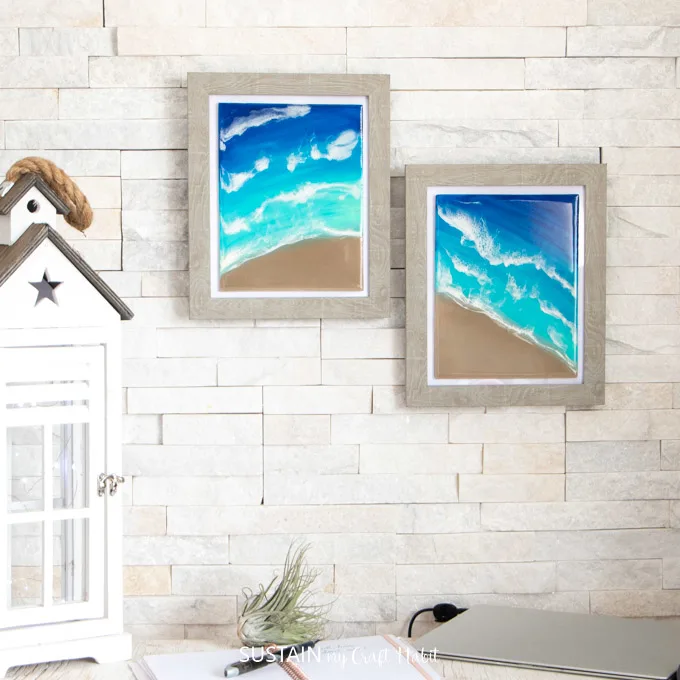
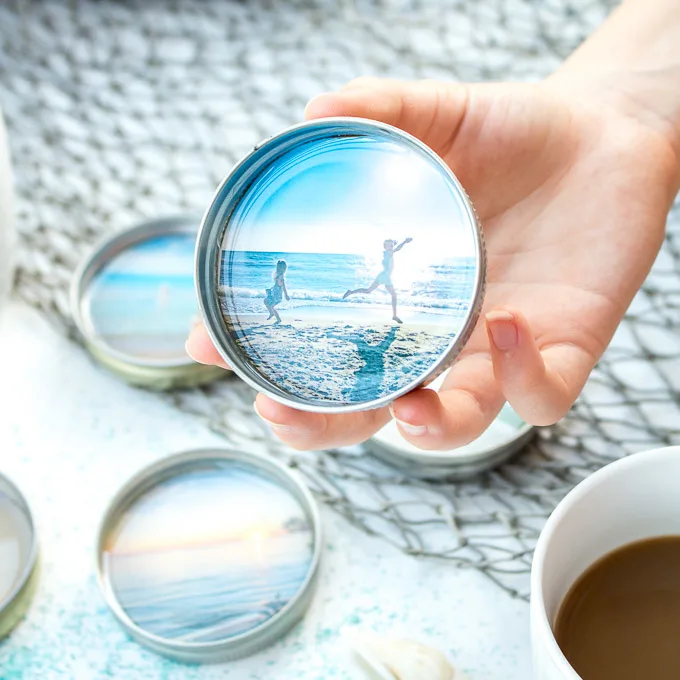
We are in love with these DIY resin beach coasters, coastal upcycled photo frame, DIY decorative switch plates and this beautiful beachy wall art which also all use actual grains of sand in the pieces!
Materials Needed to Make Seashore Resin Pendants
Disclosure: This post contains affiliate links for your shopping convenience. Should you choose to purchase through them, we will make a small commission at no extra cost to you. You can read our full disclosure policy here.
- Watercolor paper
- Watercolor paint and paint brush
- Oval and round jewelry bezels
- Water-based sealer such as mod podge
- Small metal sea creatures charms
- White decorative sand
- EnvirotexLite Jewelry Resin
- Wooden craft sticks, small measuring cups, gloves
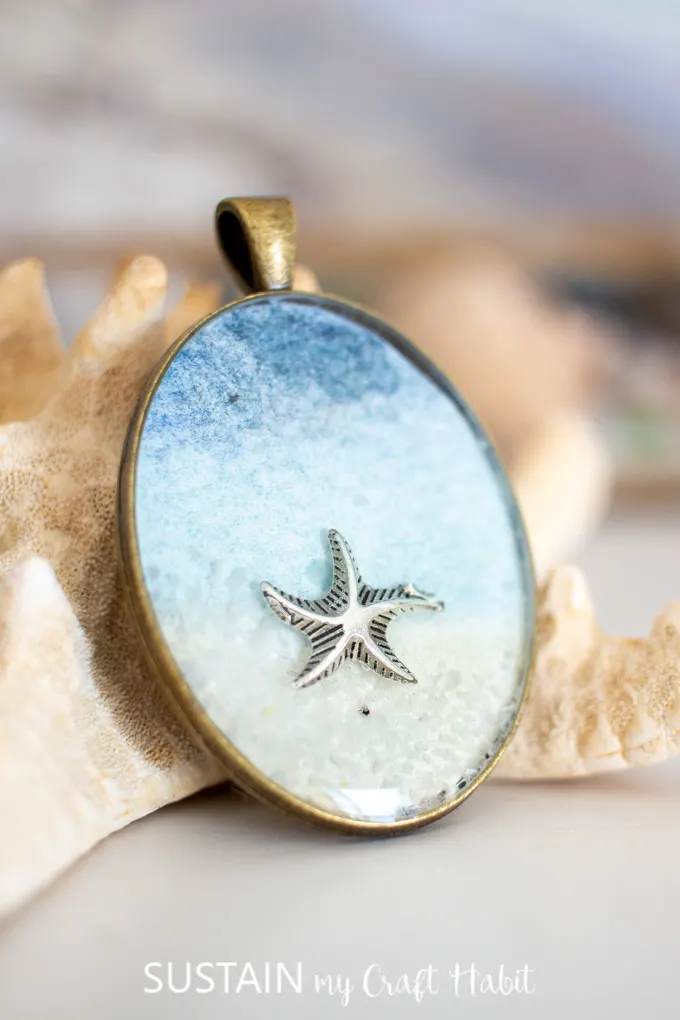
How to Make Beach Themed Jewelry Pendants
Preparing the Bezel
Trace your bezel onto watercolor paper with a pencil.
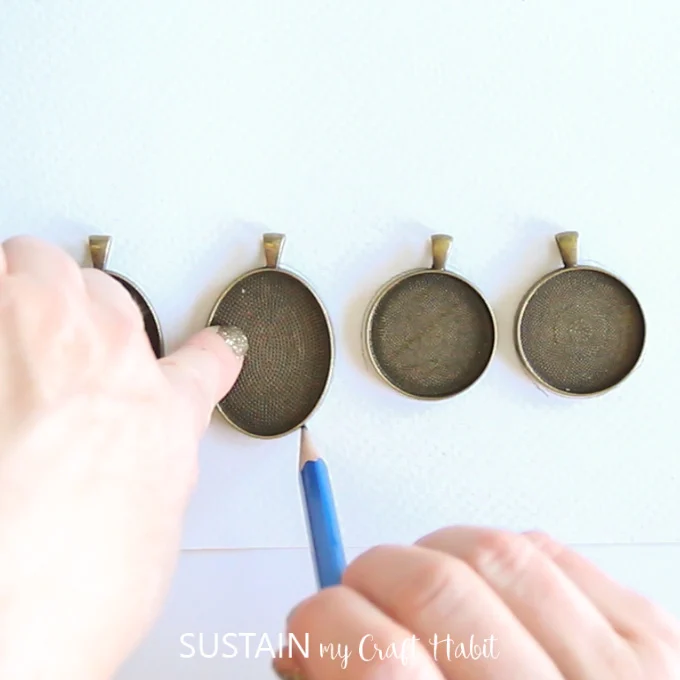
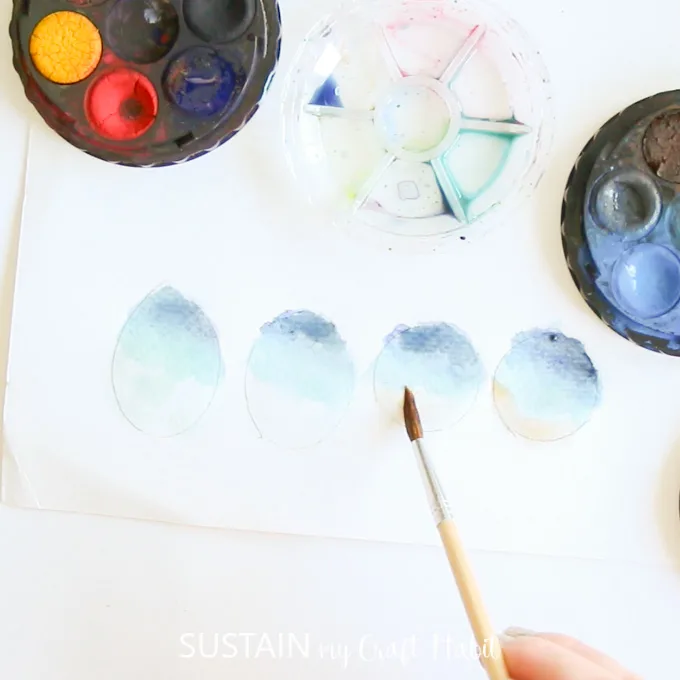
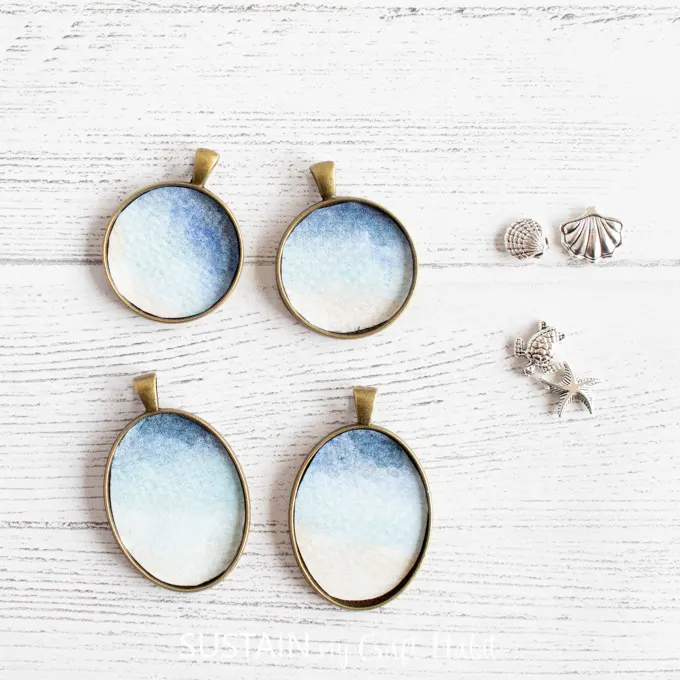
Use various shades of blue and brown to create a shoreline affect . First, dip the paintbrush in the darker blue paint color and mix with water. Lightly paint the upper third of the circle or oval to resemble the sky. Next, mix water with the lighter blue paint color and apply it to the paper just below the painted “sky”. Lastly, mix biege with water and paint the lower third of the circle shapes to resemble the sand. Let dry completely.
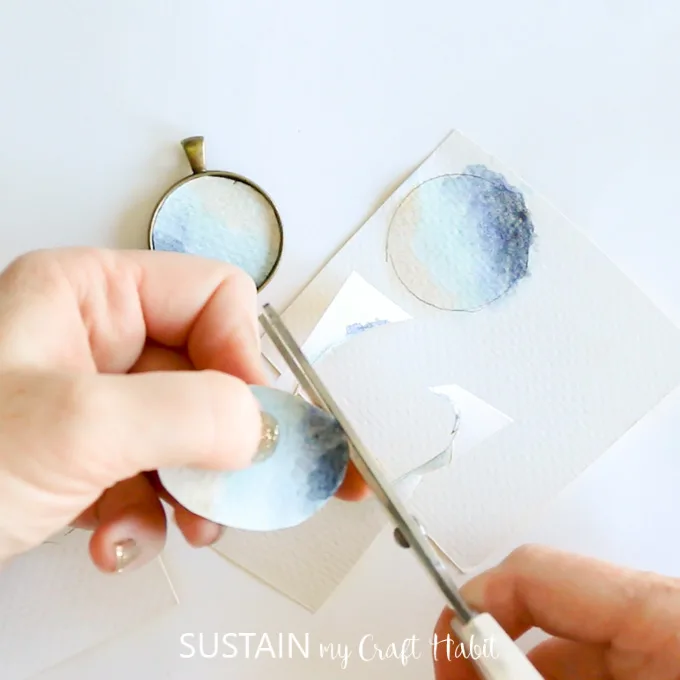
Cut out the watercolor paintings to fit the inside of the bezels.
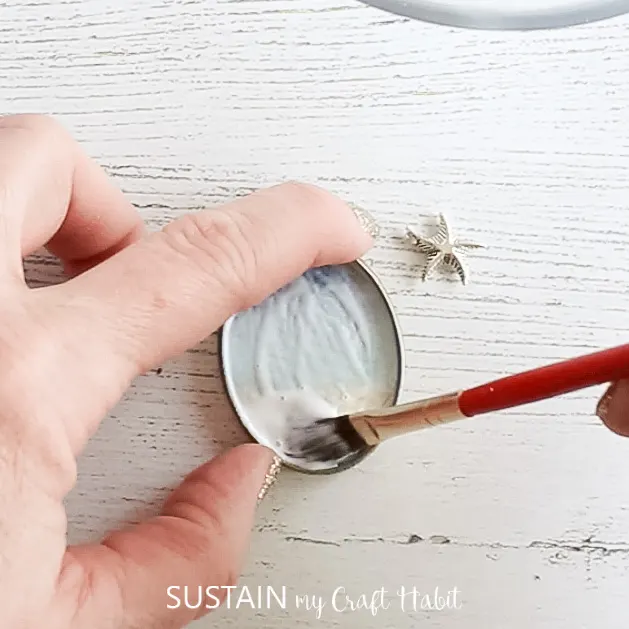
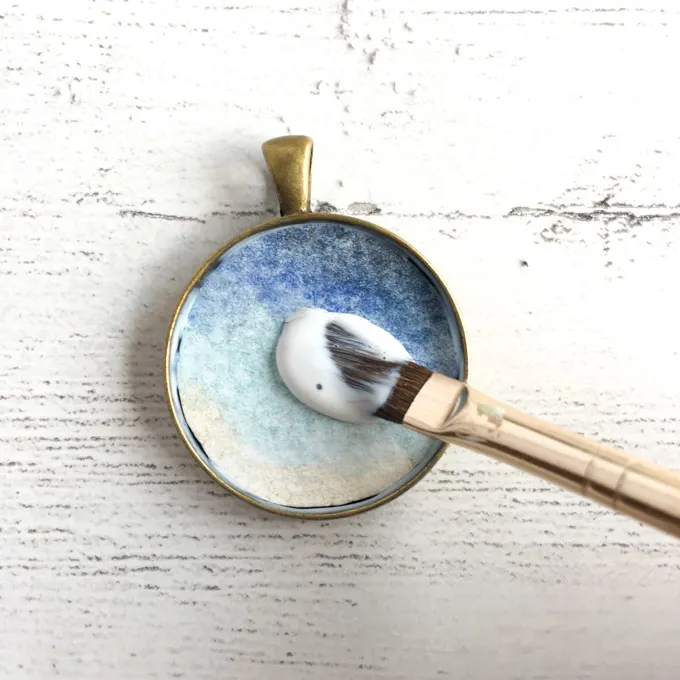
Seal the cut out into the bezel using the water-based sealer. Cover the surface of the painting with the sealer as well.
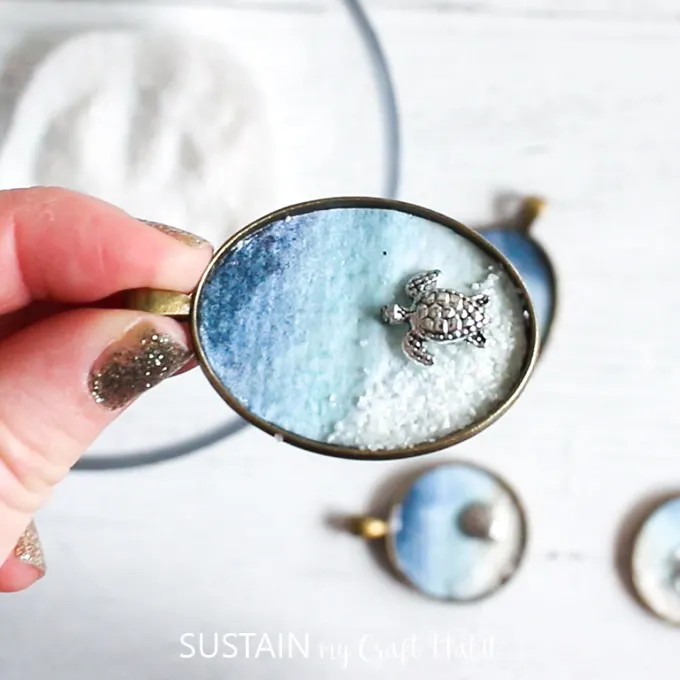
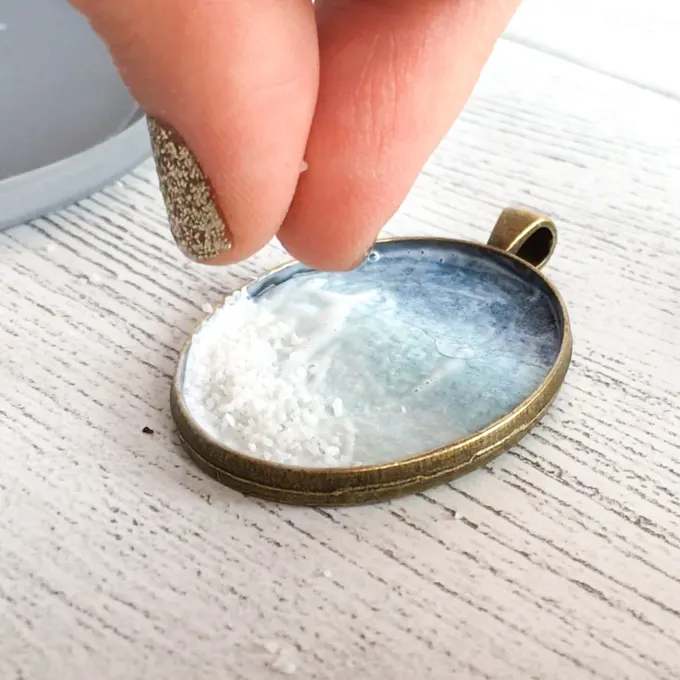
Sprinkle a little bit of sand onto the shore part of the picture while the sealer is still wet.
Use a generous amount of glue to place a metal charm along the “shoreline”. Let dry completely (I left mine overnight to be sure).
Adding the Jewelry Resin
Be sure to read all the instructions prior to working with your EnvirotexLite Jewelry Resin. Work in a well-ventilated area and protect your working service.
The bezel needs to lay flat and level on a table top or other flat surface. If needed, prop one end of the bezel to ensure it is level for pouring the resin.
Mix equal amount of resin and hardener in a small mixing cup (I had a total volume of 1oz to make four pendants). Mix for 2 minutes then pour into a second small mixing cup. Stir for another minute.
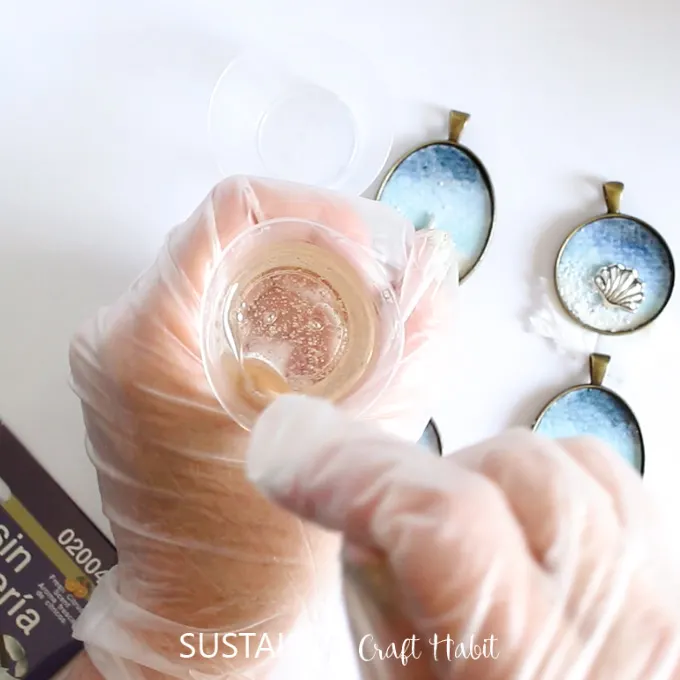
Carefully pour the resin into the bezel wells. Be careful not to over-fill, although you do want a small dome to form on the surface of the pendant.
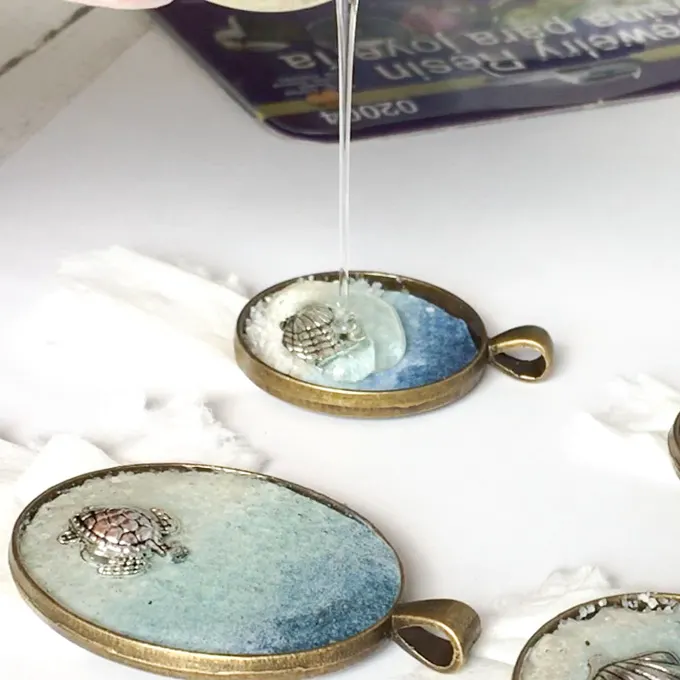
Let the poured resin rest for about 15 minutes and then blow off any bubbles arising to the surface with a small kitchen torch. Alternatively use your own breath through a straw but make sure no moisture touches the resin.
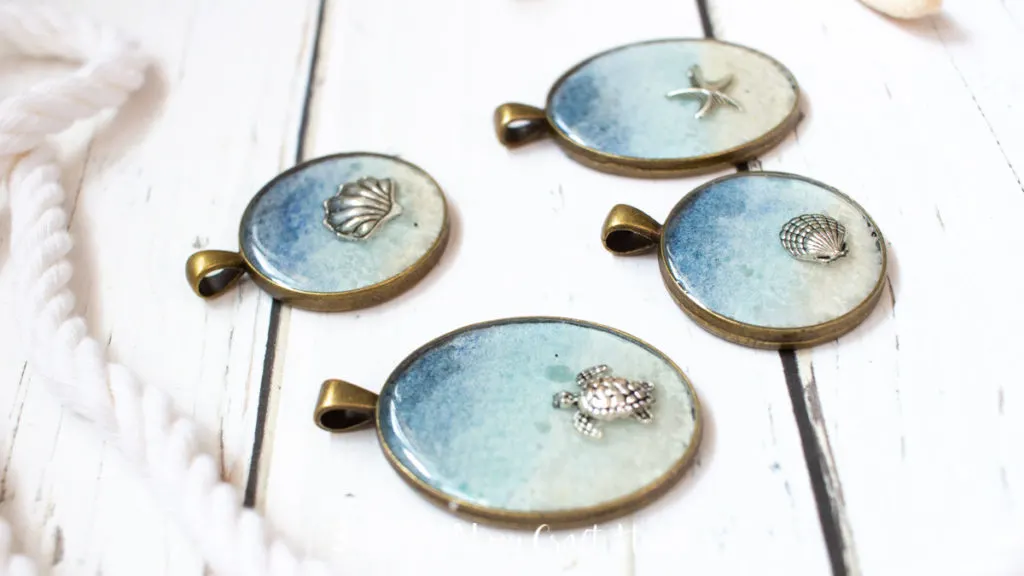
Use a toothpick to pull out any larger bubbles, especially around the metal charm. Cover and let the resin cure 24 hours.
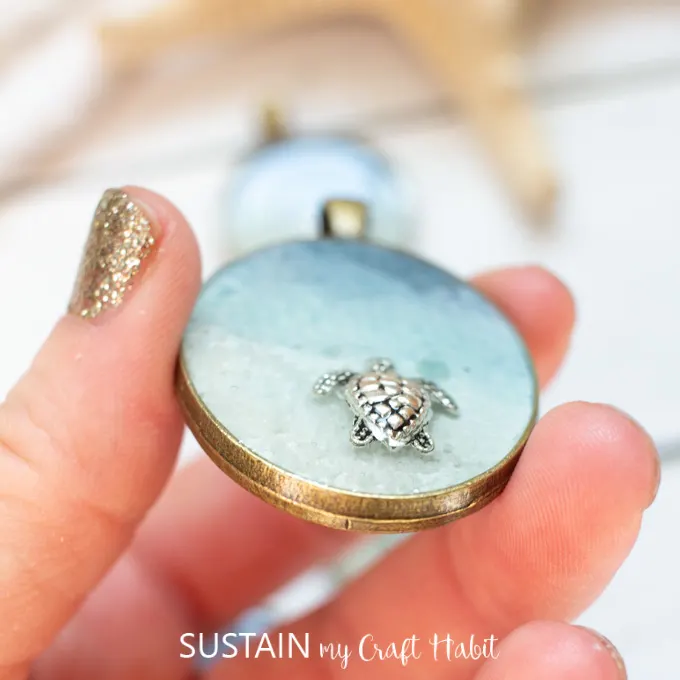
This craft originally appeared on Resin Crafts Blog project gallery.
More Resin Crafts You’ll Love to Make:
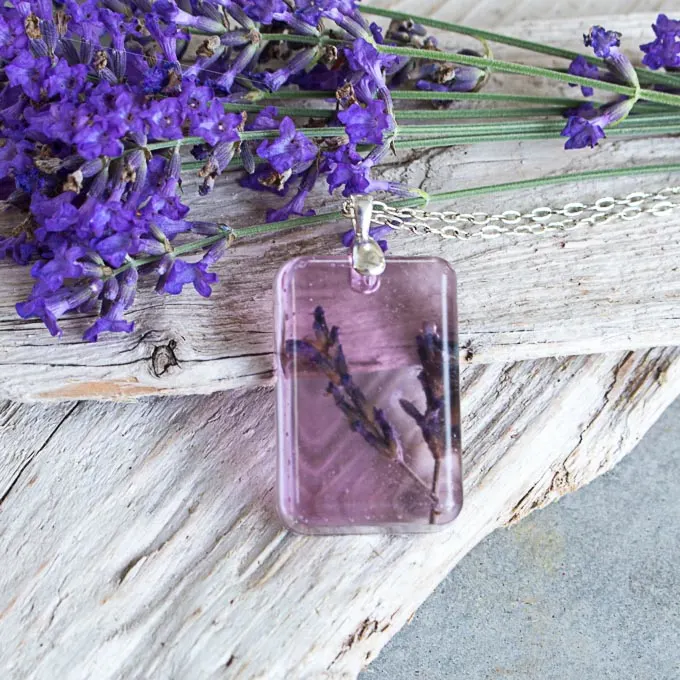
- Pendants with lavender
- DIY stitch markers
- Seashore resin art
- DIY photo coasters
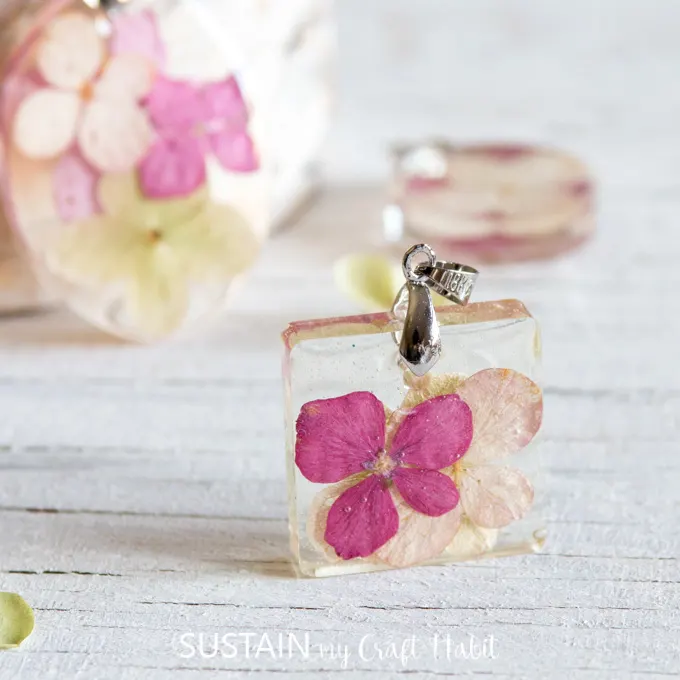
- Birth month flower pendants
Like it? Pin it for later!
Beach Themed Jewely Pendants
Materials
- Watercolor paper
- Watercolor paint and paint brush
- Jewelry bezels oval and/or round
- Water-based sealer such as mod podge
- Small metal sea creatures charms
- White decorative sand
- EnvirotexLite Jewelry Resin
- Wooden craft sticks
- Small measuring cups
- Gloves
Instructions
- Trace your bezel onto watercolor paper with a pencil.
- Use various shades of blue and brown to create a shoreline affect. Let dry completely.
- Cut out the watercolor paintings to fit the inside of the bezels.
- Seal the cut out into the basil using the water-based sealer. Cover the surface of the painting with the sealer as well.
- Sprinkle a little bit of sand onto the shore part of the picture while the sealer is still wet.
- Use a generous amount of glue to place a metal charm along the “shoreline”.
- Mix equal amount of resin and hardener in a small mixing cup. Mix for 2 minutes then pour into a second small mixing cup. Stir for another minute.
- Carefully pour the resin into the bezel wells.
- Let the poured resin rest for about 15 minutes adn then blow off any bubbles arising to the surface with a small kitchen torch.
- Cover and let the resin cure 24 hours.

Francesca
Wednesday 30th of November 2022
These necklaces look so cute and I can’t wait to try making them! The only problem is I don’t know which sea creature charm to use. I know you listed the materials, but when i click on the link, it sends me to a different product than the one used. In your photos I see none of them have a loop, like a necklace charm. I’ve tried looking everywhere, but can’t find some without the loop. Could you tell me which one you used or how to remove the loop! Thank you! :)
Francesca
Thursday 1st of December 2022
Thank you for helping me!
Jane and Sonja
Wednesday 30th of November 2022
Hi Francesca, That's a great question! Those are the same charms - I just used a pair of slip joint pliers and broke the loops off. They actually come off pretty easily! I hope that helps, Jane
Michelle
Thursday 23rd of July 2020
These are super cute!
Michelle https://mybijoulifeonline.com
Mary
Thursday 23rd of July 2020
I have seen these resin kits lots of times but was never quite sure how they would look when finished. These pendants are stunningly beautiful and the beach theme is right up my alley.