What could be better decor for the cottage or your front porch at the holidays than a full sized rustic driftwood Christmas tree?
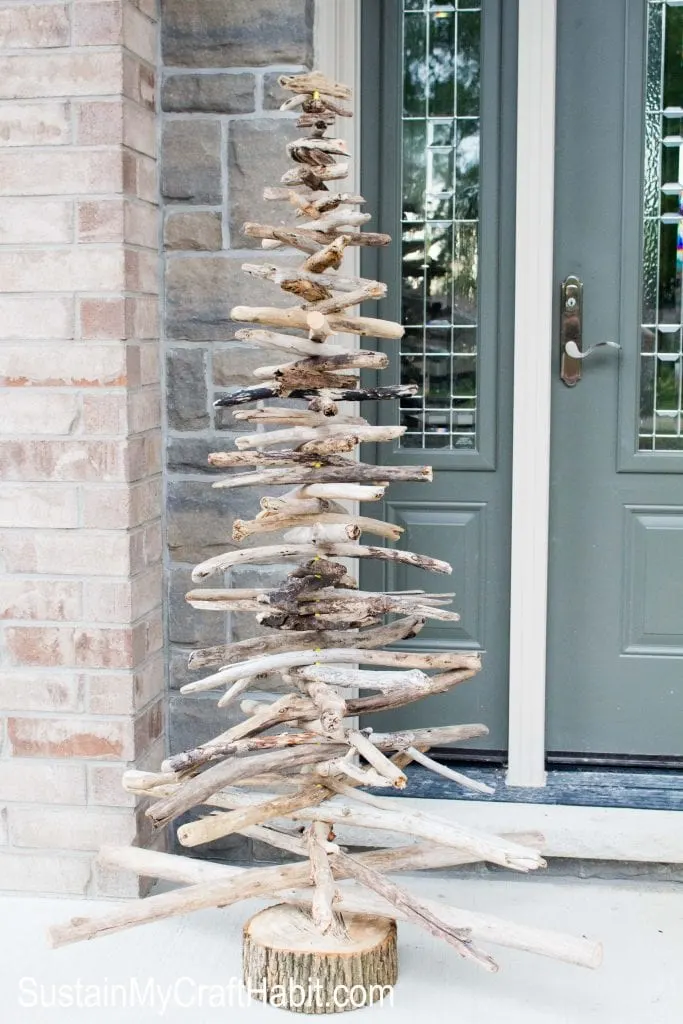
DIY Driftwood Christmas Tree
You may have seen our little roundup of DIY Driftwood Christmas Decor. We have to confess that there was one other project idea that we loved but didn’t include: a creative and simple tabletop driftwood Christmas tree from DIY Driftwood. We didn’t include it because the bug hit us and we decided we wanted to make our own full-sized driftwood Christmas tree to sit on the front porch of our parents’ new home!
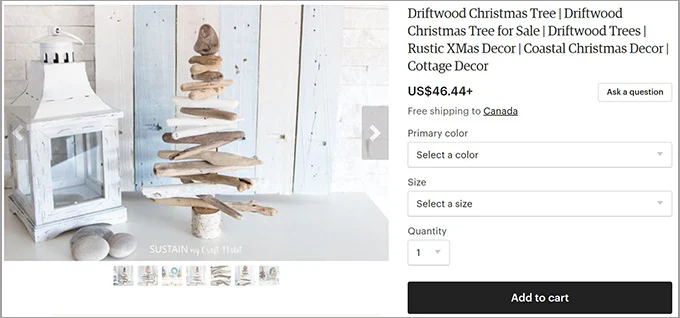
If you’d prefer to buy a smaller, table top version, we have our driftwood Christmas trees for sale in our Etsy shop!
They come in three different sizes as well as the option for some white washed pieces.
Materials Needed to Make your own Full-Sized Driftwood Christmas Tree:
“Disclosure: Some of the links in this post are advertisements and will be (indicated with *) for your shopping convenience. You can find our full disclosure here.”
 a good collection of thicker pieces of driftwood in various lengths. Ours ranged from 4 inches to 4 feet.
- a long rod for the center of the tree. We had thin yellow metal rods from an old chimney sweeping kit. You could use anything that’s thick and sturdy enough to hold all that driftwood – such as this rebar*, which would work really well.
- a strong base to hold up your creation. We cut a small stump from a thick branch of a fallen Ash tree from a recent storm.
- a drill *with a drill bit* that’s a touch larger than the diameter of the center rod.
How to Make a Driftwood Christmas Tree:
The concept for this type of tree is pretty simple:
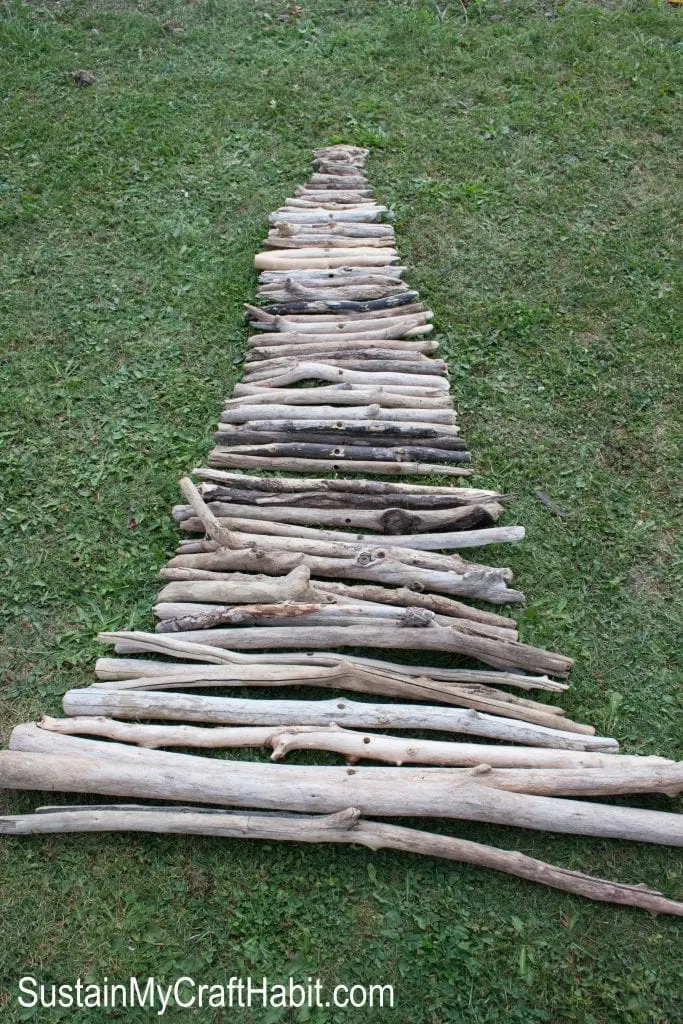
- Arrange your driftwood from longest to shortest having enough pieces to reach your desired height.
- Drill holes in the mid-point of each piece of driftwood, making sure the holes are large enough for your center rod to go through.
- Prepare the central support rod by drilling an appropriately size hole in the small branch stump and then inserting the rod inside.
- Starting with your longest, spear each piece of driftwood until you are done. And voila, you have a tree!
Check out our growing driftwood tree in this fun little video.

Lessons Learned when making our Driftwood Christmas Tree
Although in theory it’s simple, we did actually have to take apart our driftwood Christmas tree two times before getting it right. Mainly because we underestimated how many pieces of drift wood we would need for the height of the center rod! Tip: You will need more driftwood pieces then you think you’ll need.
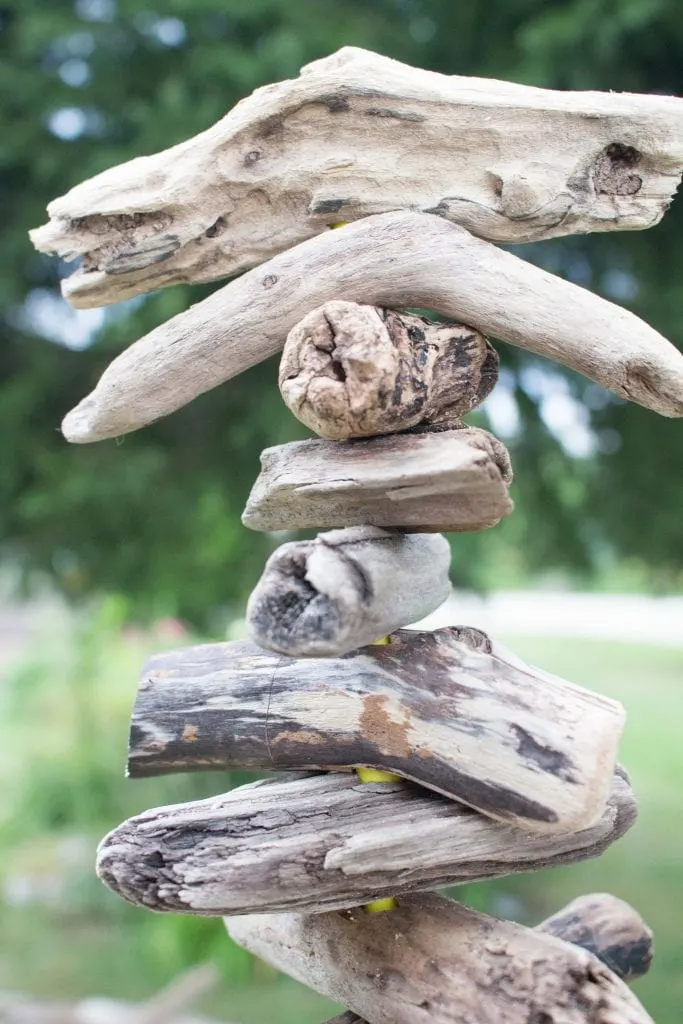
In retrospect, it was great to use what we had on hand (the rod from the chimney sweeping kit). However, the tree does slant a touch. For our next tree (we’ve decided now that we each need one for our front porches) we will look for something stiffer, like a stainless steel rod (e.g. rebar, old shower curtain rod).
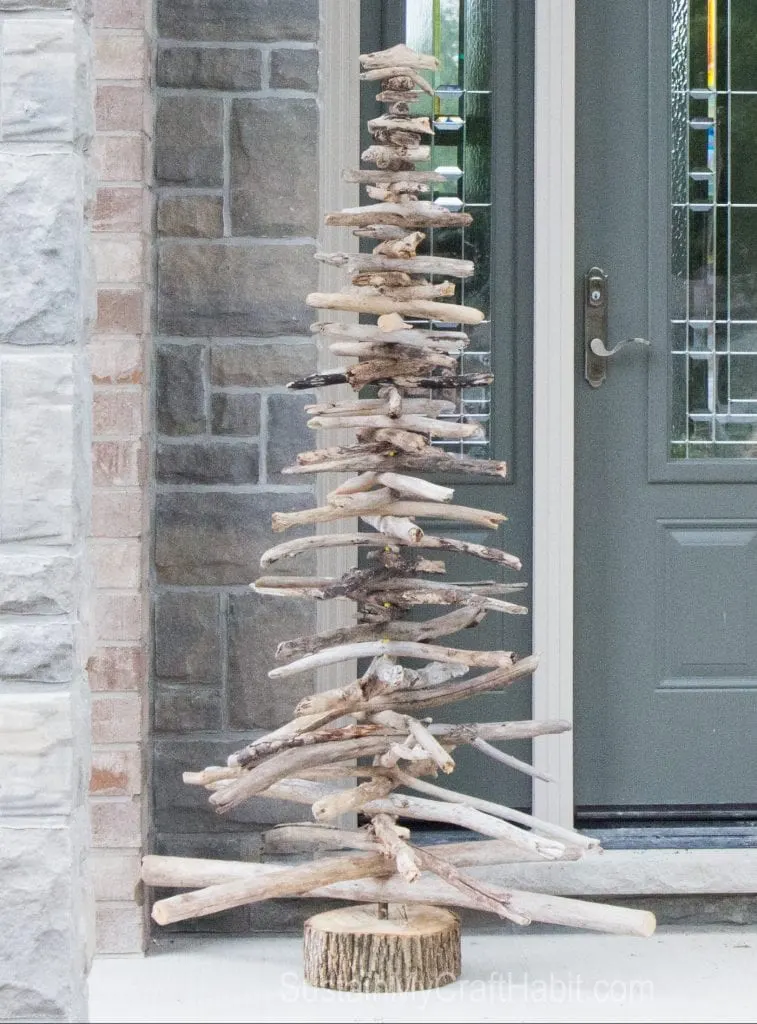
The kids were so helpful with this project. They helped to arrange the rods from longest to shortest, adding them onto the rods and even wanting to drill them. Here’s the boy inspecting the final product. We couldn’t believe the little puppy-shaped friend he found on one of the driftwood pieces!
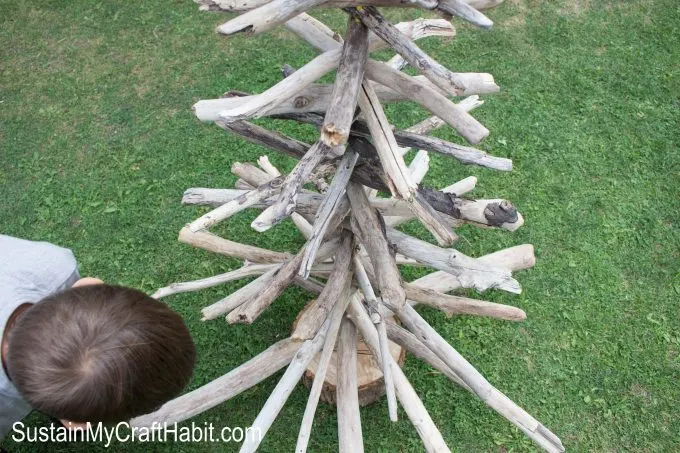
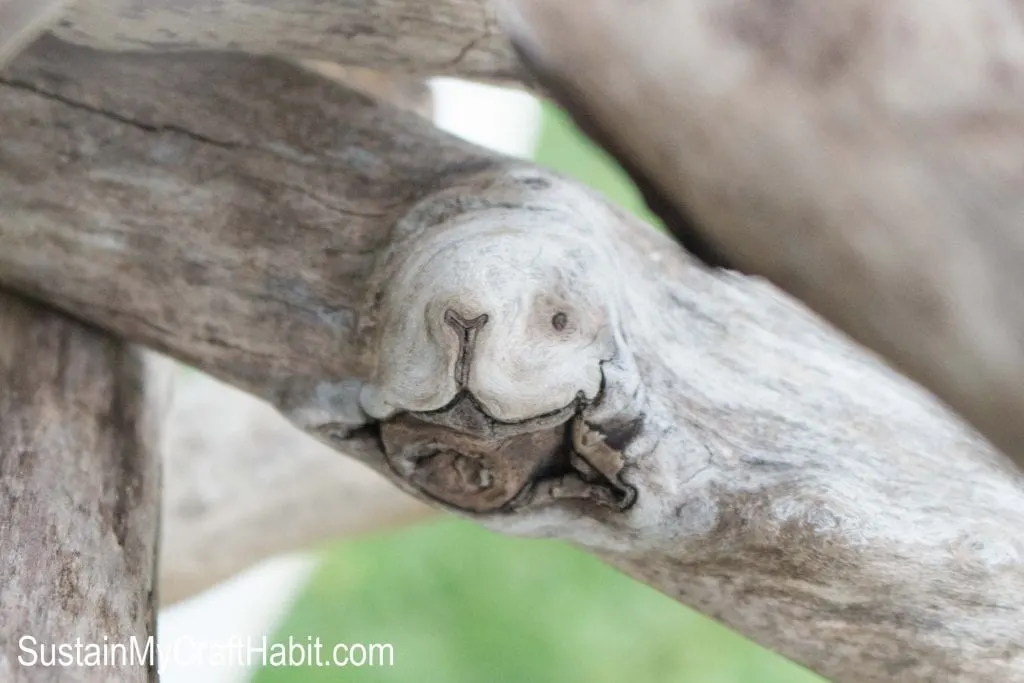
We’re looking forward to decorating our DIY driftwood Christmas tree for the holidays with some ornaments and lights including our reindeer driftwood ornaments and ocean life felt ornaments. However, we may just keep it out year-round as a rustic decor piece for the front porch.
If you enjoyed this DIY Christmas craft with driftwood, you may also like these other projects of ours:
- Mini Driftwood Tree Ornaments
Would you use something like this all year round?
Like it? Pin it for later!
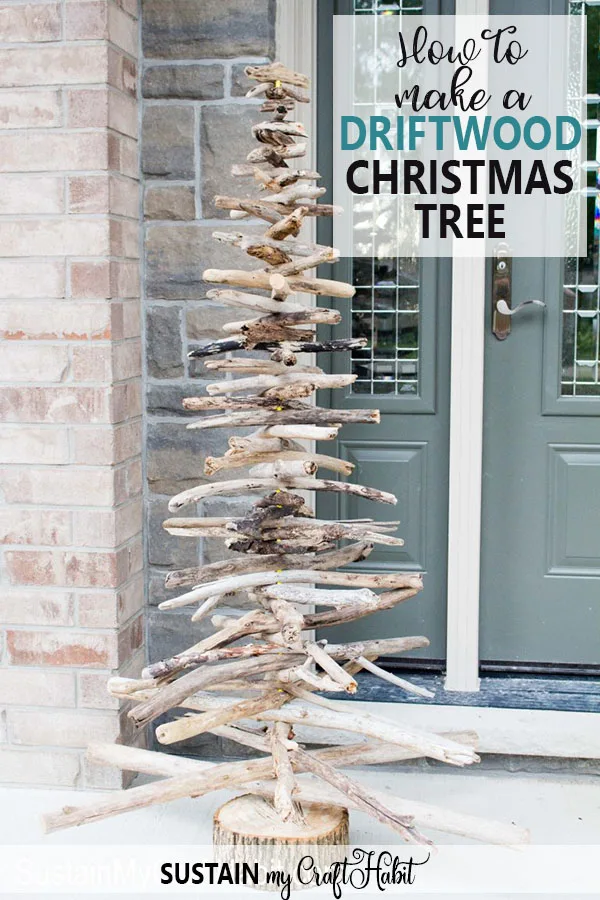
How to Make a Driftwood Christmas Tree
Materials
- thick pieces of driftwood in various lengths e.g. 4" to 4'
- a central support rod e.g. rebar, shower curtain
- a strong base to hold up the central support rod e.g. small branch stump
- a drill with a bit that’s a little larger than the diameter of the central support rod
Instructions
- Arrange your driftwood from longest to shortest having enough pieces to reach your desired height.
- Drill holes in the mid-point of each piece of driftwood, making sure the holes are large enough for your center rod to go through.
- Prepare the central support rod by drilling an appropriately size hole in the small branch stump and then inserting the rod inside.
- Starting with your longest, spear each piece of driftwood onto the rod until you are done.




Lisa
Saturday 2nd of December 2023
I definitely want to try this. This is the cutest outdoor Christmas tree I've seen so far. So cute!
Brooke K.
Tuesday 23rd of August 2016
Yes, absolutely I would keep it out all year as art. When I first saw this project, I envisioned it lit up at night with tiny white lights (lots of them). Or perhaps red and white or some other colour choice. Either way....the rustic driftwood appeal is what I most like about building one of these and that, I plan on doing (very soon)!! Thankyou for sharing - such a great project!
Kevin @ Kensun of Zentiz
Monday 13th of June 2016
An innovative project, I was a bit surprised when you find the wooden slats with different lengths. What happens if you burn it :)) :))
Miranda B
Friday 4th of December 2015
Love this! Very Creative :)
Shirley Wood
Tuesday 1st of December 2015
Stopping by from Snickerdoodle Sunday.LOVE this! We'd love for you to share over at the Merry Monday party with us.