How to Make a Tree Skirt for Christmas
Hi friends! We’re very happy to share with you this latest sewing project: a timeless red velour Christmas tree skirt with gold trimming. We’ll show you how to make a tree skirt that you’ll proudly display every year.

A beautiful, timeless red velour and gold trimmed Christmas tree skirt
Disclosure: This project is sponsored by Canvas Etc. All opinions are our own. Also, this post contains affiliate links for you shopping convenience. You can read our full disclosure statement here.
We’ve partnered with Canvas Etc. to select this gorgeous, versatile red velour material from their fabric collection. The combination of the luxurious red velour with a gold trim accent makes this tree skirt the perfect blend of simplicity and elegance. It’s a tree skirt I’ll be proud to use for years to come. Velour has a lot of great uses, most commonly used for upholstery, such as throw pillows, seat covers, etc as well as for curtains; I would love to make some holiday throw pillows using the leftover velour scraps.

Canvas Etc is a growing online fabric supply store. In addition to a huge selection of affordable textiles, they offer finished products such as totes, custom sewing and on-demand printing. Be sure to check out their selection of hundreds of patterns by renowned artists, which they can print onto 20 different fabrics. Or upload your own!

Tree skirts typically come in two sizes: the standard size is 48″ and the larger size is 60″. The instructions for this tree skirt are set for a 48″ diameter which is a perfect skirt size for trees under 7 feet tall. If your Christmas tree exceeds that height, you may want to use a larger 60″ tree skirt.
For some last minute gift giving ideas to put underneath your tree, you can check out these helpful ideas:
- The Best Non-Stuff Gift Ideas for your Spouse
- Needle Felting Kits for all Skill Levels
- The Best Craft Kits for Adults
- 12 Thoughtful and Personalized Gifts all Mothers would Love
- 20 easy DIY Gifts for Teachers
- Warm and Cozy Finds on Etsy
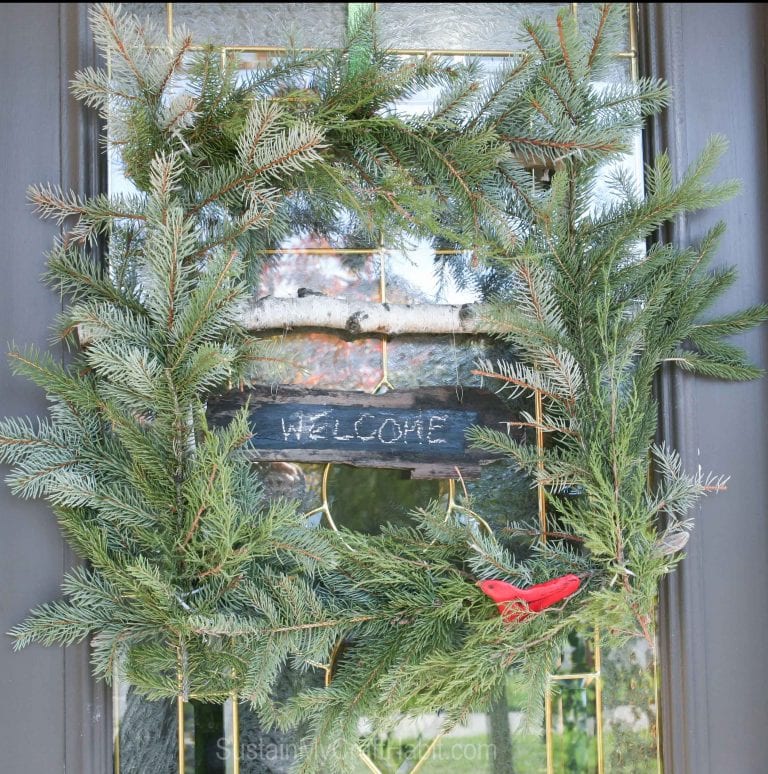
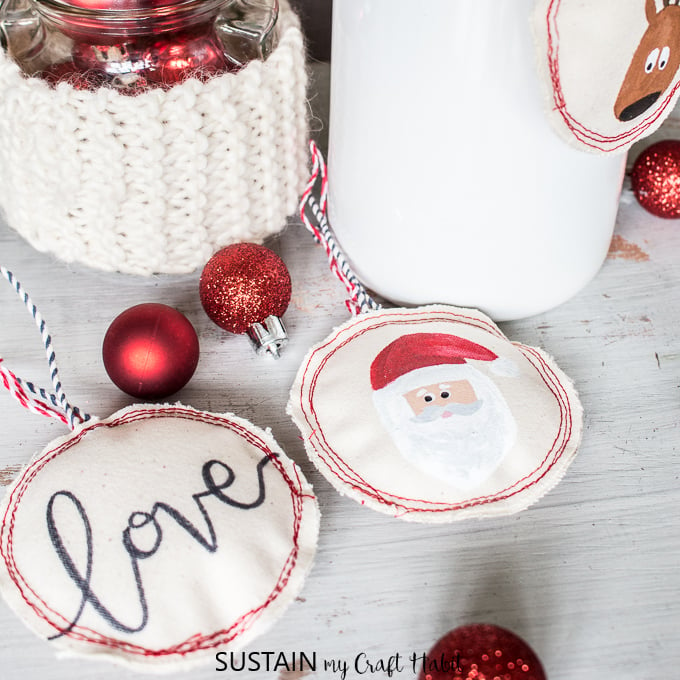
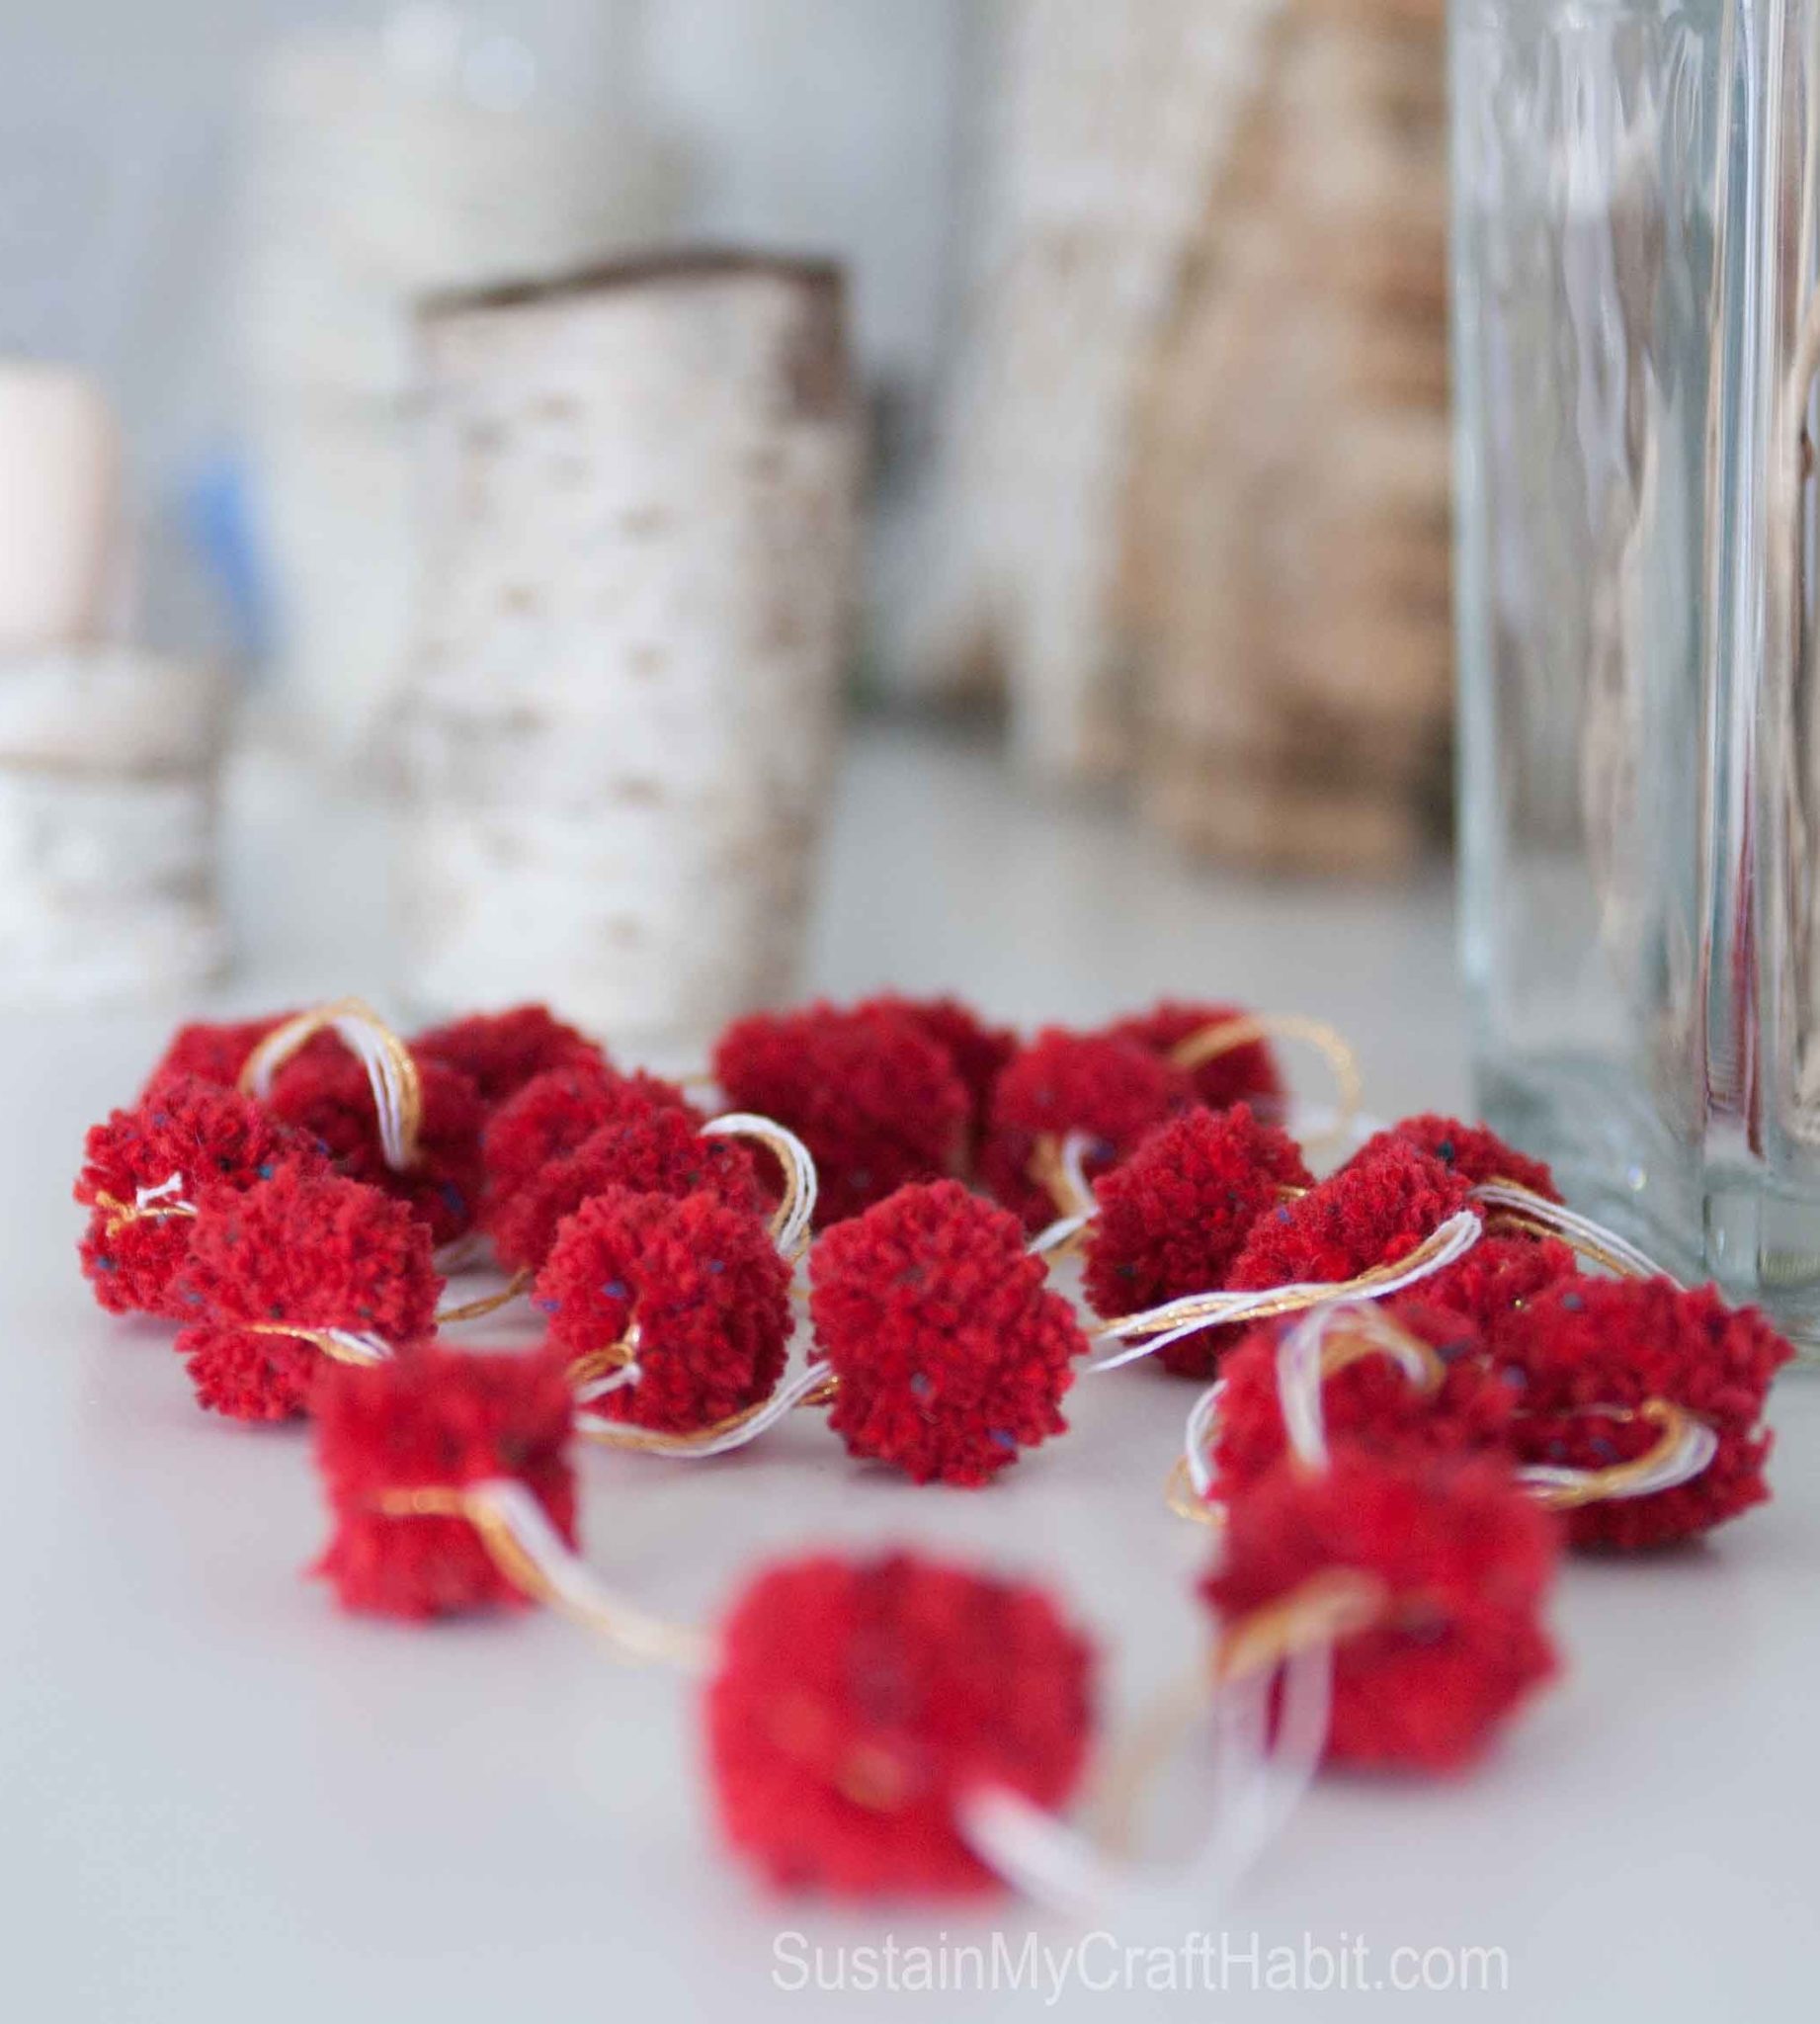
Christmas is our favourite time of the year for creating new projects. Whether it’s sewing Christmas ornaments that we’ll put in our loved one’s stockings or a super easy DIY pom-pom garland to hang on the tree, the inspiration is endless.
Supplies Needed to Make this Christmas Tree Skirt:
- How to Make a Tree Skirt Pattern Dimensions Guide and How to Make a Tree Skirt Pattern Layout Guide (for a 48″D tree skirt)
- Velour IFR in red, 14oz, 60″wide – 4 yards
- Corded Piping, 3/8″ metallic gold twist, 155” for outer perimeter + 100” for inner circle
- Hook and Loop tape (aka velcro), set of 3, each measuring 1” wide x 2” long
- Chalk, ruler
- Fabric Scissors
- Sewing Machine with matching thread color

How to Make a Tree Skirt for Christmas:
Preparing and Cutting:
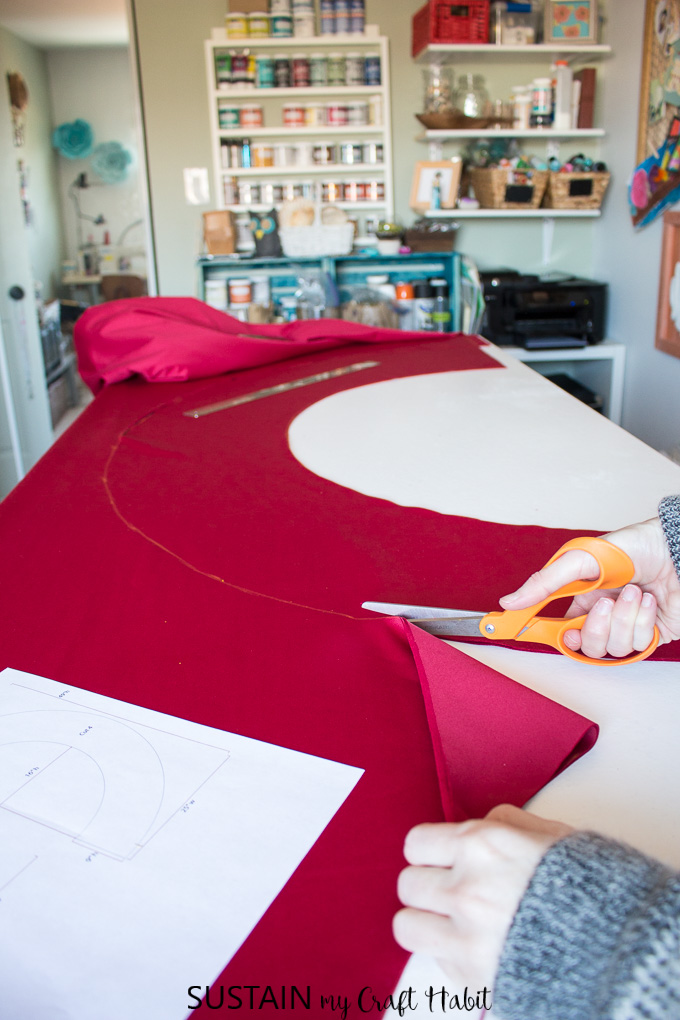
Fold the velour fabric length in half with right sides together, matching selvage edges and place on a smooth, flat surface.

Using a straight ruler or measuring tape, measure and mark with removable chalk the tree skirt pattern onto the fabric following the tree skirt pattern dimensions guide provided.
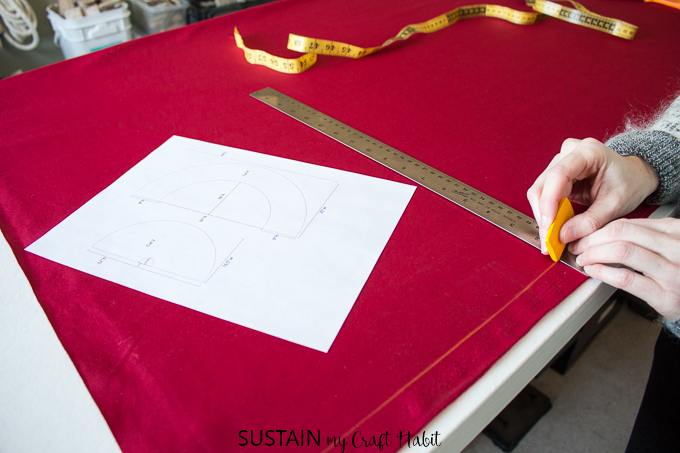
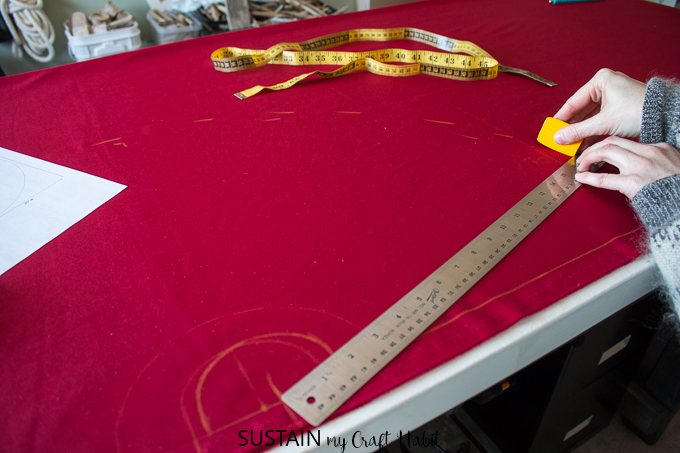
Be sure to take your time with this step to avoid any mistakes in cutting, you know what they say: “measure twice, cut once”. Cut along all the solid lines (the dash lines represent the sew lines which are set ½” away from the cut lines).
Sewing:
With the right sides of the velour fabric together, sew one side of the semi-circle with a single needle lockstitch at ½” seam allowance and press seam allowance open. Leave the other side unstitched.
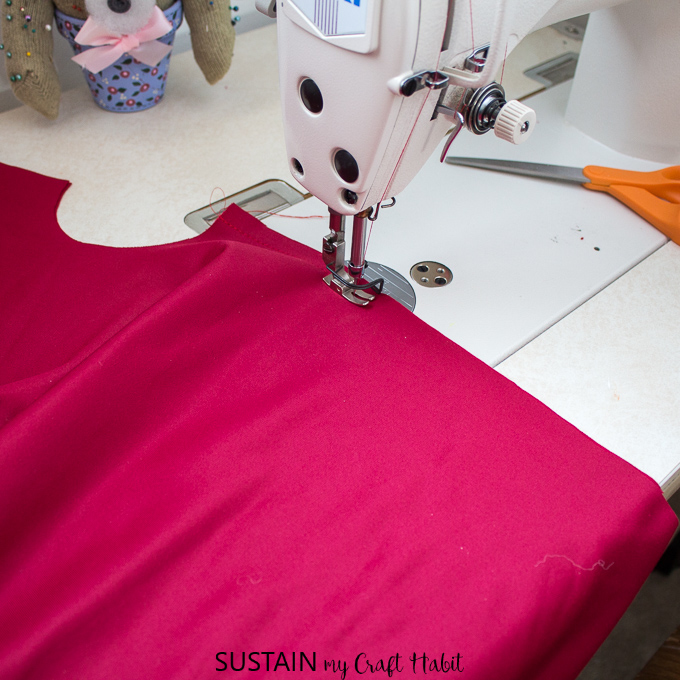
With right sides together, sew one side of the arched semi circle with a single needle lockstitch at ½” seam allowance. Repeat this step with the other identical semi-circle pattern pieces and press all seam allowances open.
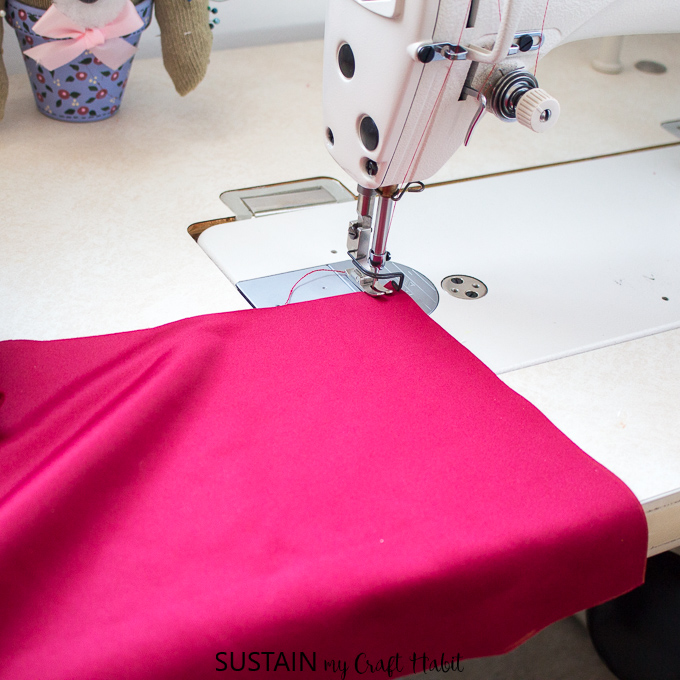
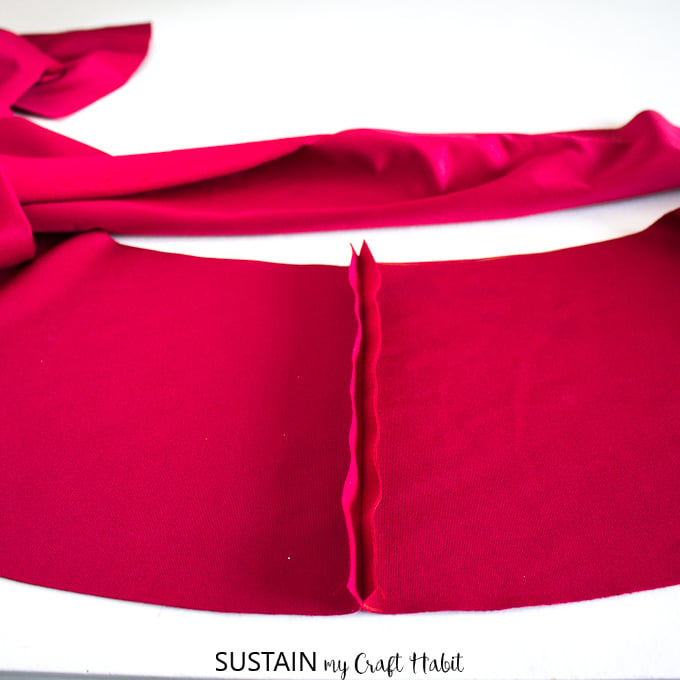
Refer to Sewing Step 1 Guide for visual instructions.
Adding the decorative piping:
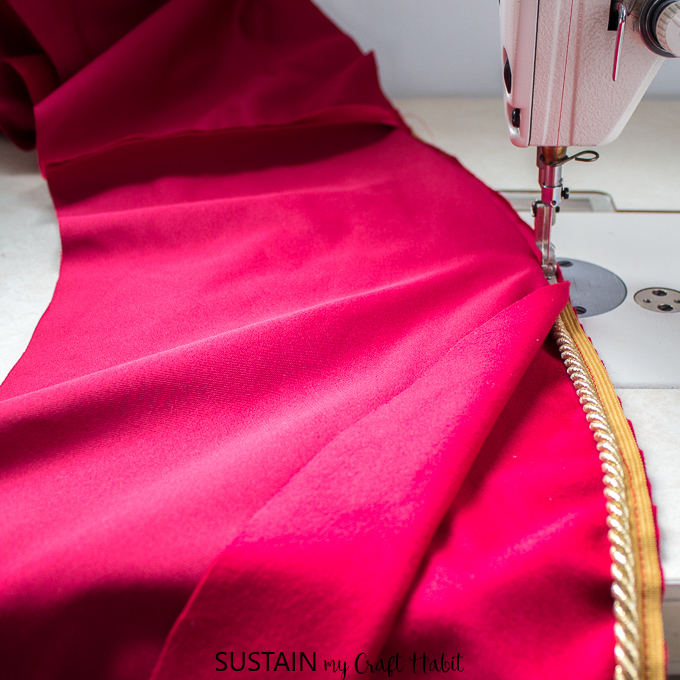
Switch the sewing machine’s presser foot to a single right presser foot. Starting at the open end of the circle (pattern-001), attach the piping along the bottom edge of the circle on to the right side of the fabric. Cut off the excess piping. Put aside.
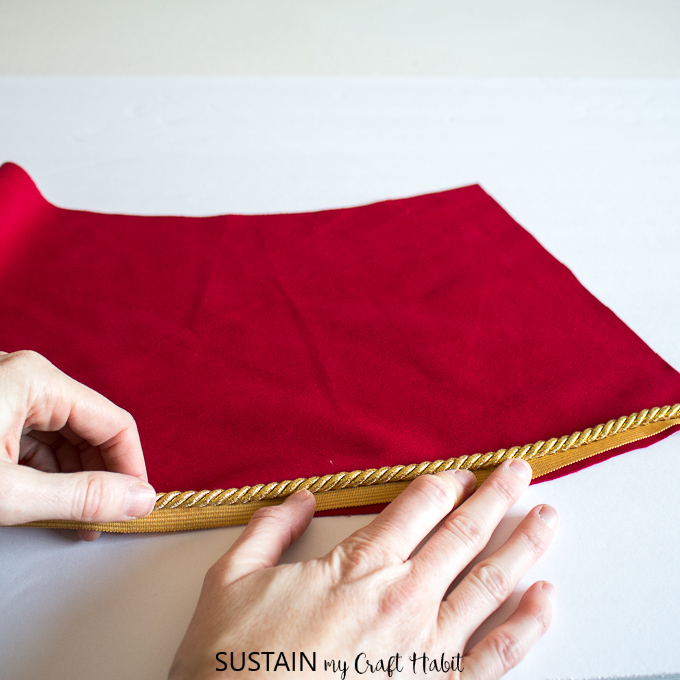
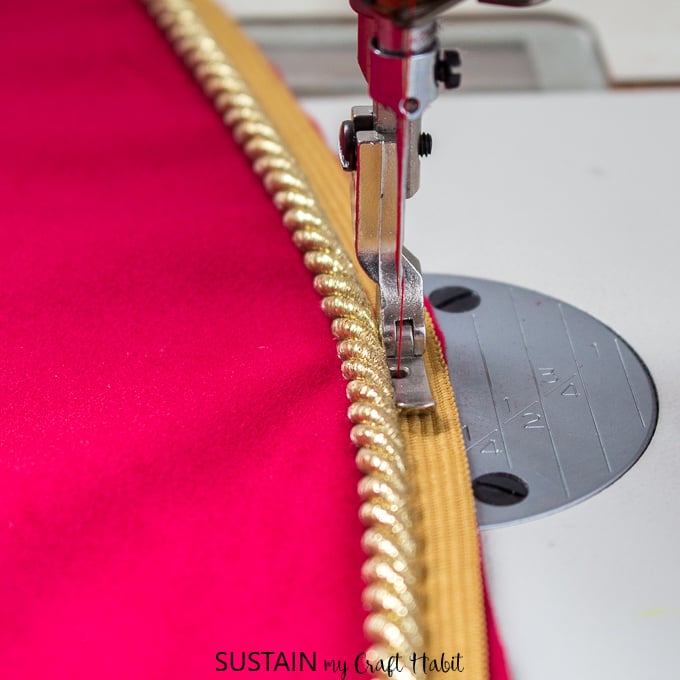

Repeat for the bottom edge of one of the arched circle pattern pieces (pattern-002).
Assembling the tree skirt:
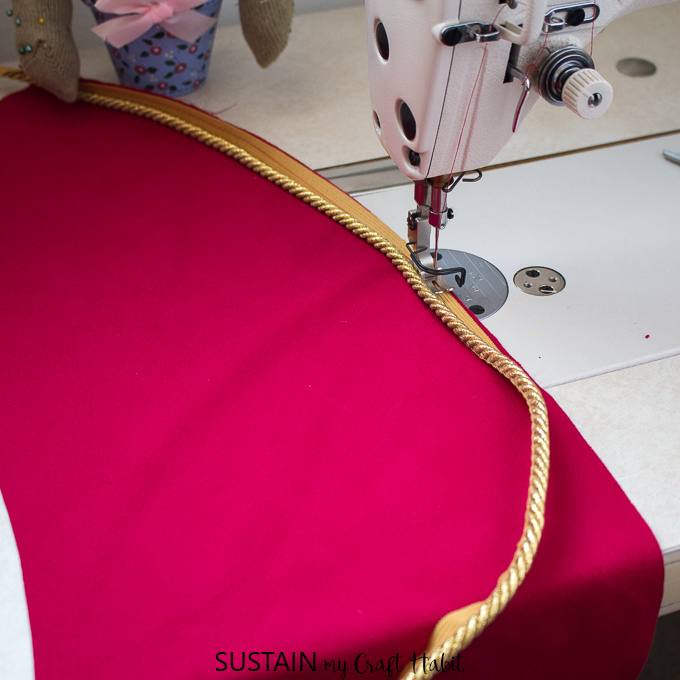
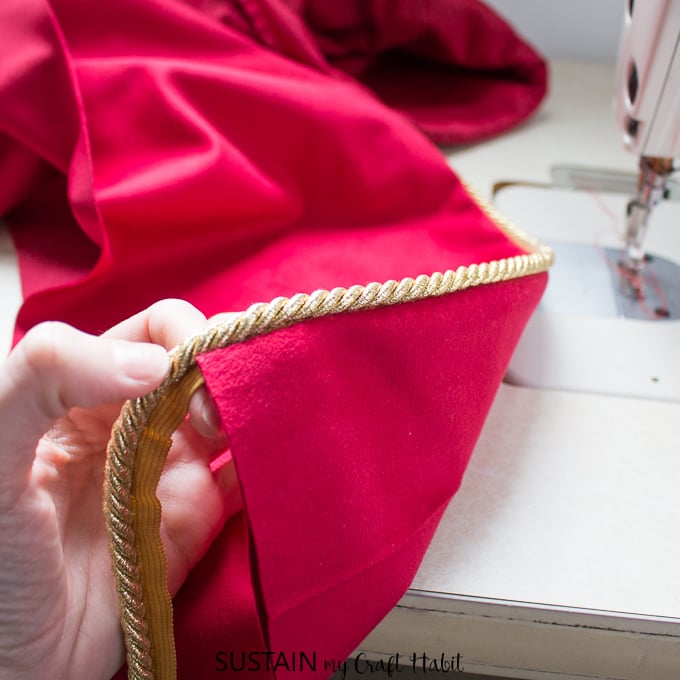
With right sides together, join the bottom edges of the arched circle pattern pieces, sandwiching the piping in between. Be sure to align the top and bottom pieces evenly to prevent the fabric from twisting.
Turn so wrong sides are together and stitch the long open edges together as shown.
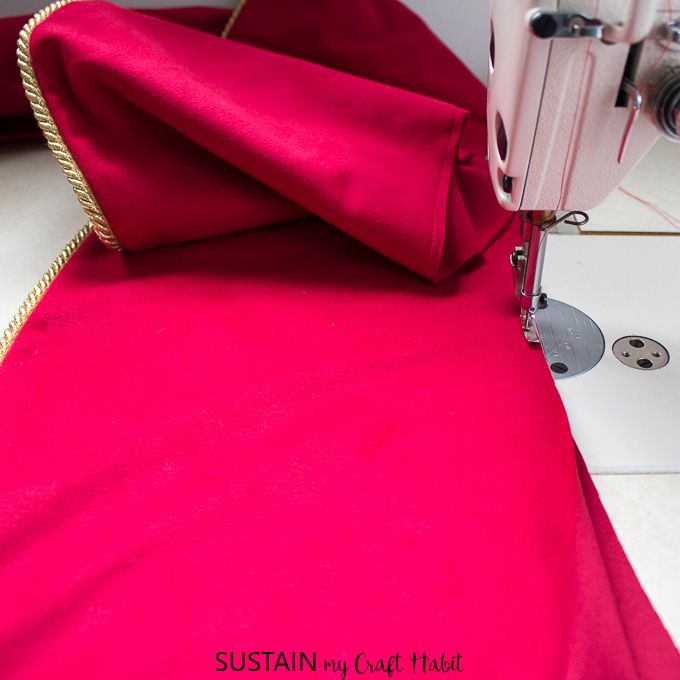
Attach the pressed banded bottom to the inner circle pattern piece starting at the open edge. Refer to Sewing Step 2 Guide for a visual aid.
Finishing:
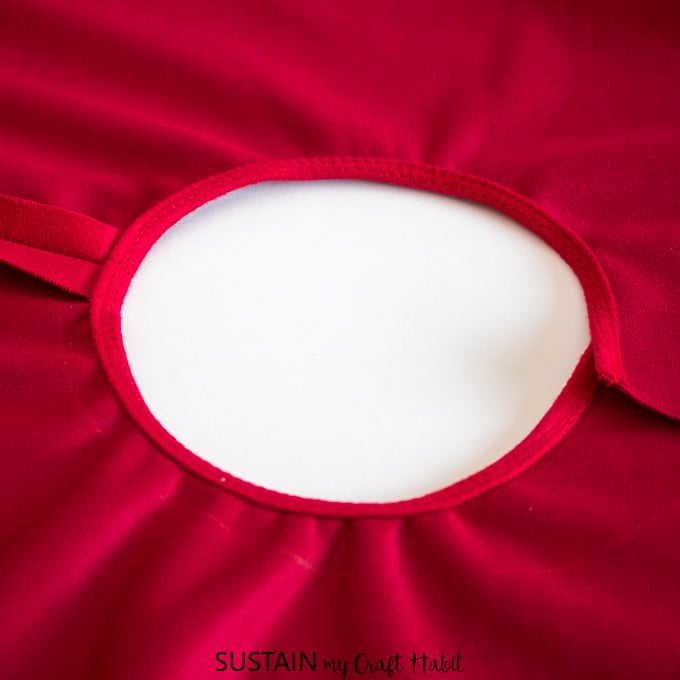
To finish the tree skirt opening (the small hole in the center that the tree will poke out of), turn the edges in by ¼” and sew in place. Turn edge in again and repeat with a ¼” hem stitch.
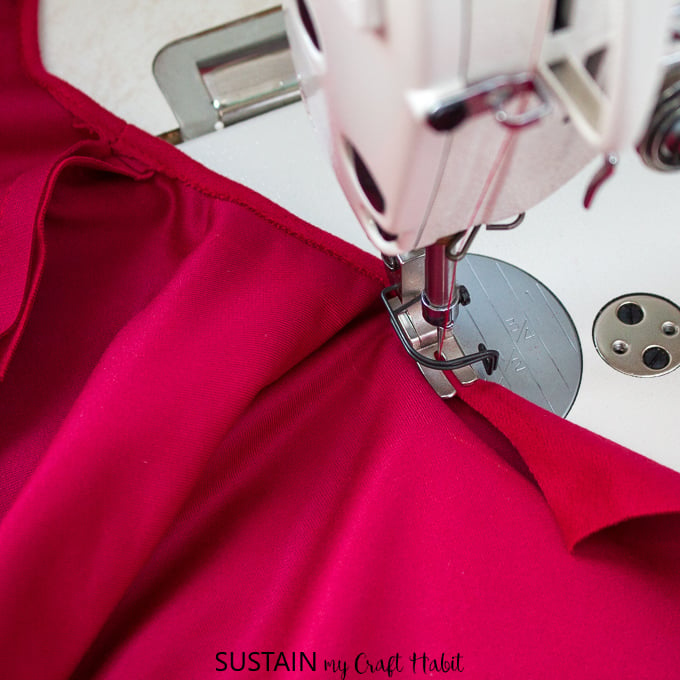
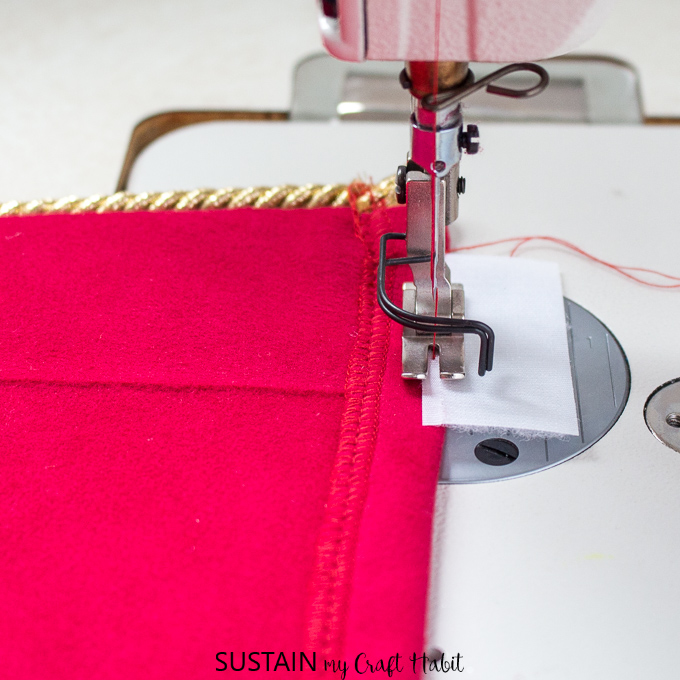
Turn the unfinished open edges of the circle as well as the piping ends towards the wrong side and stitch in place with a ½” hem allowance.
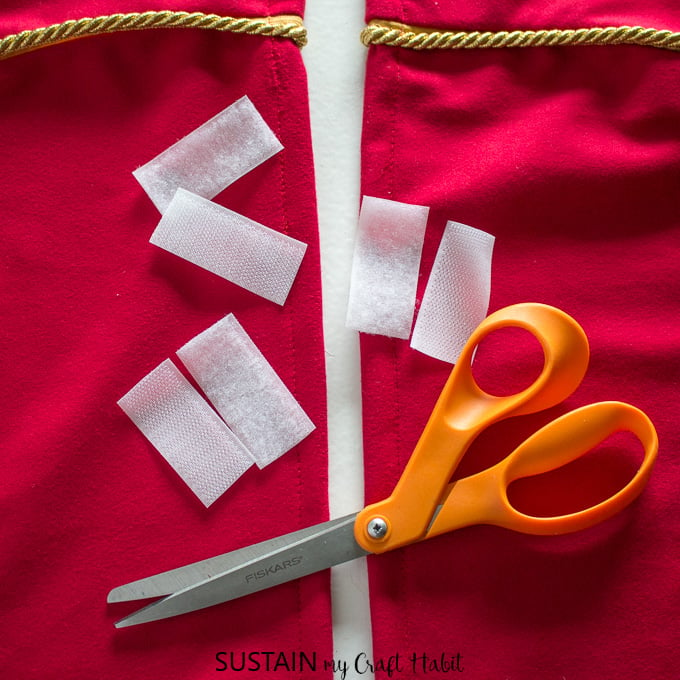
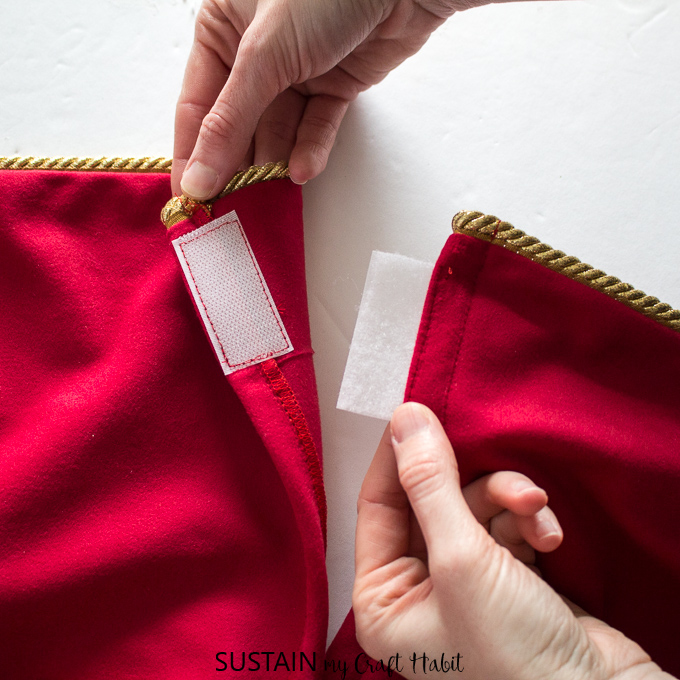
Cut three pieces of hook and loop tape measuring 1 ¼” long. Evenly space the hook pieces along the finished edge and sew in place. Place the loop pieces correspondingly and stitch in place.

I’m loving the look of my new elegant tree skirt underneath my Christmas tree, it helps to showcase the tree making it the star in the room and it pairs perfectly with my natural, rustic woodland themed decor.

For DIY gift wrapping ideas, you can check out this tutorial for making a gift bag for Christmas, or these DIY miniature gift boxes (perfect for holding gift cards), or your own DIY upcycled sweater stockings.
Happy sewing, everyone!
Like it? Pin it for later!