Crafting with sola wood flowers is so much fun in any season, but there is something wonderful about using them to make a lovely Fall sign when the weather starts changing near the end of the year.
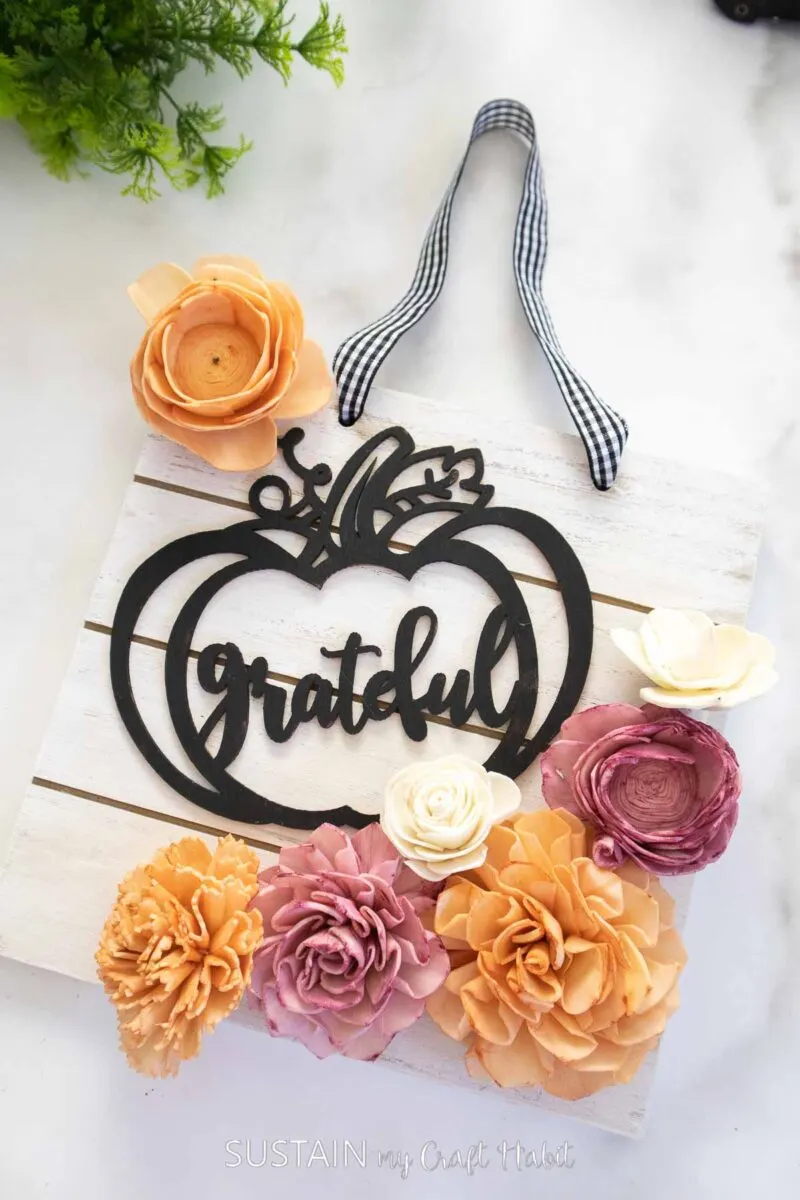
Crafting with Sola Wood Flowers
It’s that time of year! School is starting for those of us with kids, a new season is in the air, and for many of us, it means a weather change too.
We spend the summers at Lake Huron in Ontario, so getting adjusted back to life at home is always interesting! Crafting always helps me with change, and hopefully, it will help you too since this is usually a season of change.
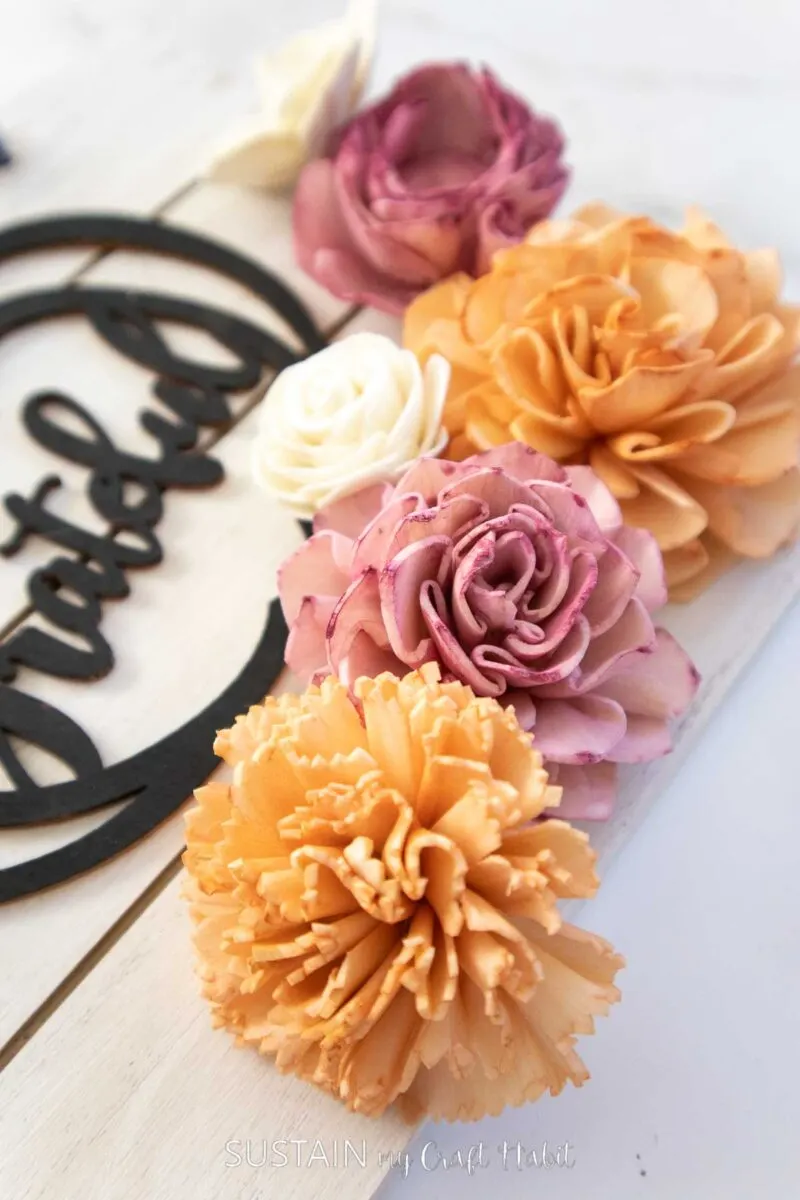
For the background, we used a board that we found that wasn’t exactly wood, but more of a pressboard. Any type of slatted panel will work for this project though. I always recommend checking the dollar store and the thrift store before buying anything too expensive – there are a lot of budget-friendly ones out there!
Want to receive a ton of inspiration and money-saving ideas for decorating, gift-giving and crafting? Join HERE!
Materials Needed
Disclosure: This post contains affiliate links for your shopping convenience. Should you choose to purchase through them, we will make a small commission at no extra cost to you. You can read our full disclosure policy here.
- 8”x8” slatted panel
- Sola wood flowers dyed orange and pink (we also have a tutorial showing how to dye sola wood flowers here)
- Craft paint in white and black
- Paint brushes
- Ribbon
- Laser wood cutouts
- Hot glue gun with clear glue
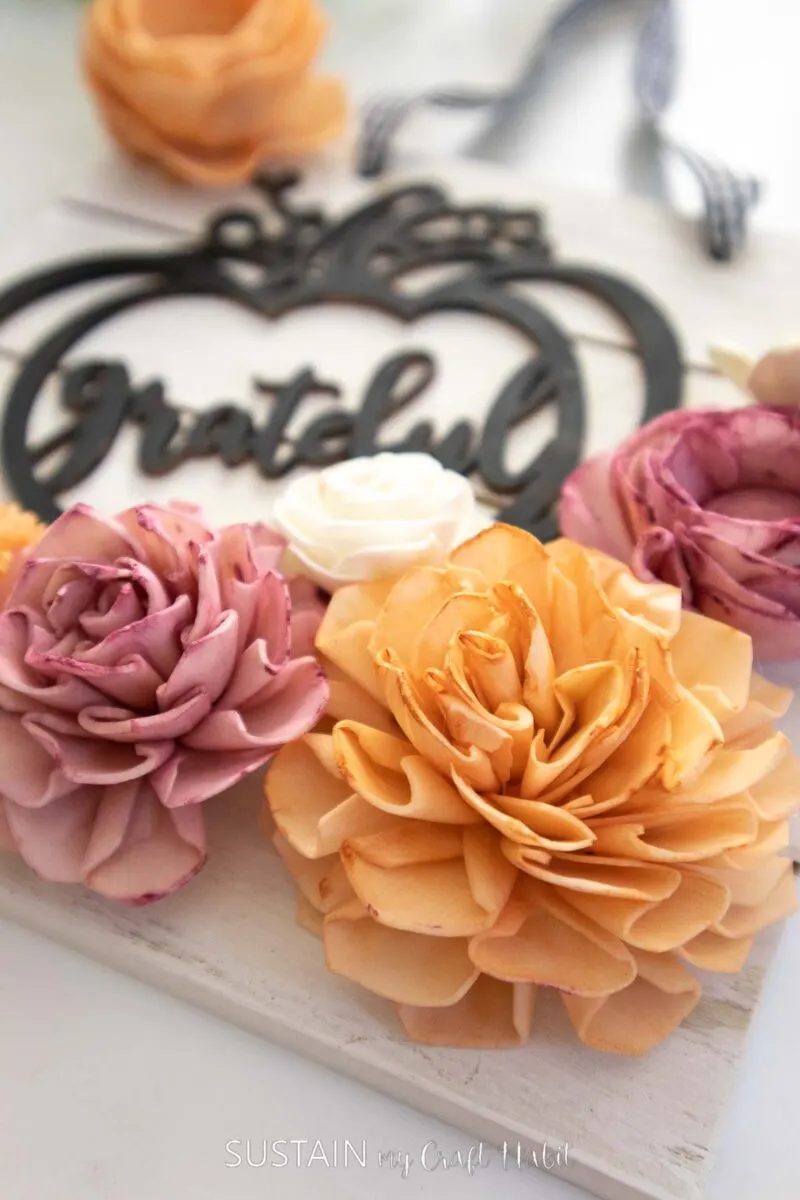
How to Craft a Fall Sign with Sola Flowers
I shared the tutorial for decoupaging this fall sign on a recent Facebook Live which you can catch here. Or if you prefer the photo tutorial, continue reading below.
If you purchase the flowers au-natural, than head over to our post to learn 3 easy ways to dye Sola Wood flowers before you get started.
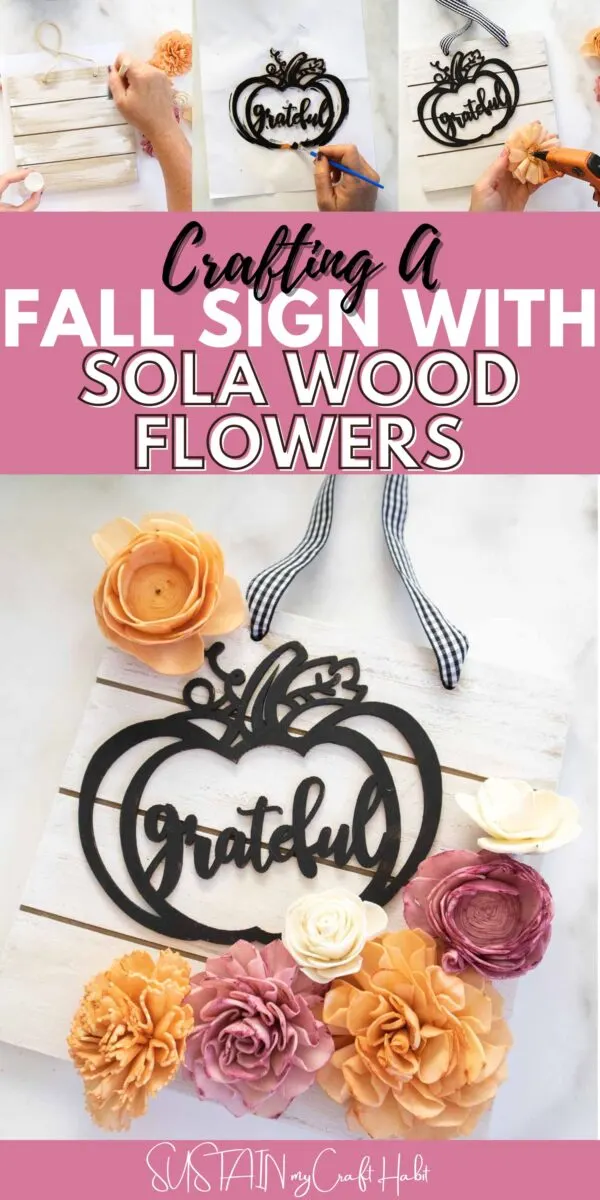
Start by dry brushing one panel with white paint.
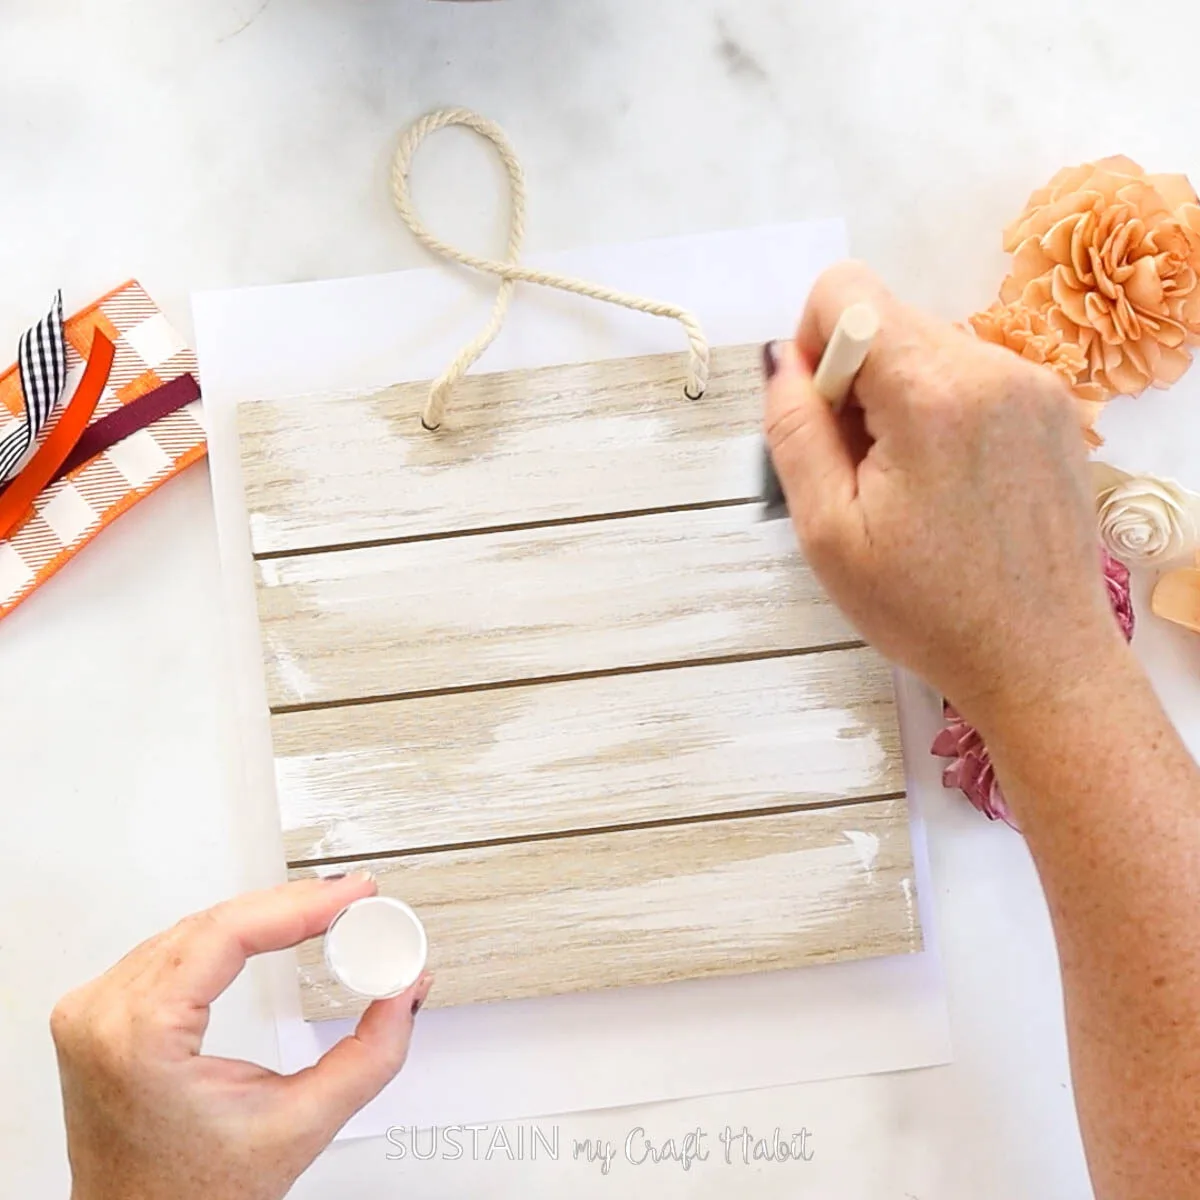
Tie the ribbon to create a hanger.
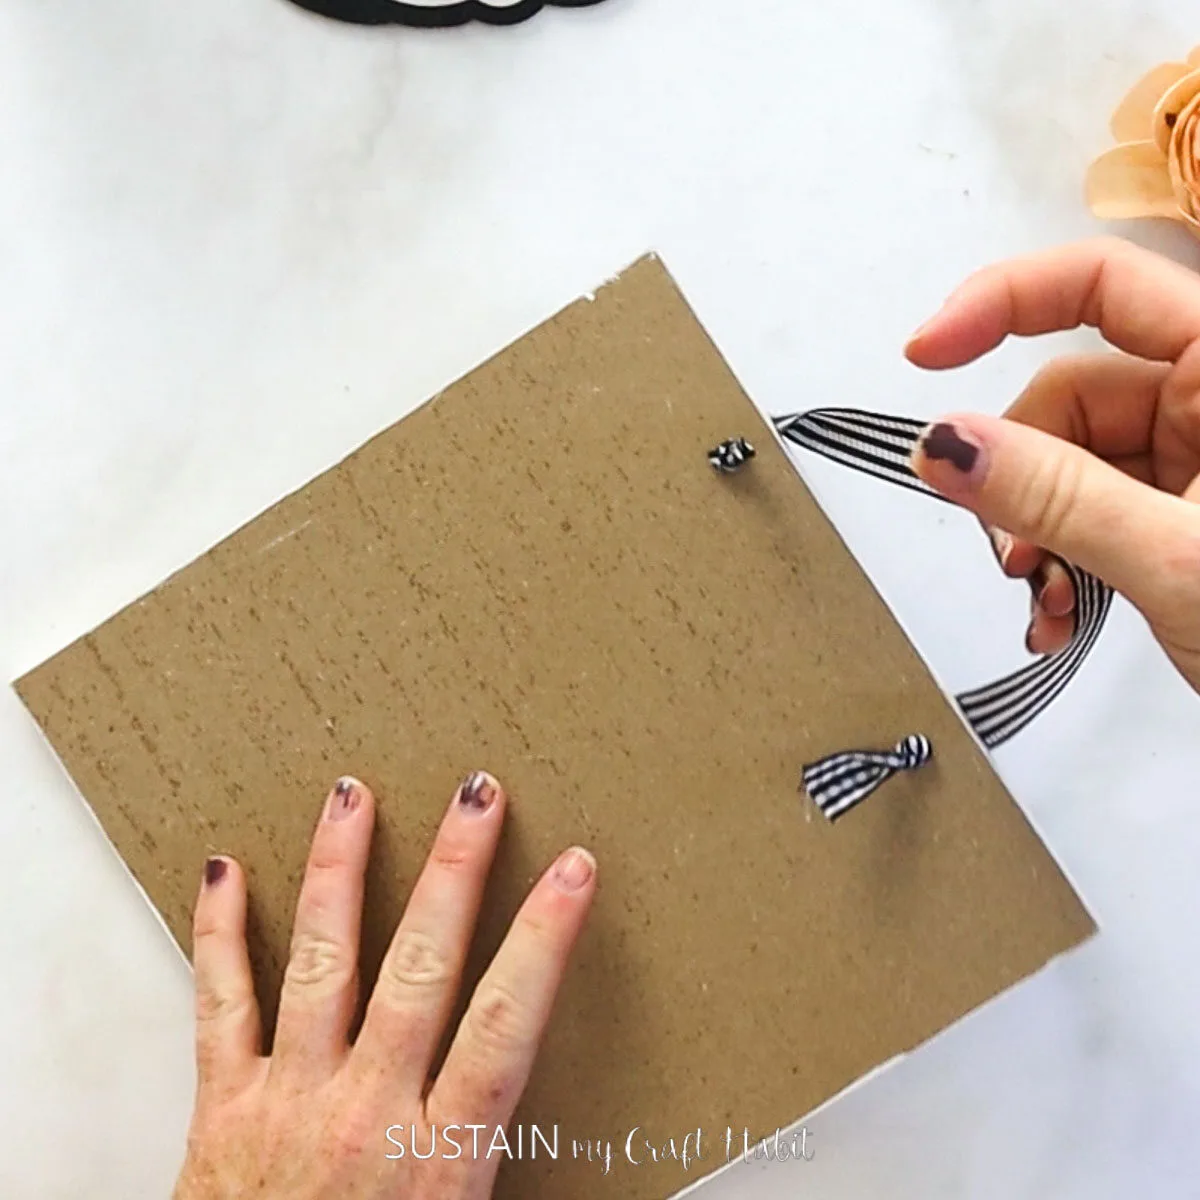
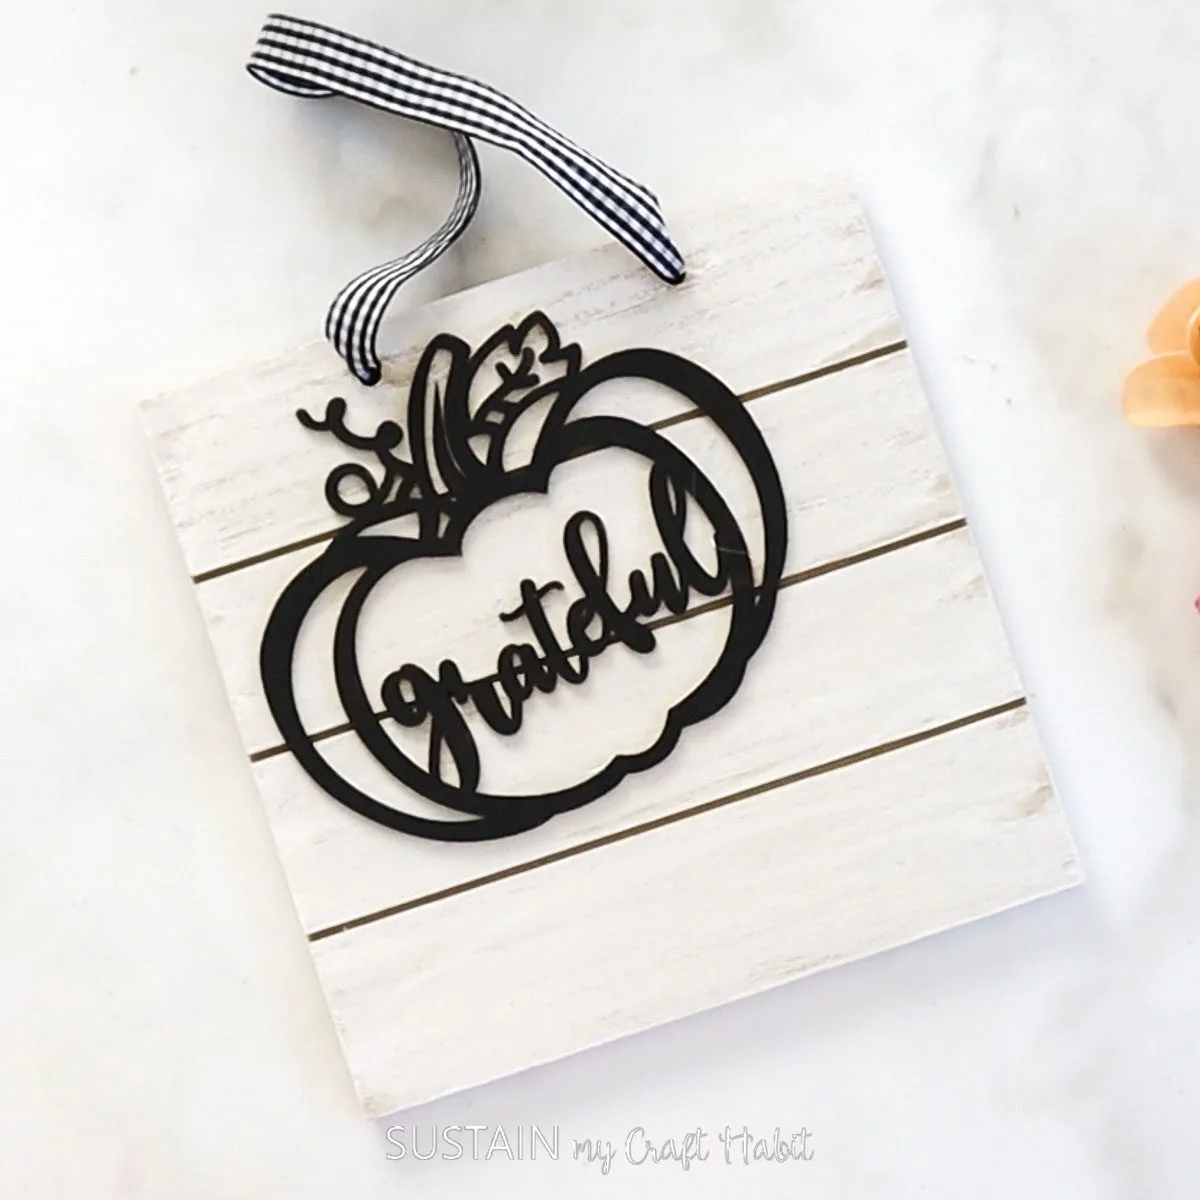
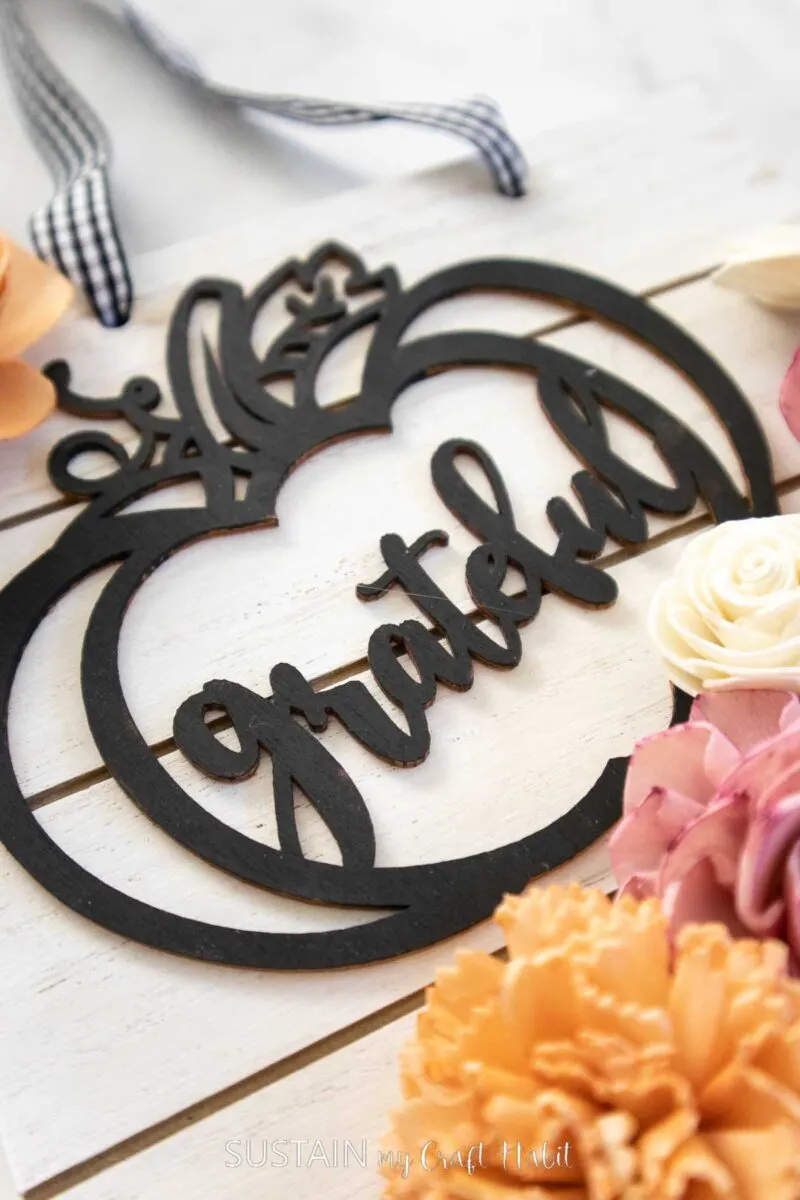
Paint the wood cutout black, let dry and then glue to panel. Place towards top left.
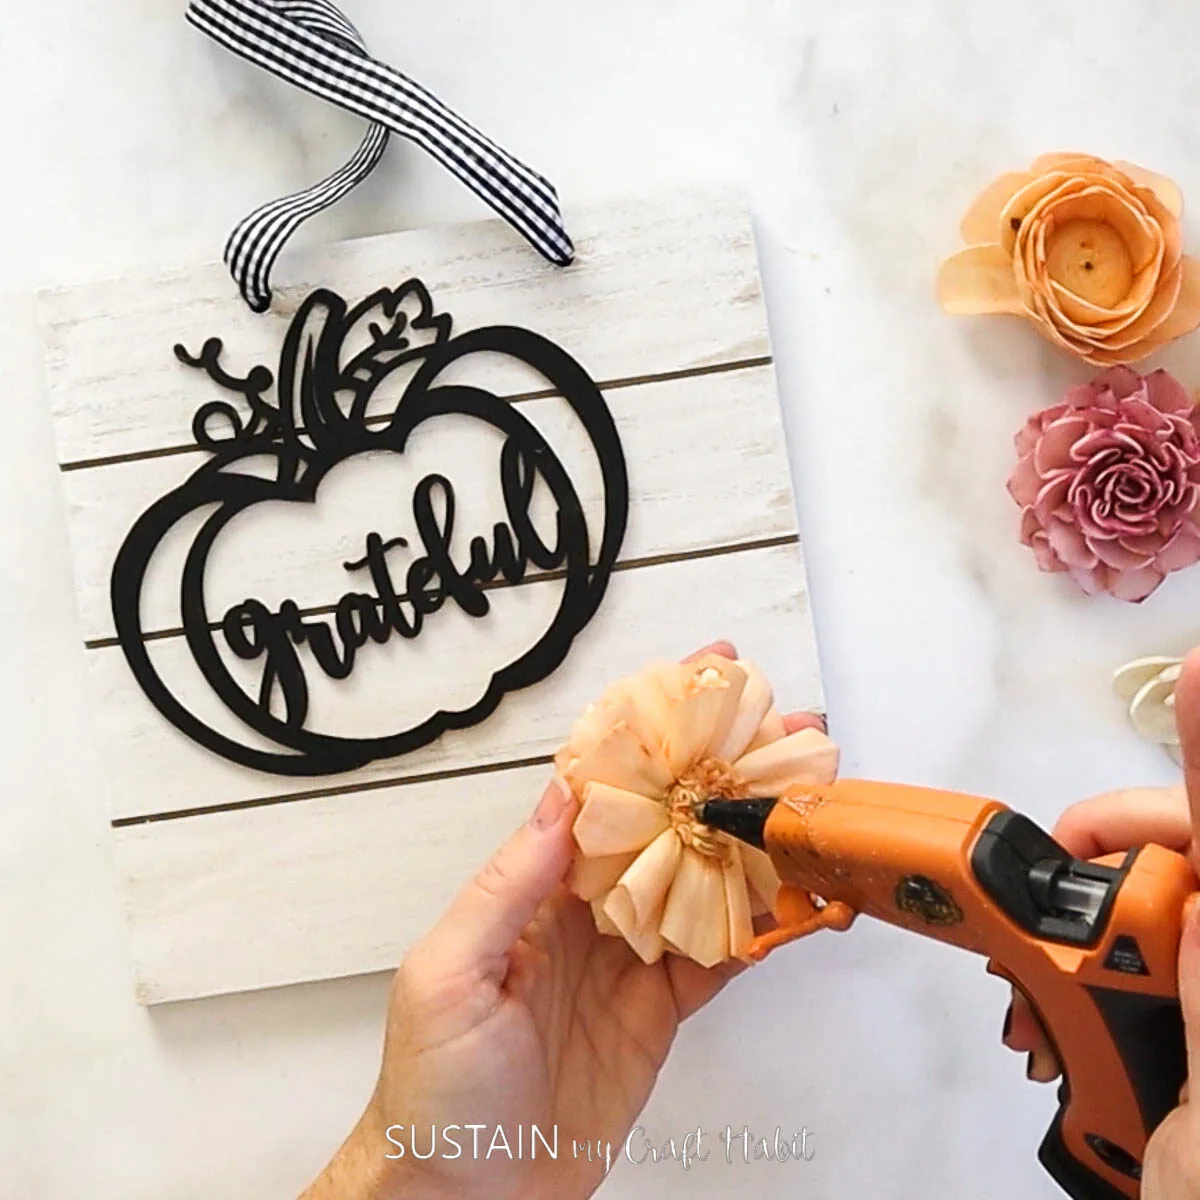
Start with a large flower and glue to bottom right of panel with hot glue.
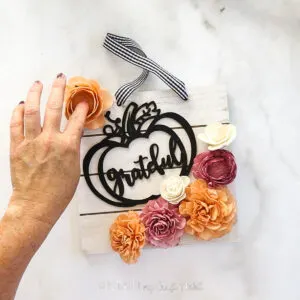
Continue glueing on other flowers to fill in space. Add a final flower to top left if desired.
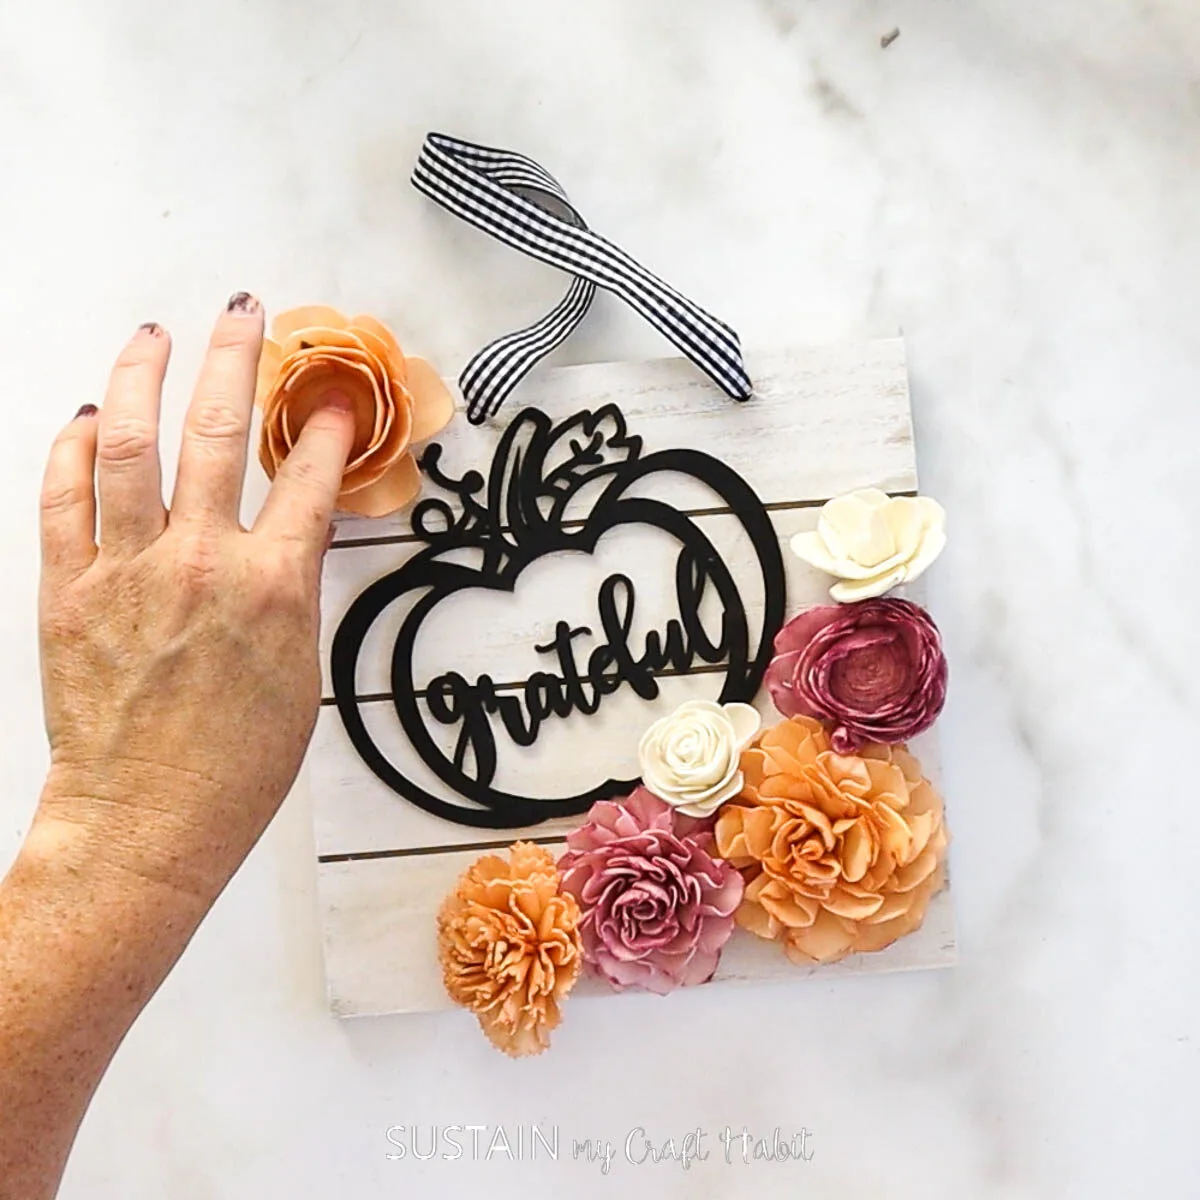
Isn’t crafting with sola wood flowers so much fun?! Because each can turn into its own unique project, we would love to see how yours turned out! Make sure to show it off to us! Tag us on Facebook or Instagram– we can’t wait to see it!
More Ways to Decorate with Sola Wood Flowers
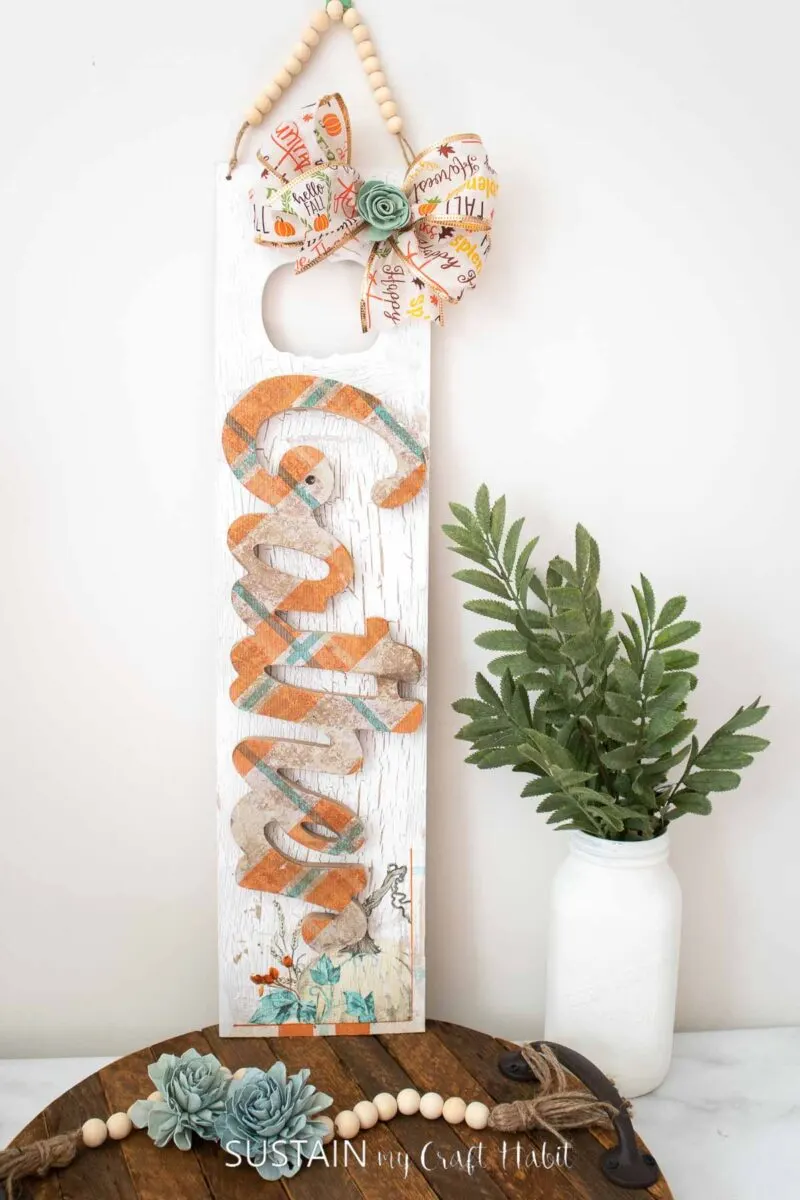
- DIY Gather Sign for Fall
- Dollar Tree Pumpkin Wreath
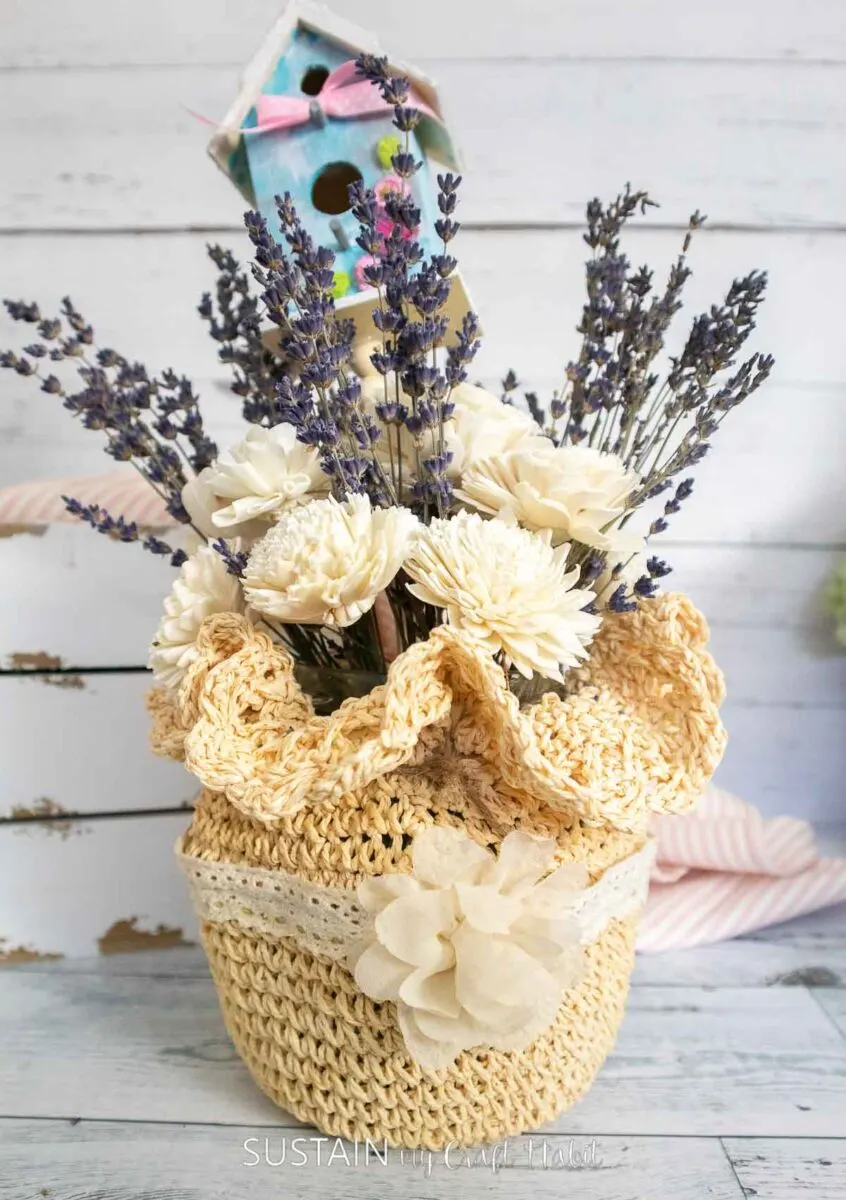
- Straw Hat Centerpiece
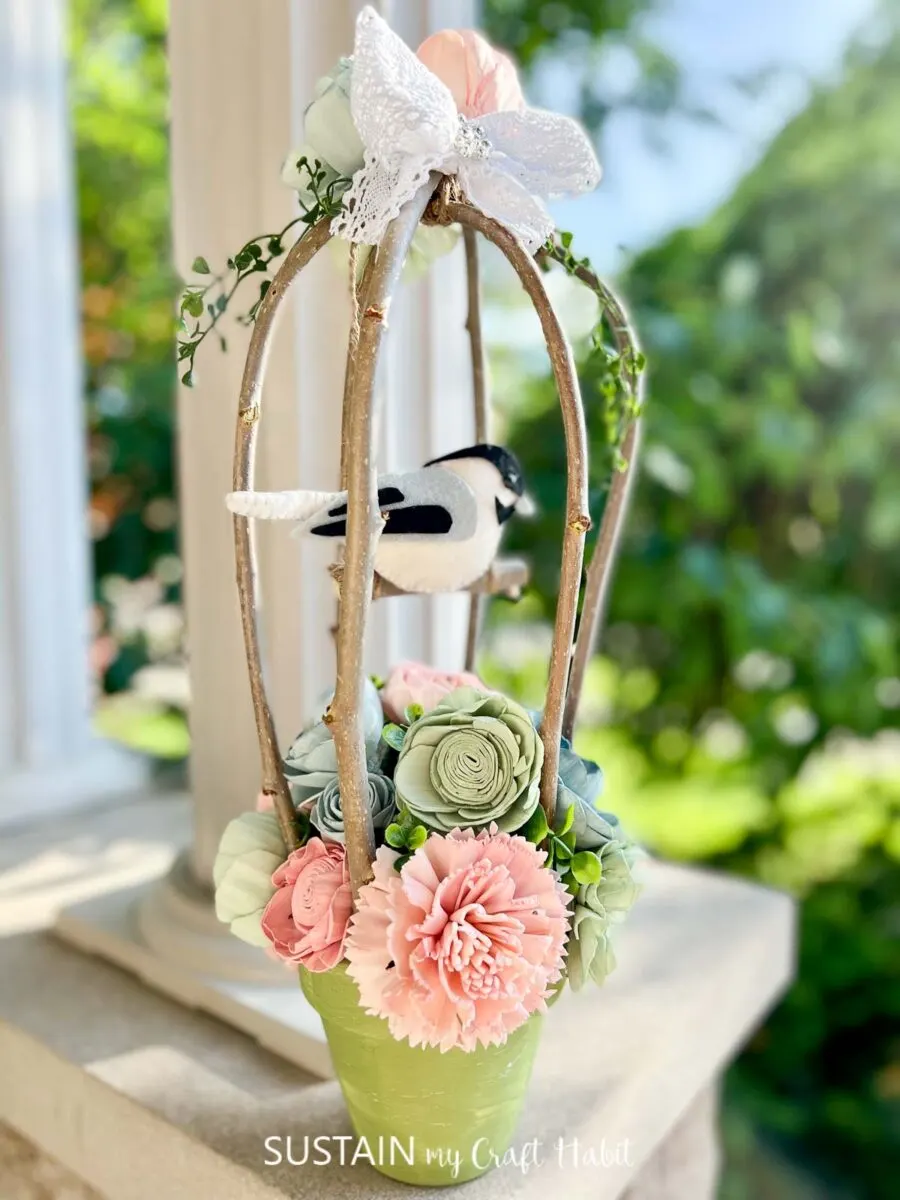
- Decorative Birdcage with Twigs

Thank you so much for stopping by to visit us here on the blog. We’d love for you to become a Sustain My Craft Habit insider to receive fun and creative freebies.
Like it? Pin it for later!
Crafting a Fall Sign with Sola Flowers
Materials
- 8”x8” Slatted panel
- Sola wood flowers dyed orange and pink
- Craft paint in white and black
- Paint brushes
- Ribbons
- Laser wood cutouts
- Hot glue gun with clear glue
Instructions
- Start by dry brushing one panel with white paint.
- Tie the ribbon to create a hanger.
- Paint the wood cutout black, let dry and then glue to panel. Place towards top left.
- Start with a large flower and glue to bottom right of panel with hot glue.
- Continue glueing on other flowers to fill in space. Add a final flower to top left if desired.
