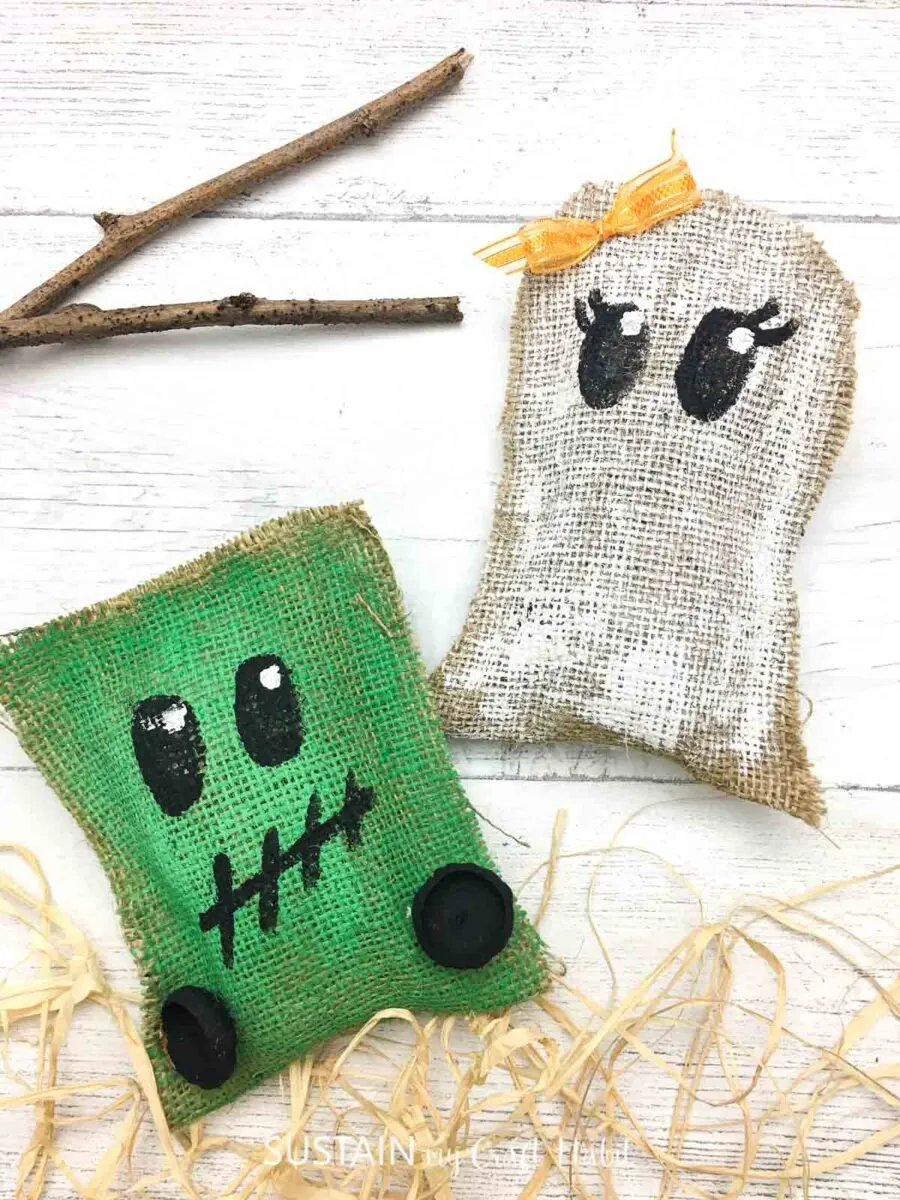
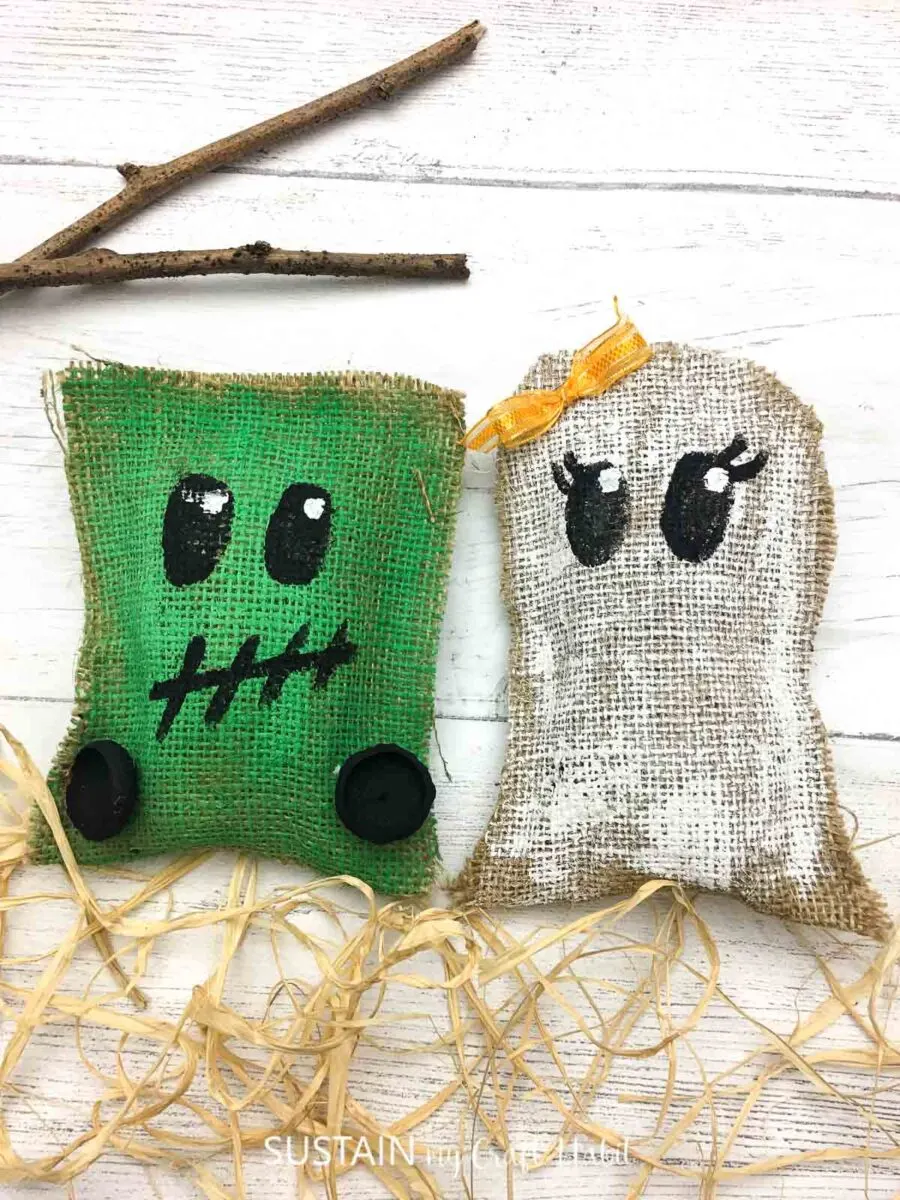
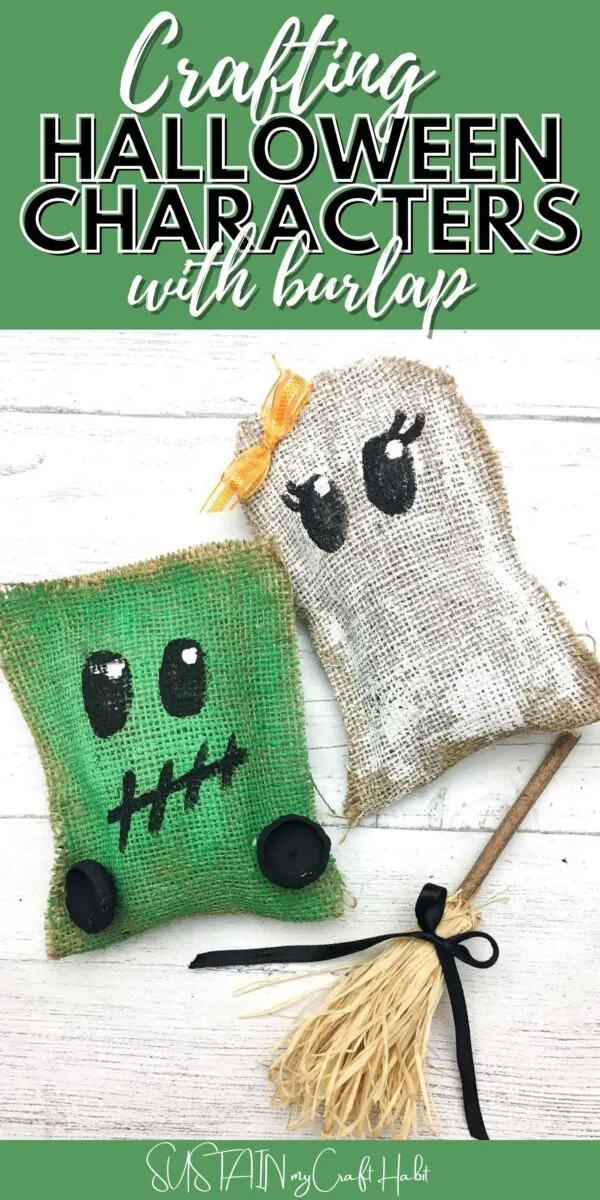
Hello friends, I’d like to introduce you to Frankie and Ghostie, the newest additions to my Halloween home decor. Do you love burlap crafts as much as I do? If so, you’ll love how easy and fun it is to make these burlap cuties just in time for Halloween.
Burlap Crafts for Halloween
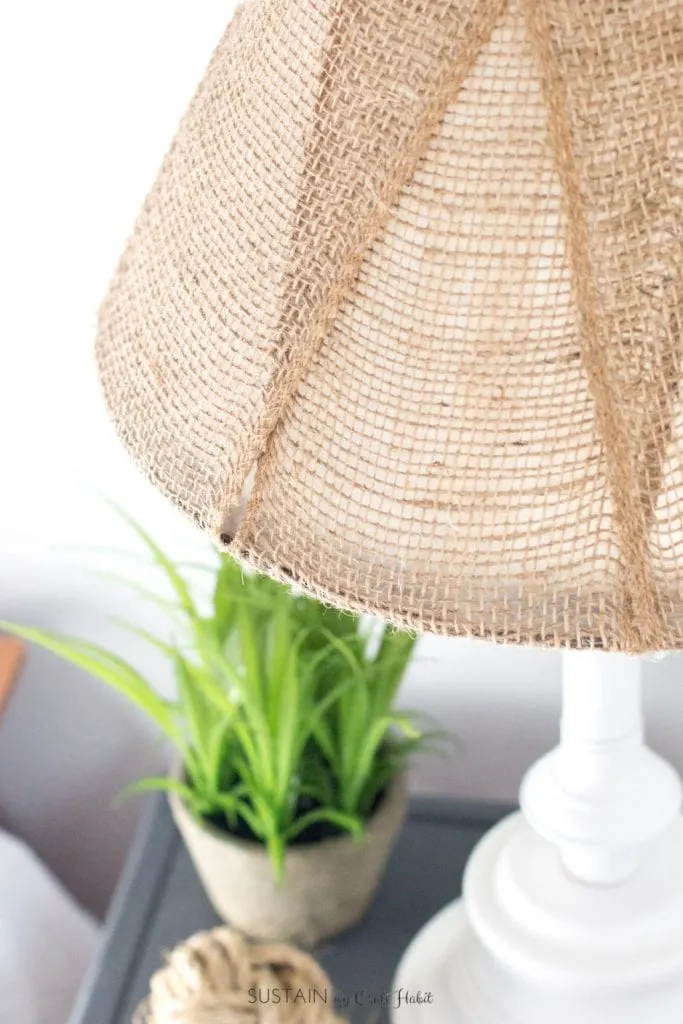
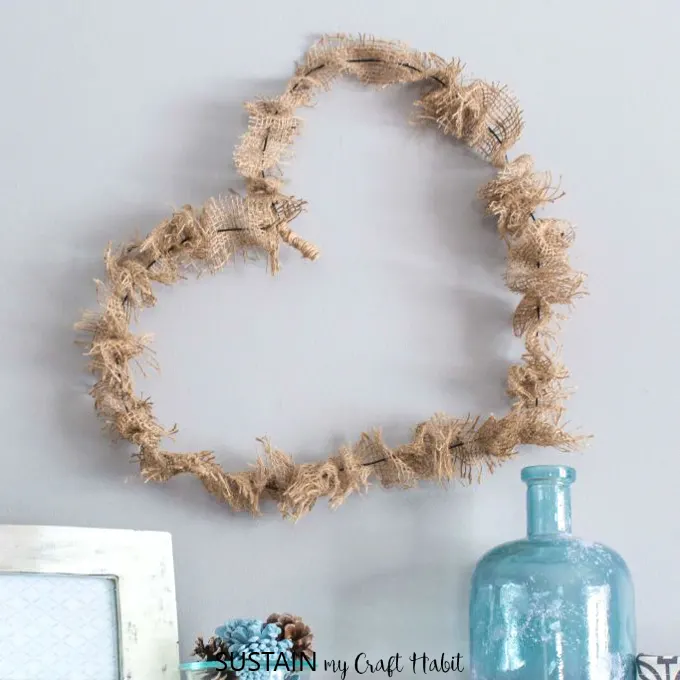
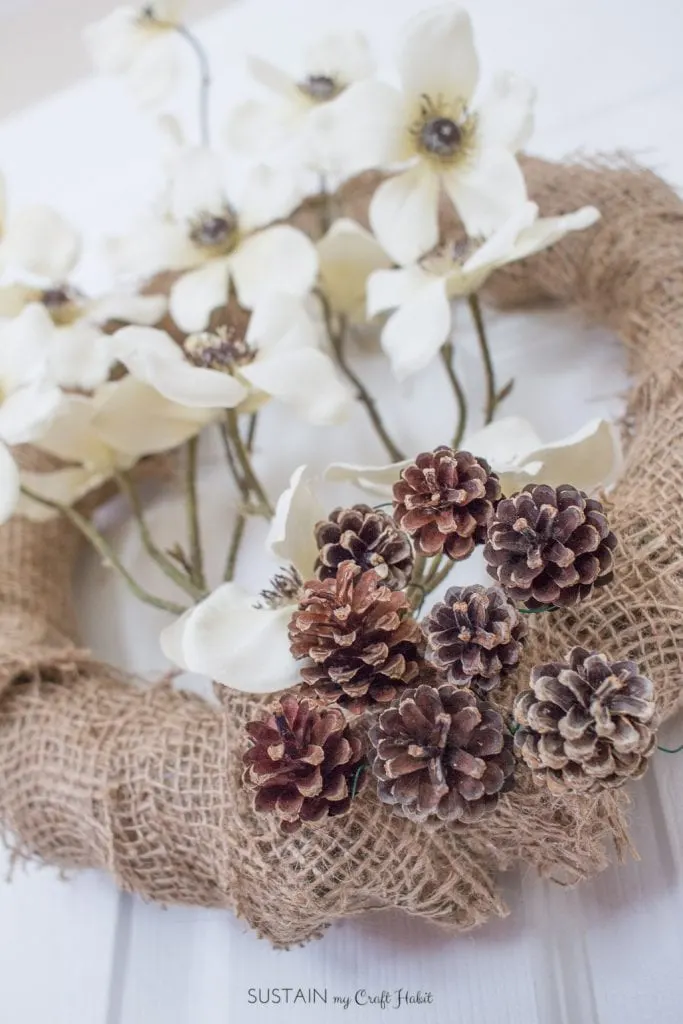
I don’t know about you but I always seem to have just enough burlap lying around for crafting when in need. Although the strange thing is I’ve never actually used it to wrap my plants for Winter which is what it’s intended for, right? Instead I use burlap to make all sorts of crafts and DIYs such as this bedside table lamp makeover, this easy-peasy wired heart wreath and this Fall faux floral wreath.
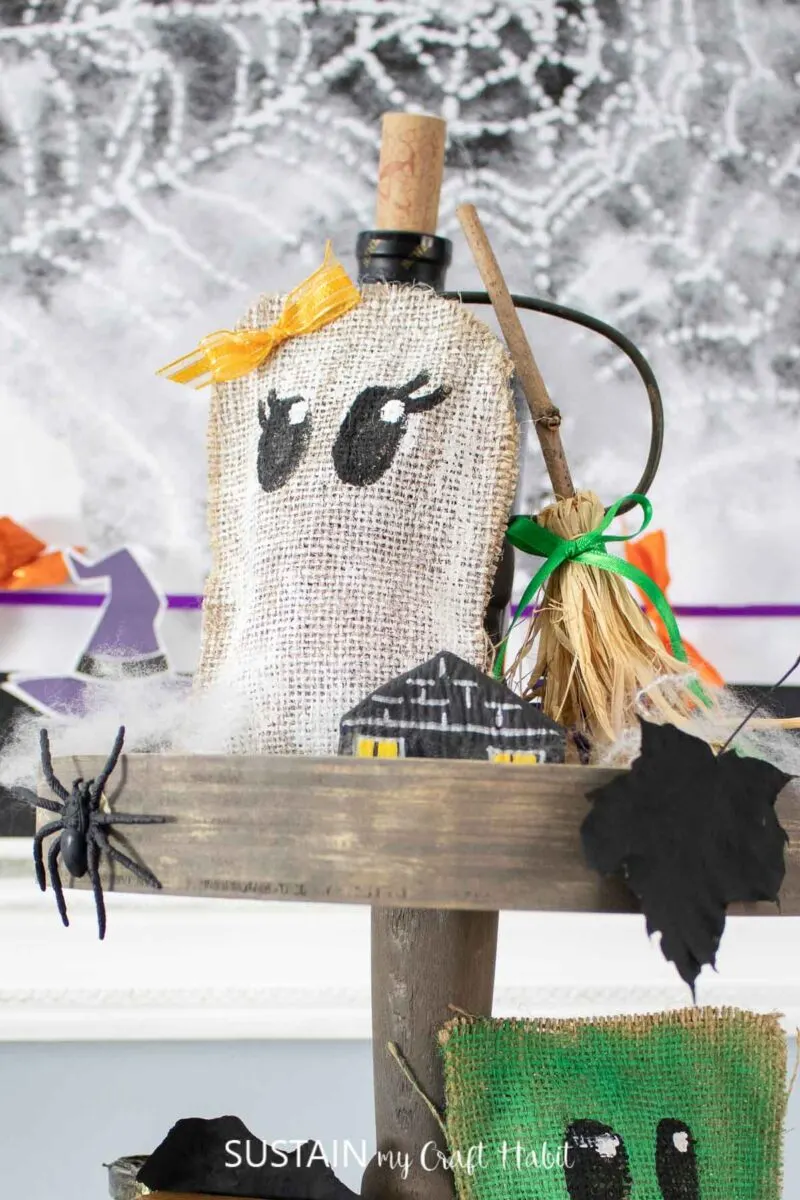
I love how these Halloween characters came together on a recent Facebook Live video. The last thing I added were the white highlight to the eyes and what a difference that made! How cute do they look peering out from my Halloween-themed three tiered tray and placed in front of my Halloween printable paper garland?
Materials Needed
Disclosure: This post contains affiliate links for your shopping convenience. Should you choose to purchase through them, we will make a small commission at no extra cost to you. You can read our full disclosure here.
- Burlap scraps, need about 20 square inches
- Acrylic Paint: Green, White and Black ( we used Chalky Finish in Everlasting, Black and Fortune)
- Hot Glue Gun
- Black Buttons
- Bow
Crafting Decorative Halloween Stuffies
Here is a step-by-step video of the Halloween stuffies on our Facebook page or if you prefer the photo tutorial, continue reading below.
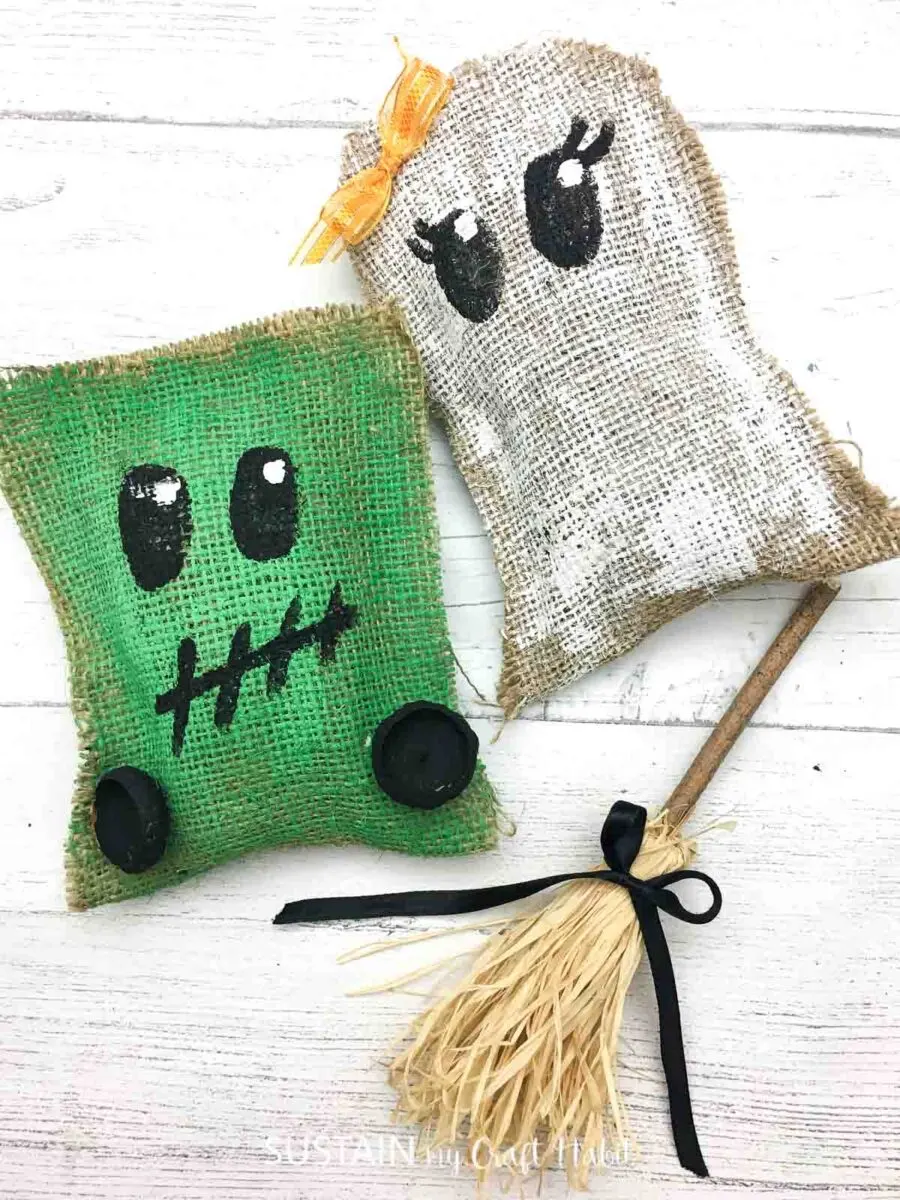
First, cut out the burlap shapes (two for each character). The ghost is a long half circle shape (rounded on one end) and Frankenstein is a rectangular shape and they are each about 8” high.
Next, using the green paint, brush the square burlap with a coat of paint and then using the white paint, paint the ghost shaped burlap and let them dry.
Take the black paint and paint faces on both the ghost and the square and let them dry.
Once dry, use the hot glue gun, glue both sides of the ghost (and Frankie) making sure you leave an opening for the stuffing.
Stuff the characters with some cut up pieces of scrap burlap and hot glue the openings closed.
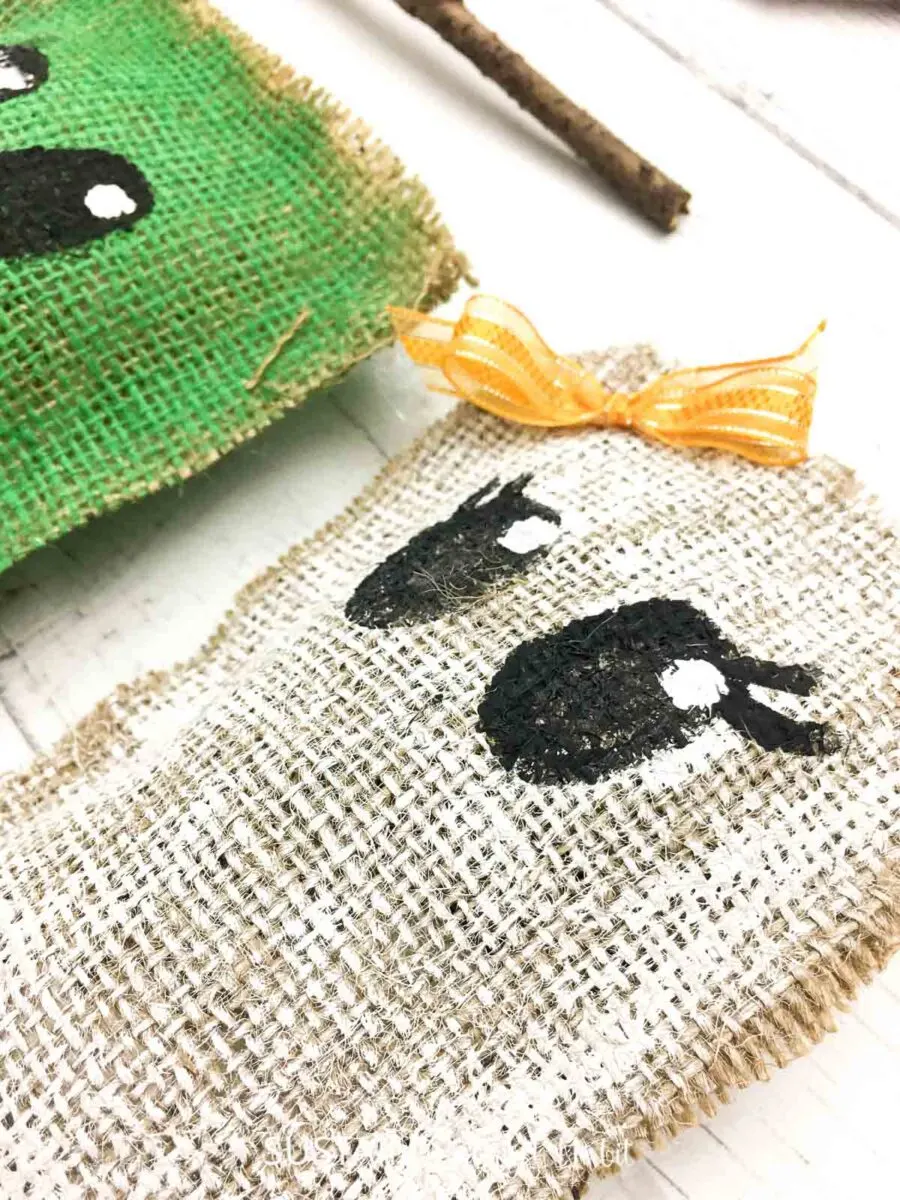
Using the hot glue gun, glue the black buttons on the square (Frankie) at the bottom on both sides abd if you prefer, glue a bow to the ghost.
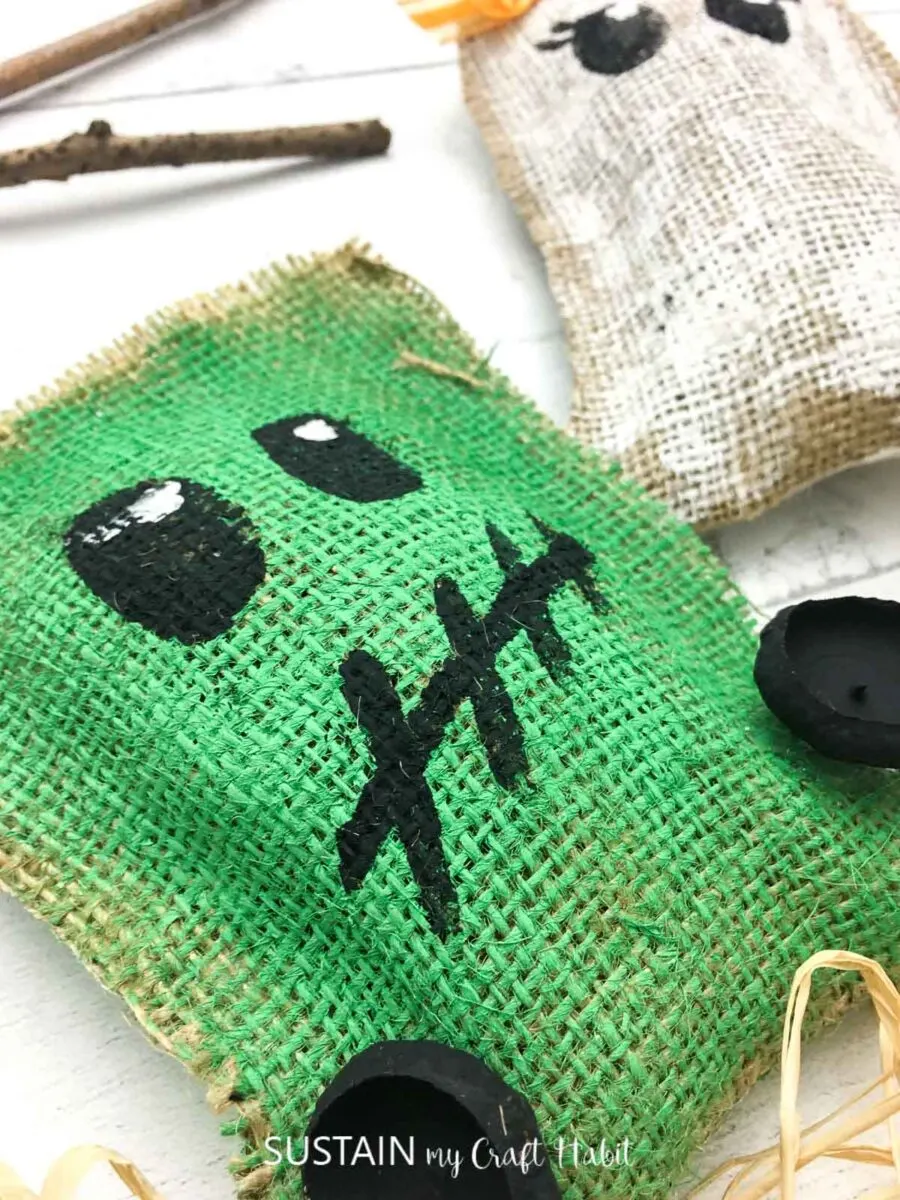
Lastly, add white highlights to the eyes to finish!
More Halloween Crafts to Make:
If you’re a fan of Halloween, you’ve got to check out these other cute Halloween craft ideas. Which one of these are your favorite?
Like it? Pin it for later!
Crafting Decorative Halloween Stuffies
Materials
- Burlap scraps About 20 square inches
- Acrylic Paint: Green, White & Black We used Chalky Finish in Everlasting, Black and Fortune
- Hot Glue Gun
- Black Buttons
- Bow
Instructions
- First, cut out the burlap shapes (two for each character).
- Next, using the green paint, brush the square burlap with a coat of paint and then using the white paint, paint the ghost shaped burlap and let them dry.
- Take the black paint and paint faces on both the ghost and the square and let them dry.
- Next, using the hot glue gun, glue both sides of the ghost making sure you leave an opening for the stuffing.
- Stuff the ghost with some cut up pieces of scrap burlap and hot glue the openings closed.
- Using the hot glue gun, glue the black buttons on the square (Frankie) at the bottom on both sides.
- Using the hot glue gun, glue a bow to the ghost.
- Add white highlights to the eyes to finish!

