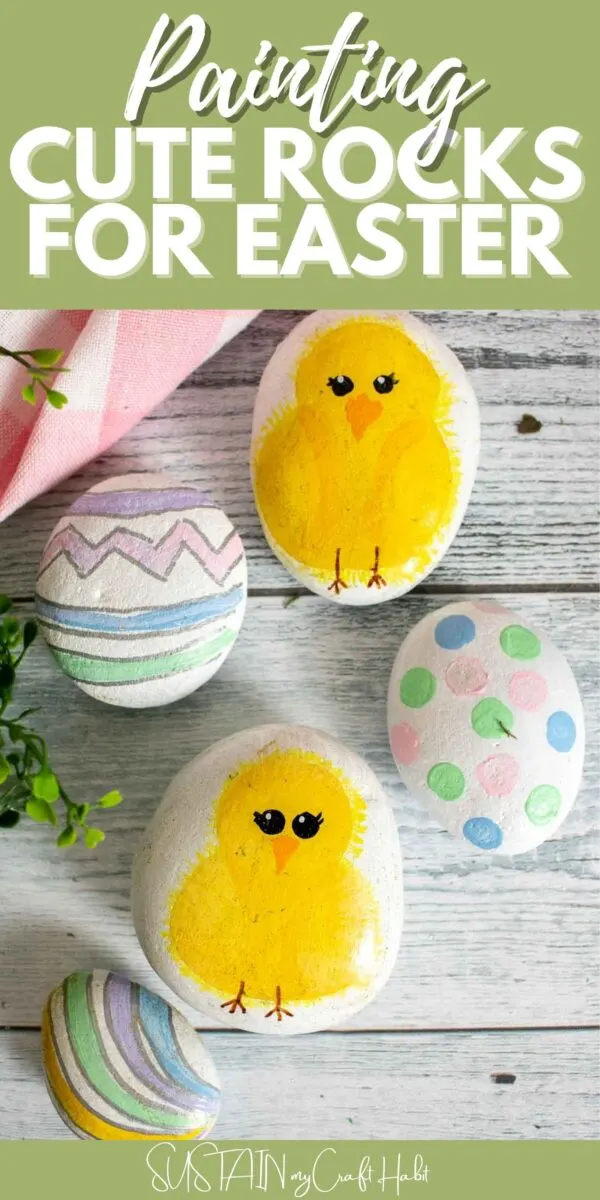
Looking for a super cute and simple craft idea for Easter? Then look no further than these adorable DIY painted Easter eggs and baby chick rocks!
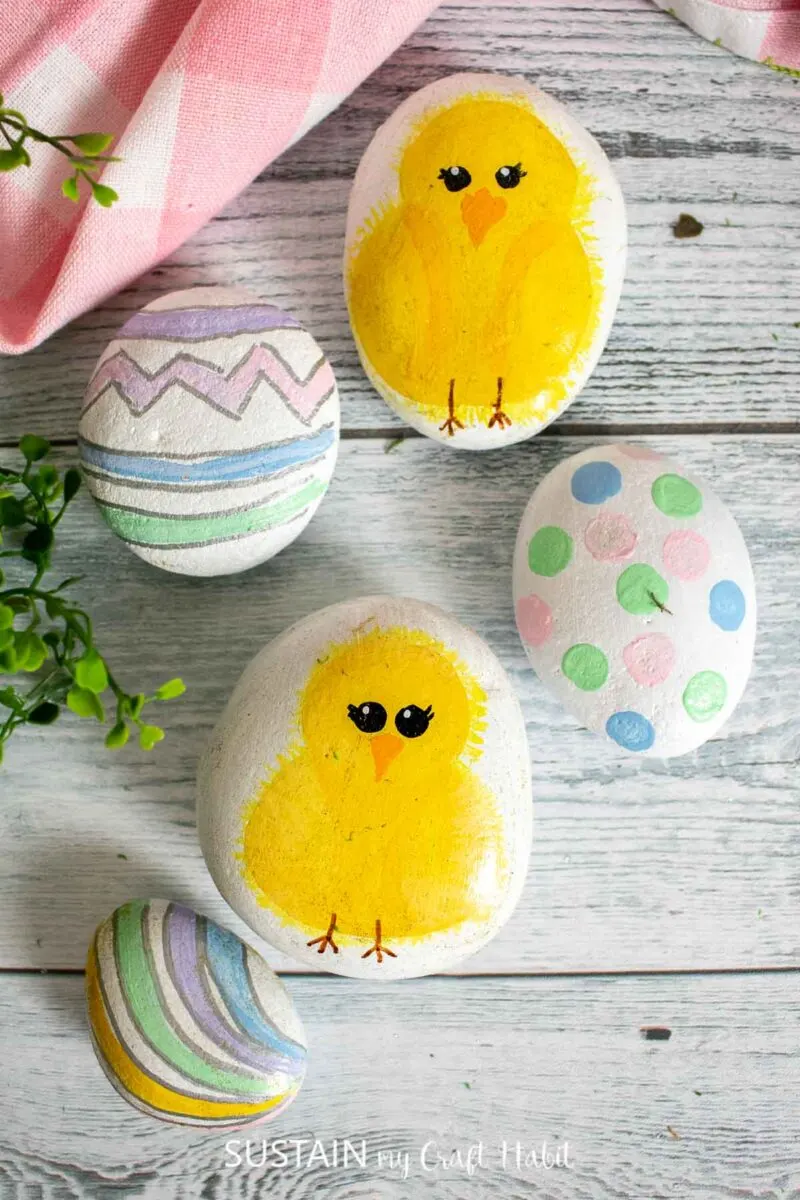
Easter Painted Rocks
It’s been a while since we’ve shared a rock painting craft and boy and boy, have I missed painting on rocks! We recently made these decoupage napkin rocks for Easter but there is something really fun about putting paint brush to rocks, kind of like the satisfaction of putting pen to paper.
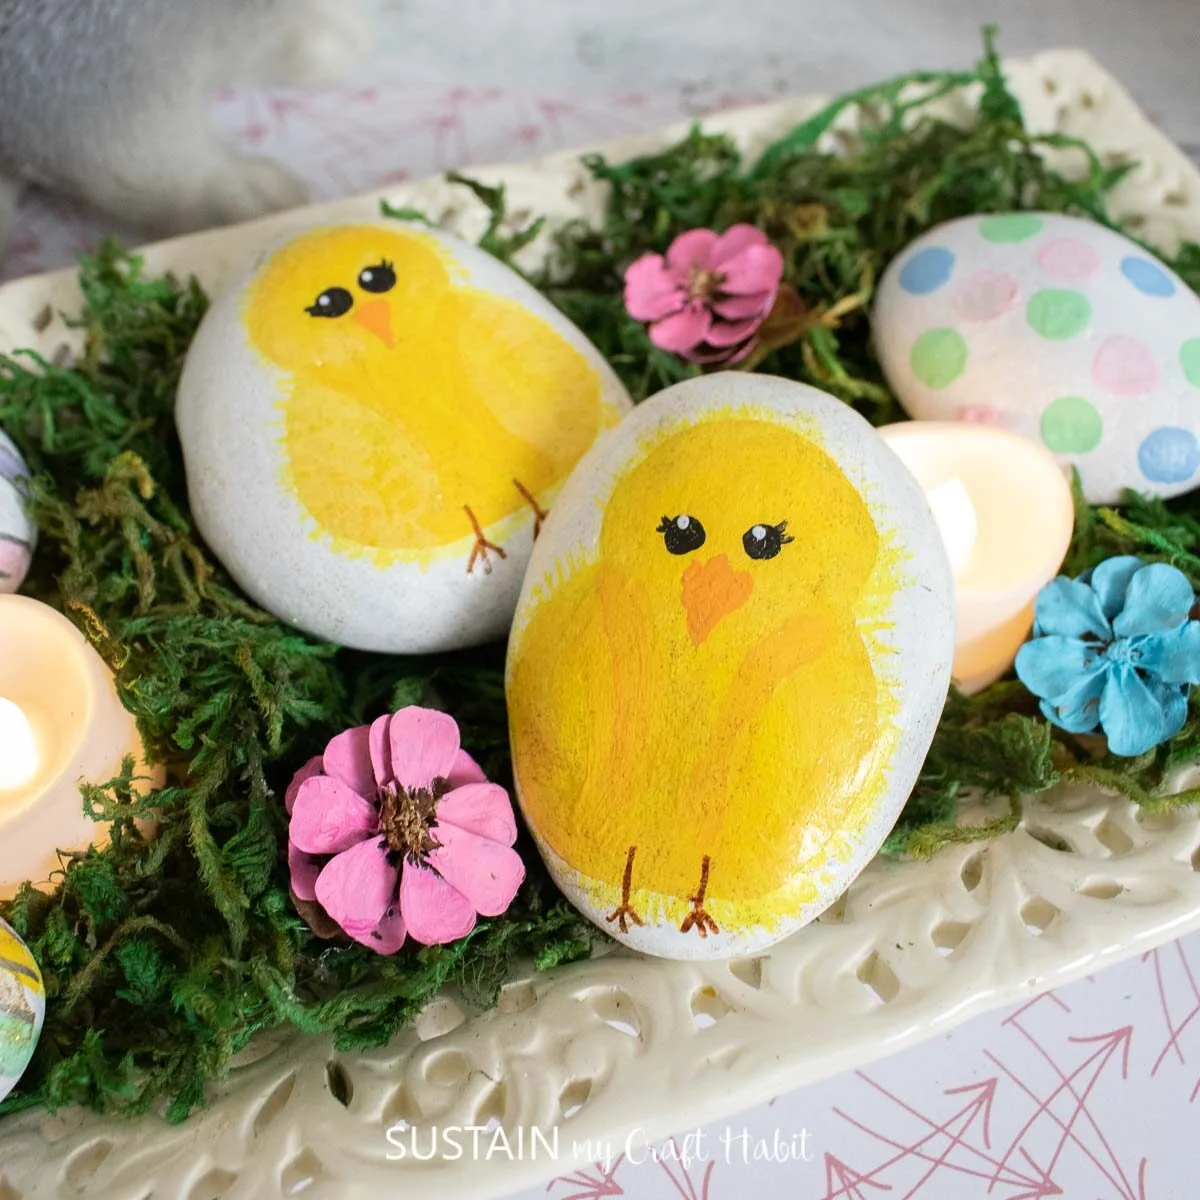
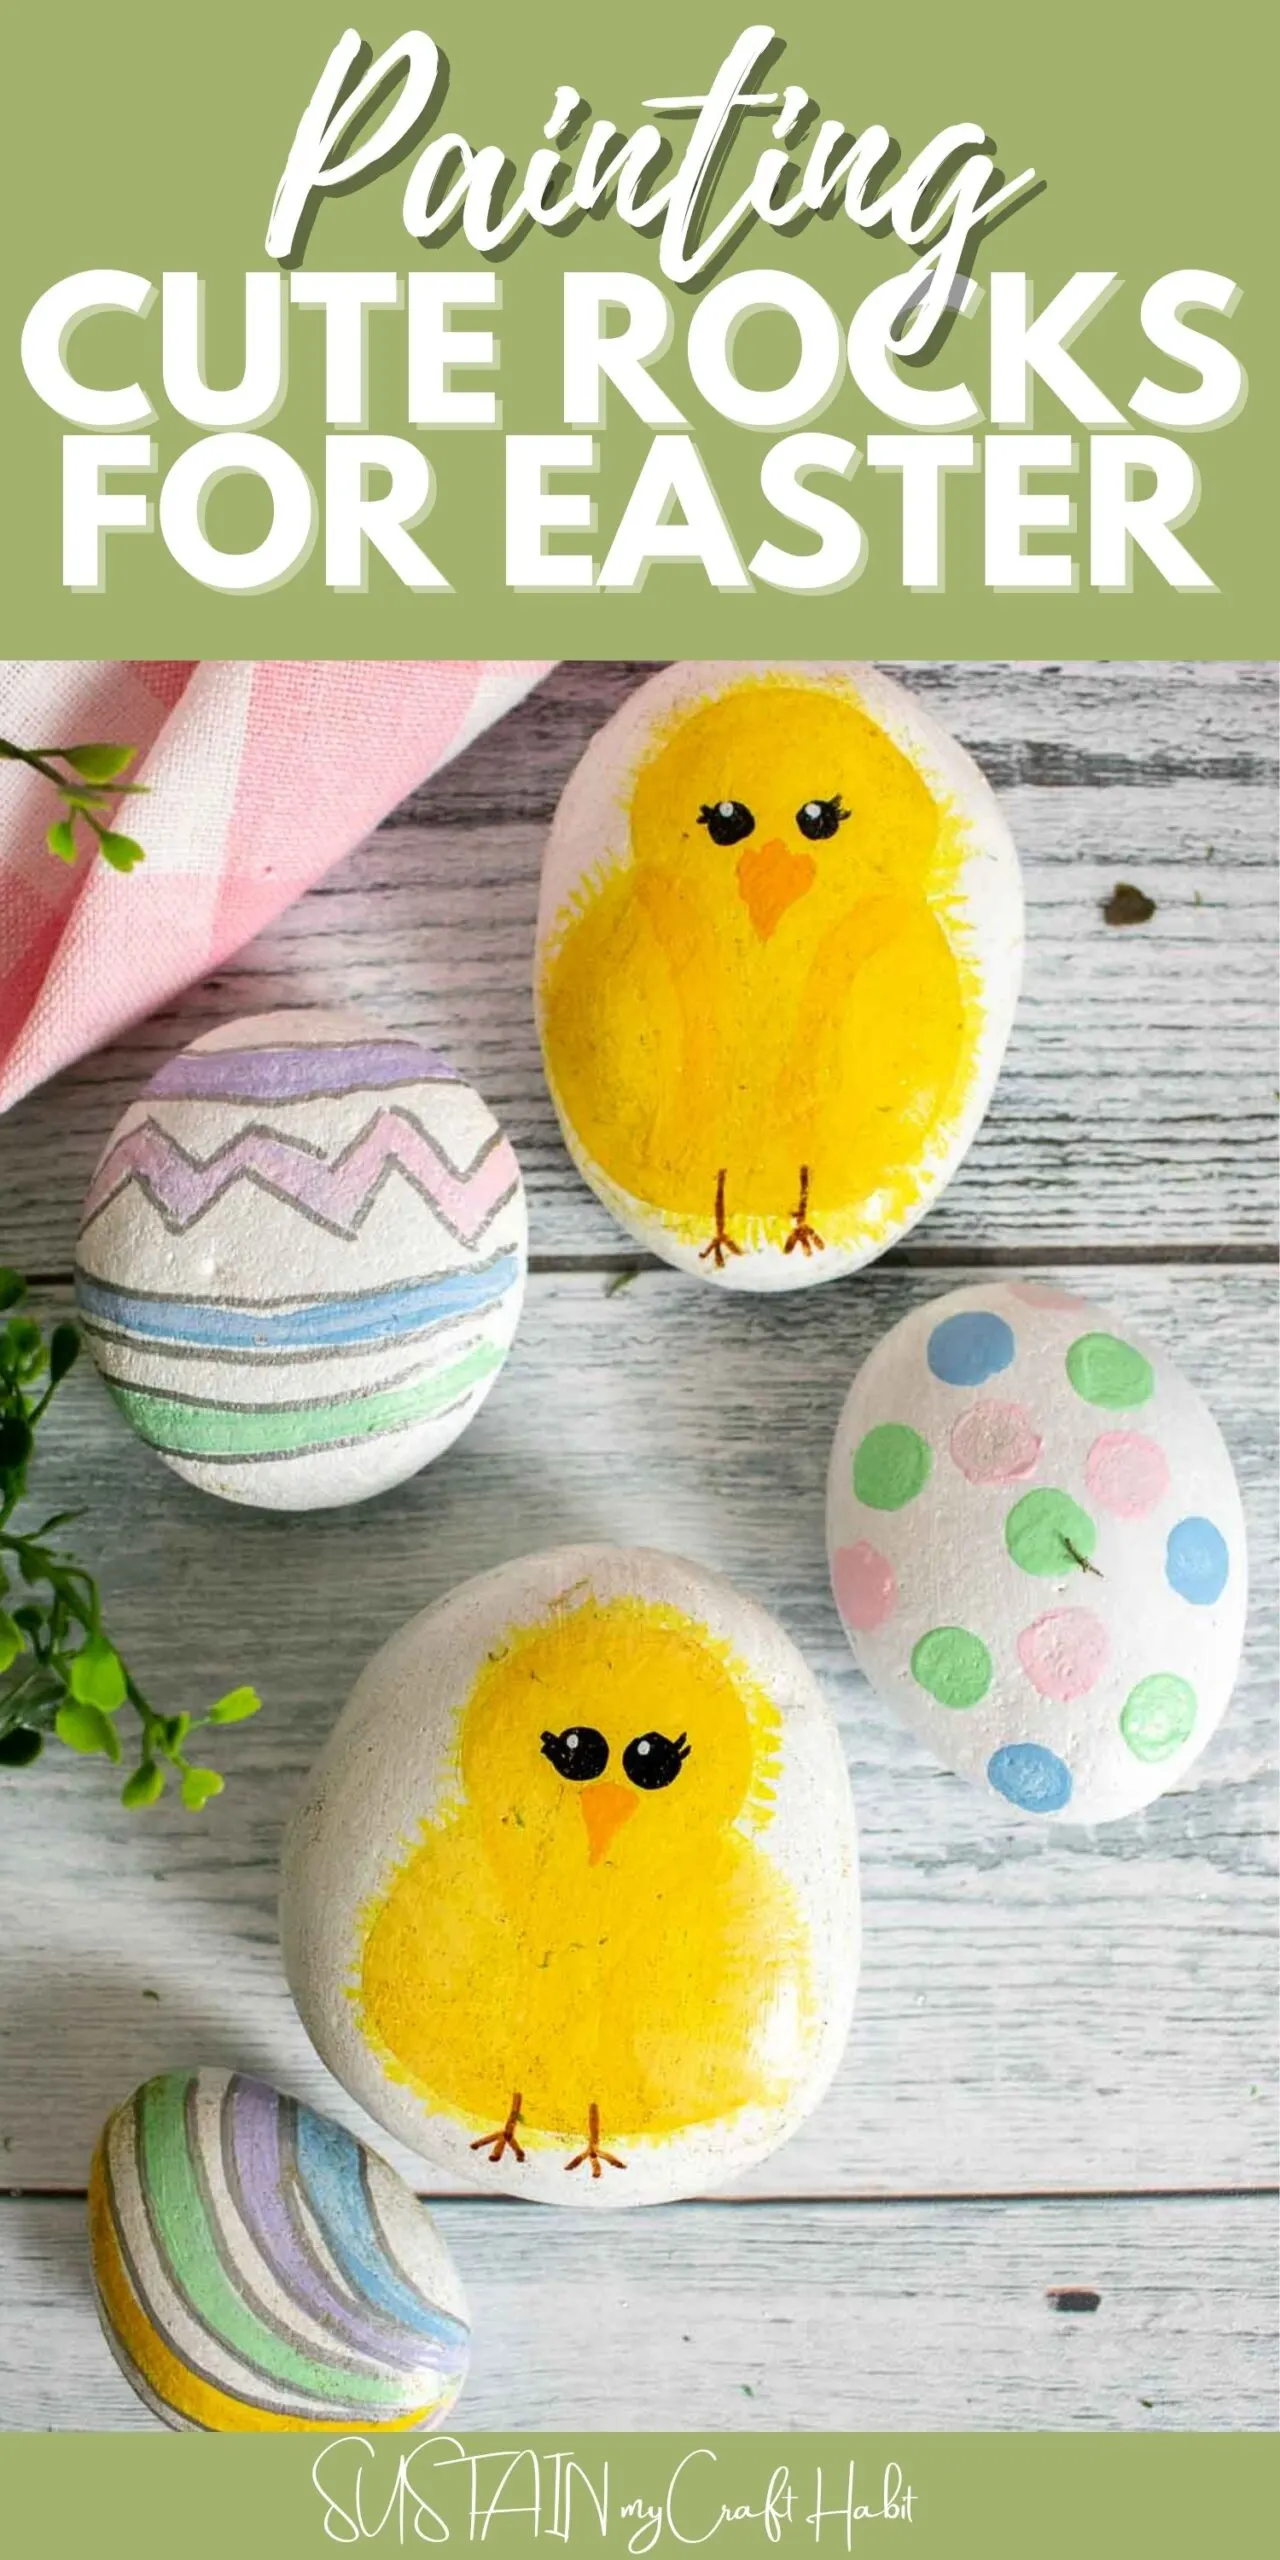
These little painted chicks ad Easter egg rocks are cutsie and whimsical and look adorable scattered throughout the house. And since we used a durable multi-surface satin paint, they can even be placed in the outside garden.
We’d love for you to join our crafting community to find more nature-inspired DIYs and upcycled craft ideas. It feels good to repurpose, upcycle and create with nature!
Materials Needed
Disclosure: This post contains affiliate links for your shopping convenience. Should you choose to purchase through them, we will make a small commission at no extra cost to you. You can read our full disclosure policy here.
- Beach Stones, Various sizes, Smooth (see our post on where to find rocks to paint for more sources)
- Paint (Multi-surface Satin) (in white, yellow and orange for the chicks; pale Spring colors for the Easter eggs)
- Paint Brushes
- Black Sharpie
- Brown Paint Pen and silver paint pen
How to Make Painted Easter Rocks
We were inspired to make this craft as part of a series of Facebook live videos all about Easter crafting. You can check out the video for these painted Easter rocks here.
Paint the rocks with white paint and let them dry.
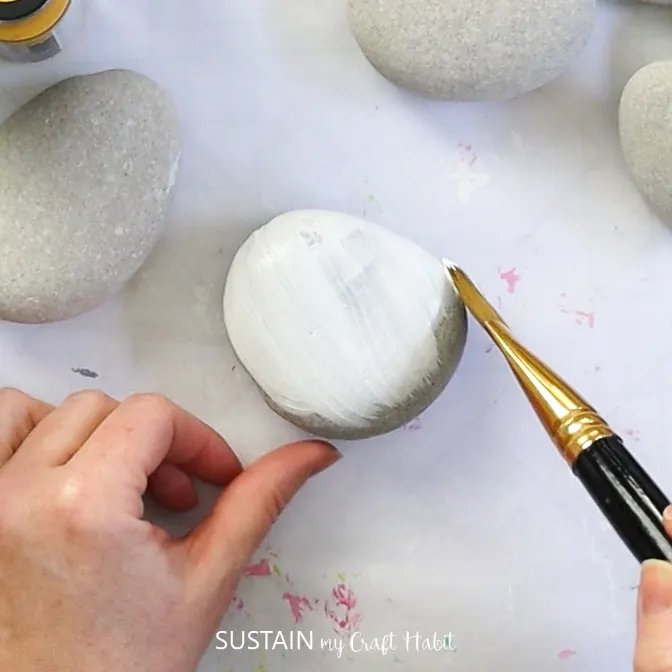
Using a pencil, draw the outline of the chick on the rock.
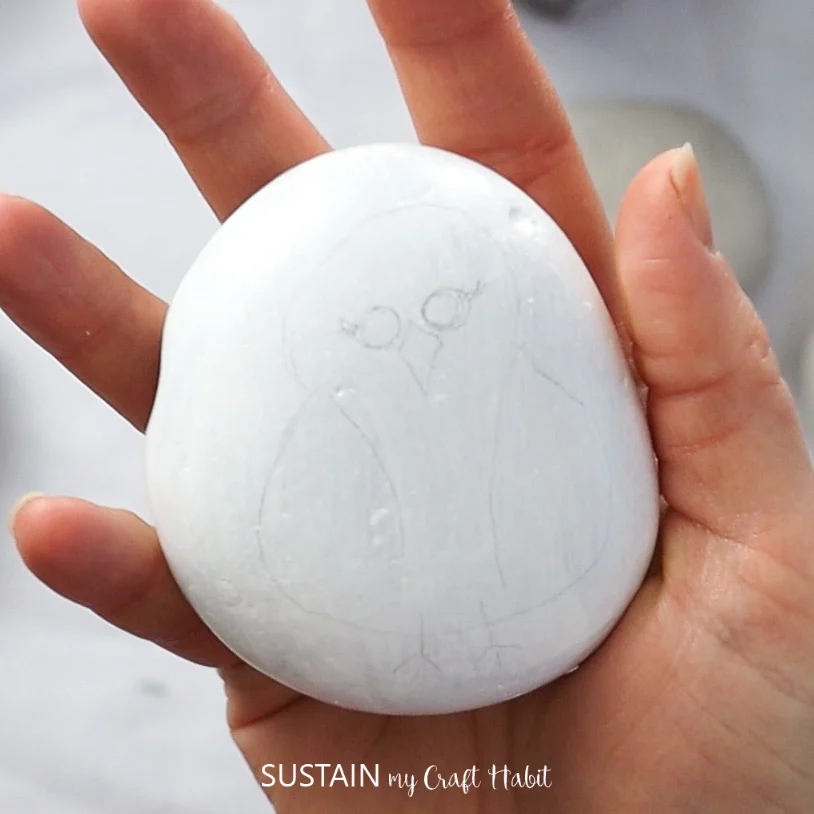
Using the yellow paint, paint the chick that was drawn on the rock and let it dry.
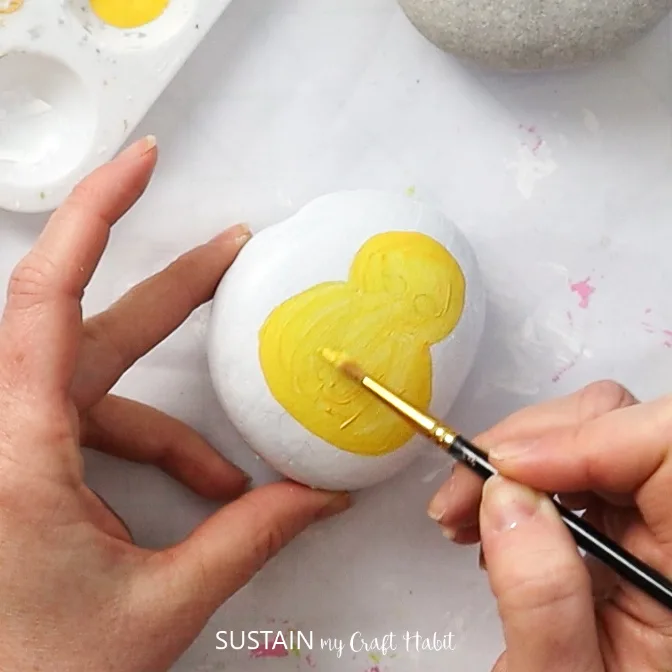
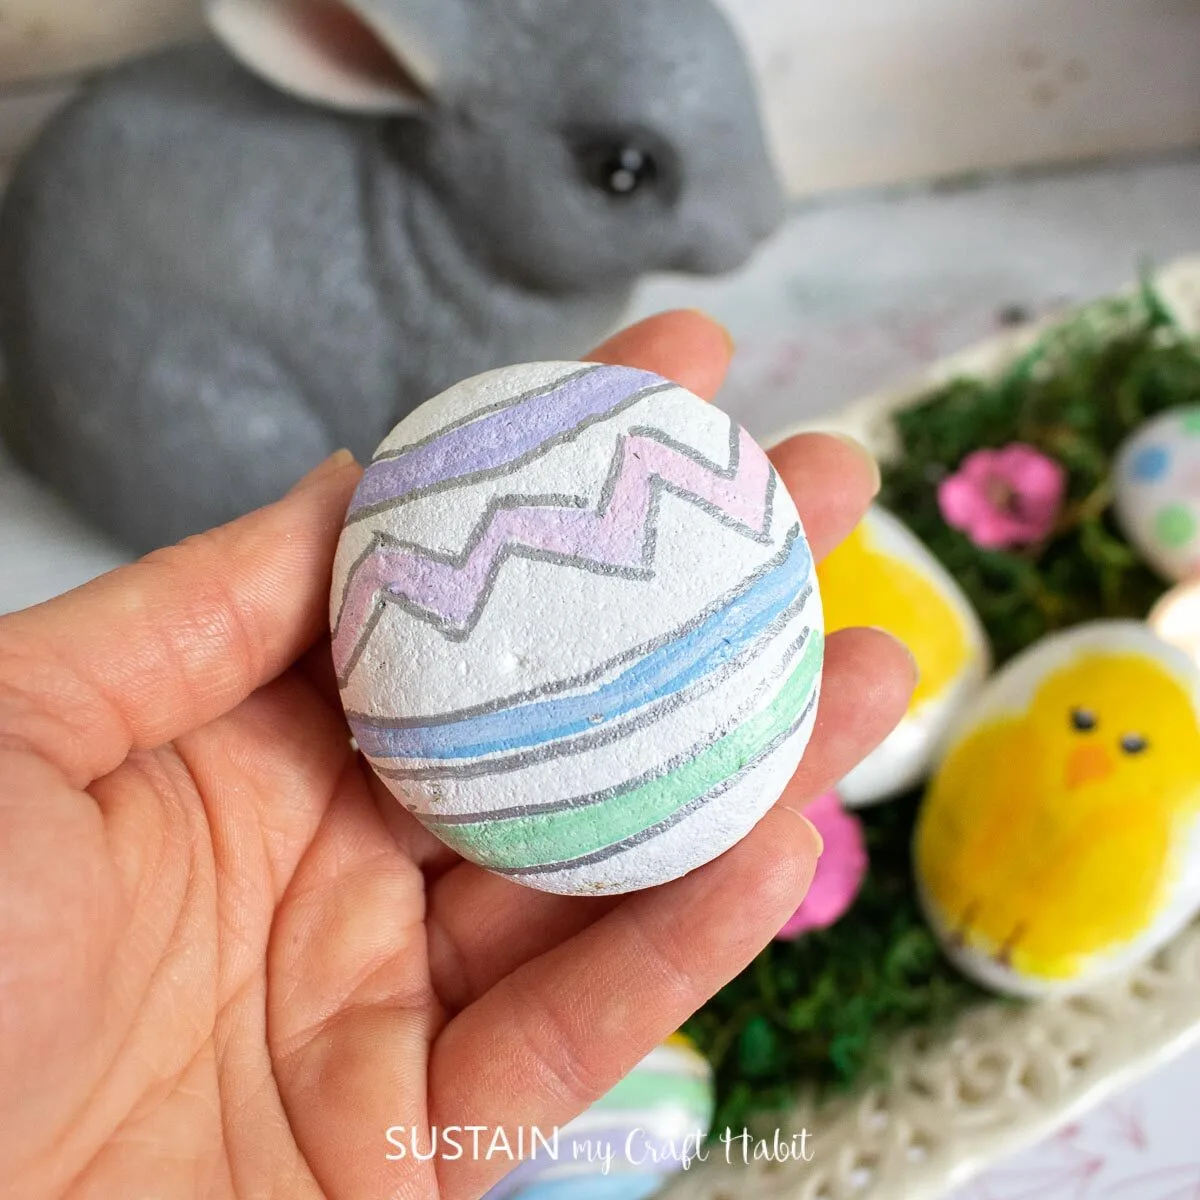
In the meantime, grab some other rocks and paint them with stripes and zigzags in pale colored paints as shown. Trace the outlines with a silver paint pen if you wish.
Once, the yellow paint is dry, take a brown paint pen and draw legs on the chick and an upside down triangle in orange paint for the beak.
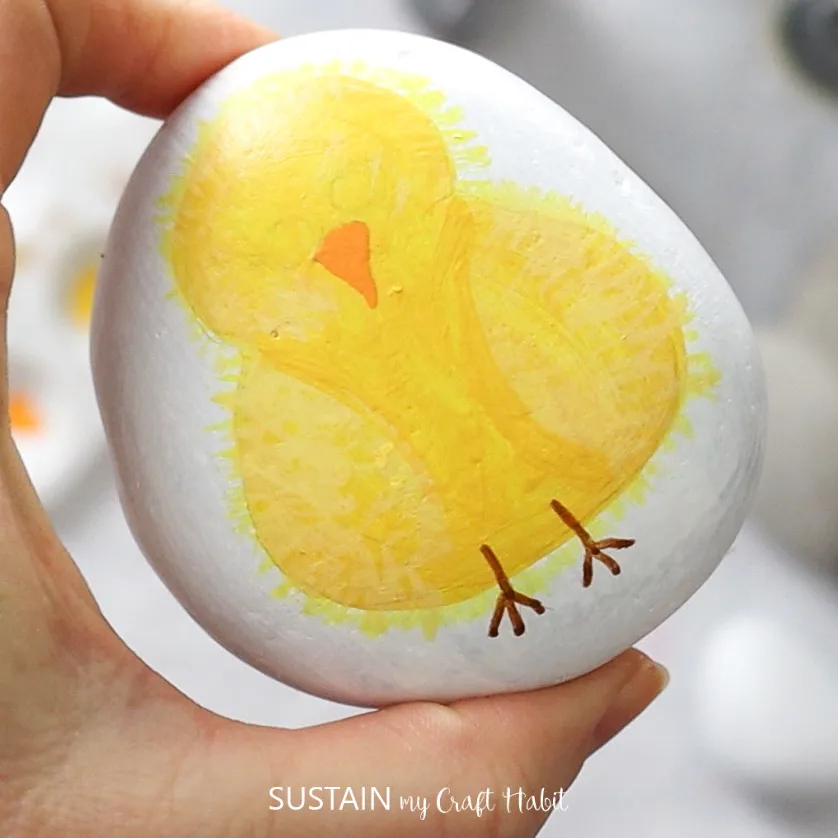
Using a black sharpie, draw circle eyes and eyelashes for the chick and add a small white dot in each eye for the highlights.
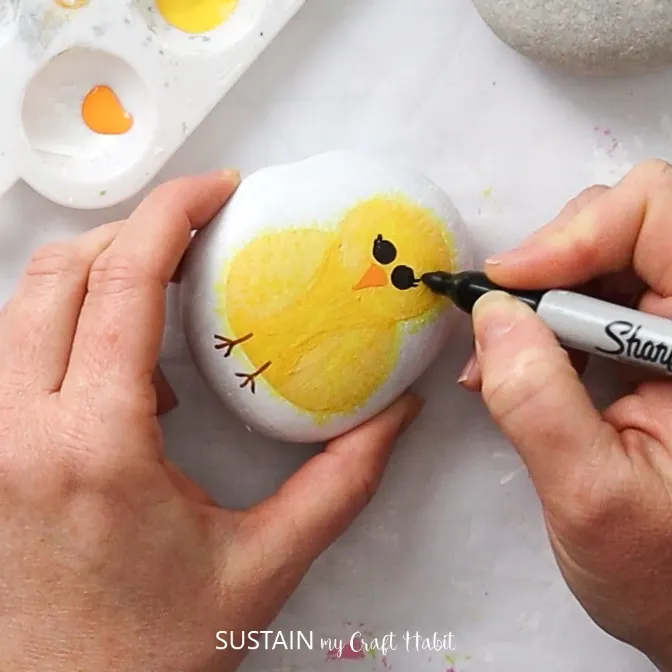
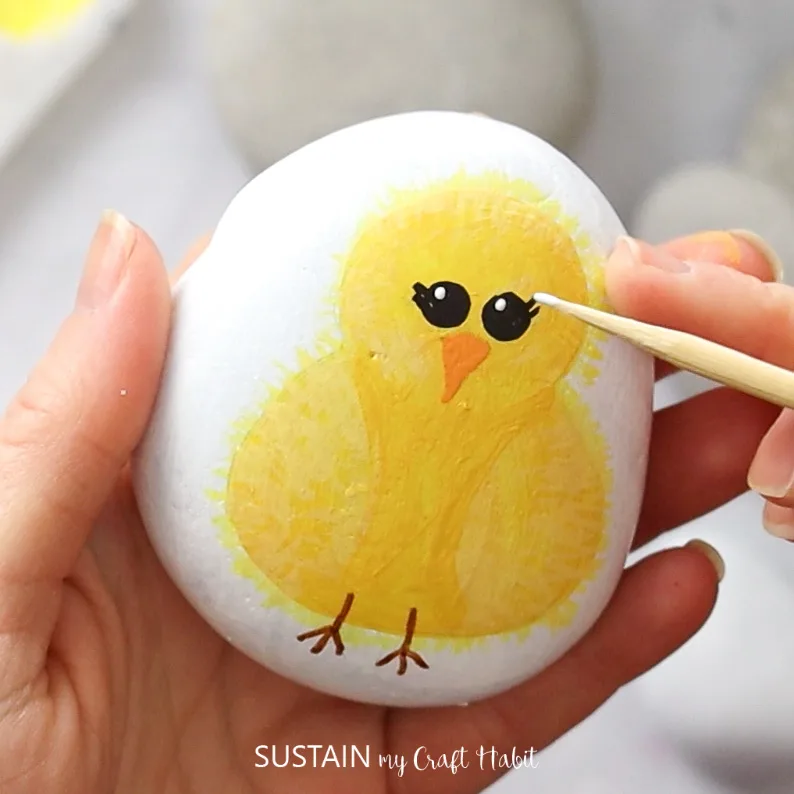
Preparing a Centerpiece with Painted Rocks
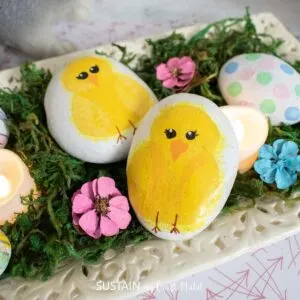
Grab a platter and fill the bottom with decorative moss and then layer the painted rocks on top with other Easter embellishments like painted pinecones or faux florals.
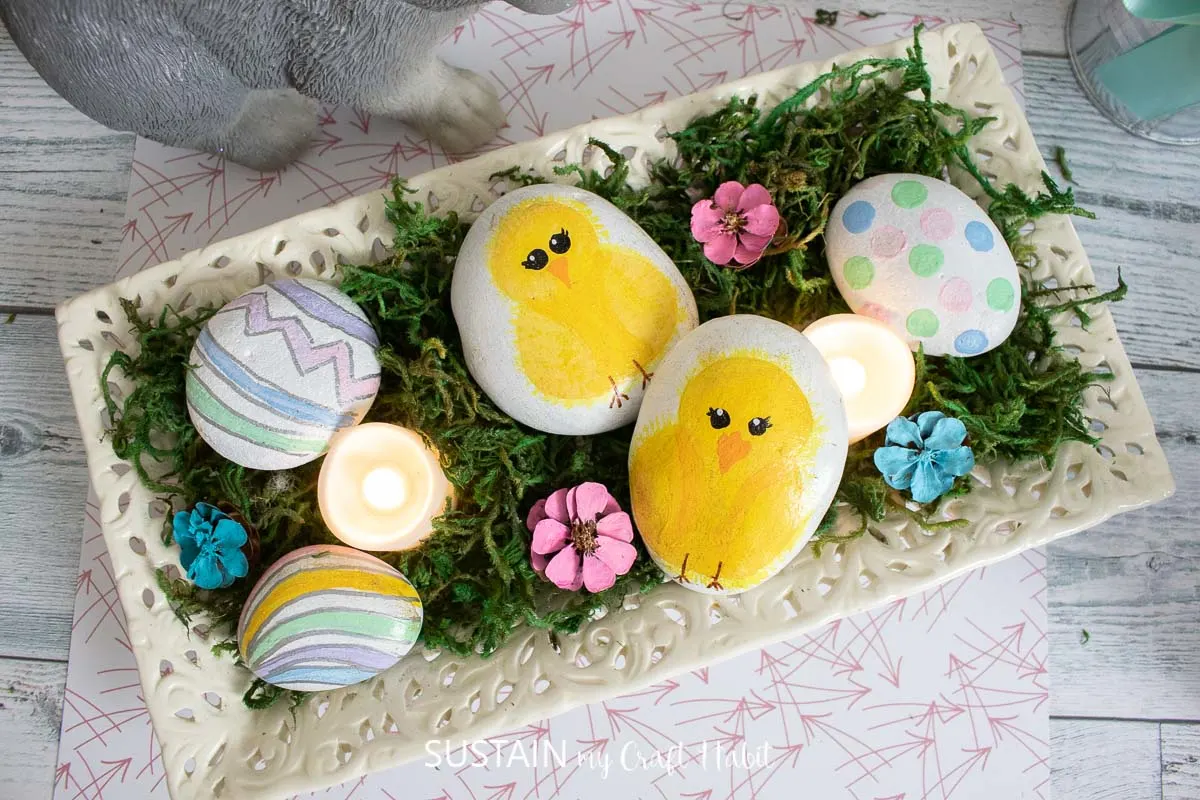
Or make an adorable felt Easter basket to gift them in! Alongside one of these creative craft kits, you’ll have the ultimate Easter gift for a loved one.
More Crafting with Rock Ideas for Easter and Spring!
We have plenty of other rock crafting ideas here on the blog, check out these creative DIYs:
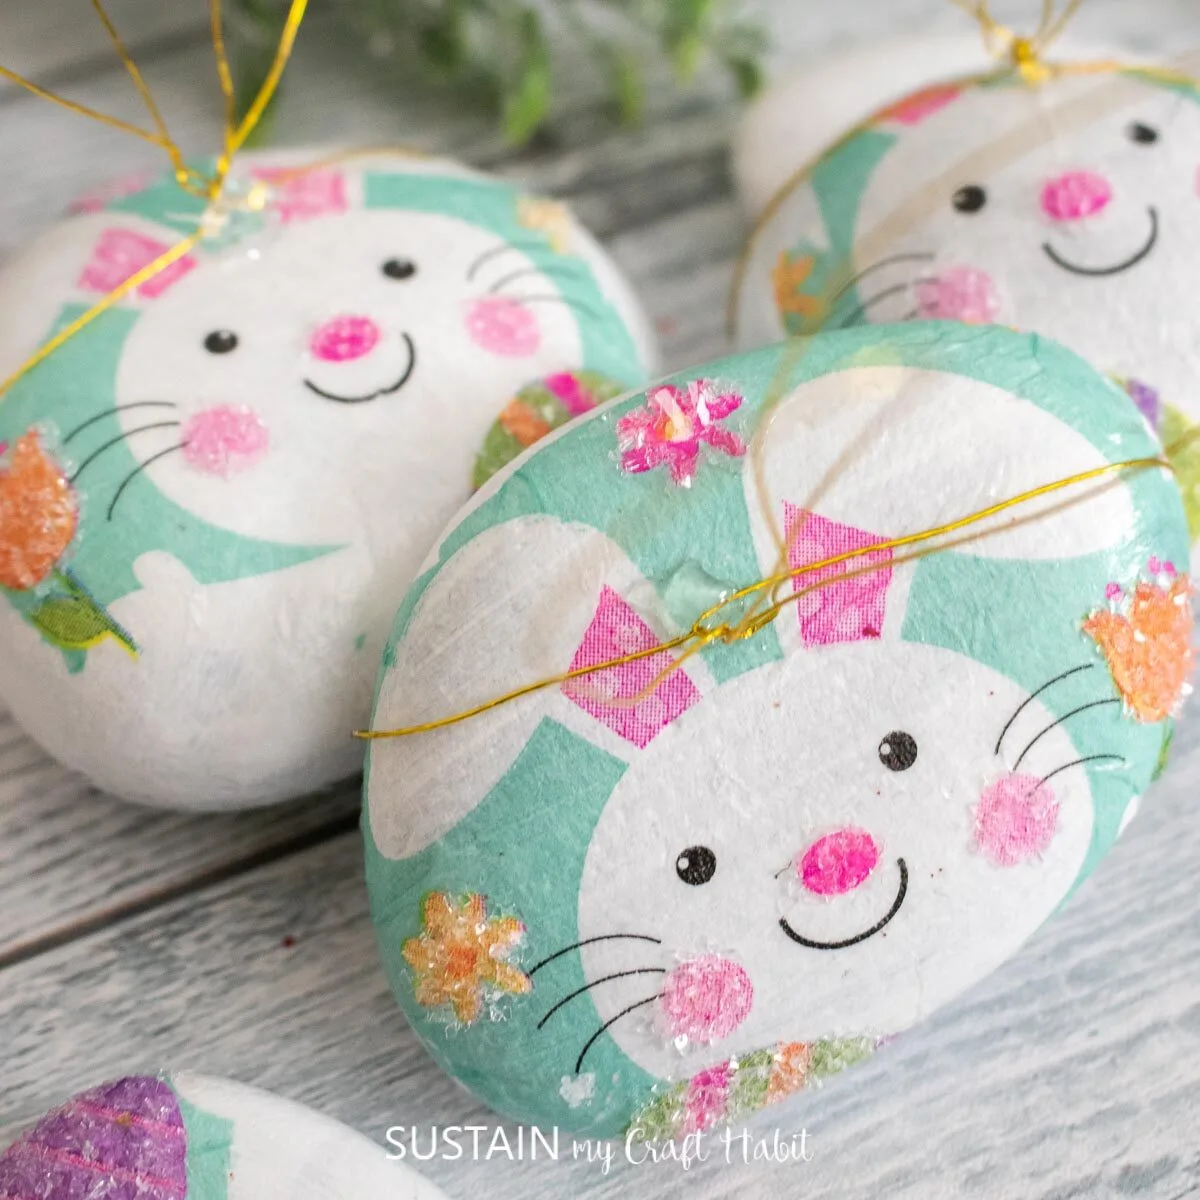
- Decoupaged Bunny Rocks
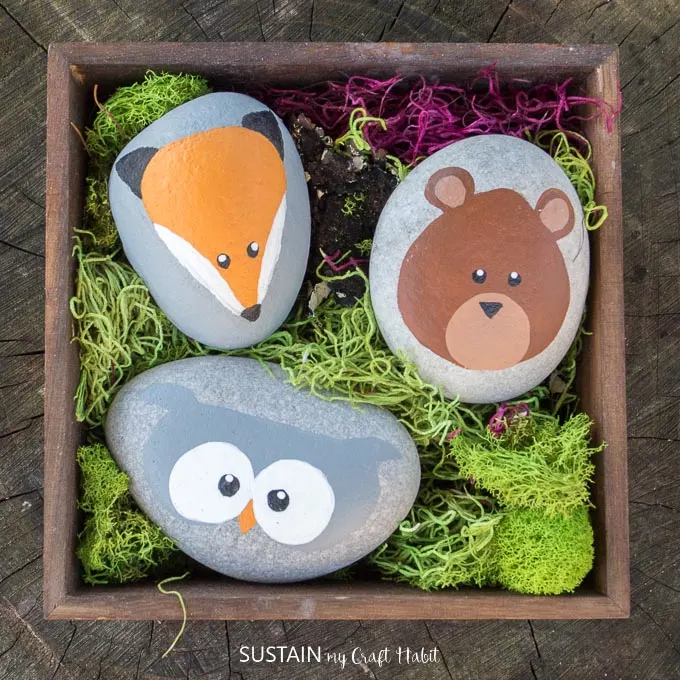
- Adorable Painted Rocks Animals
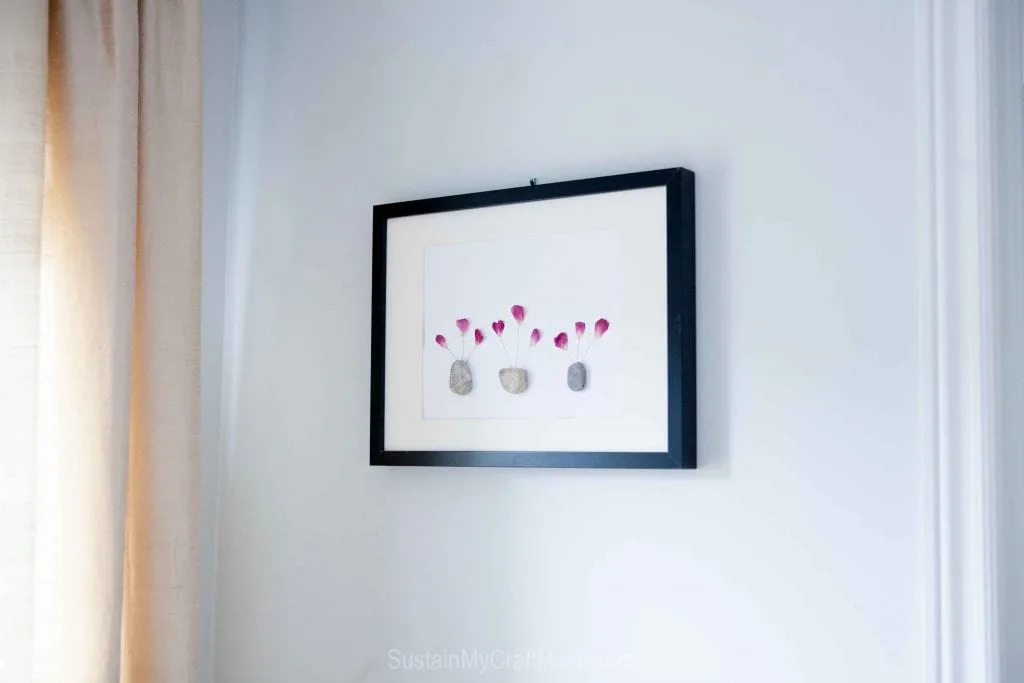
- Pressed Petals and Rock Vase Art
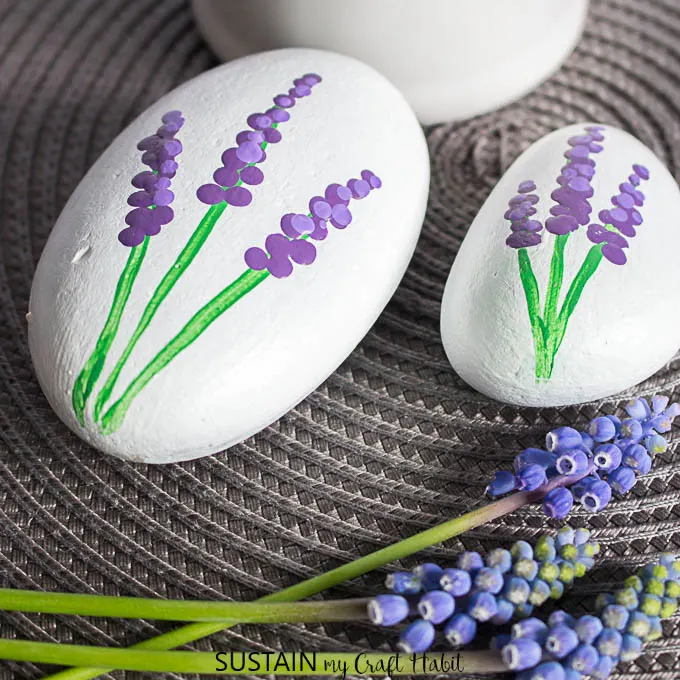
- Grape Hyacinths Rocks
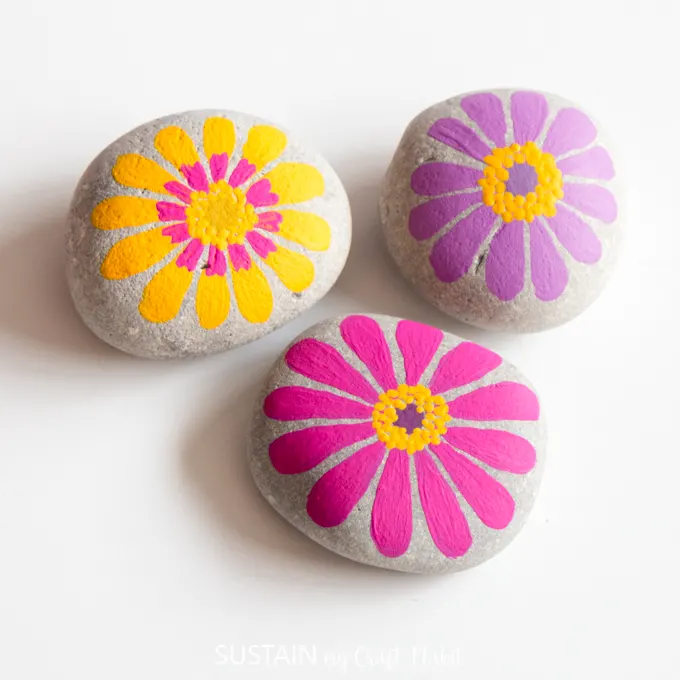
- Flower Painted Rocks
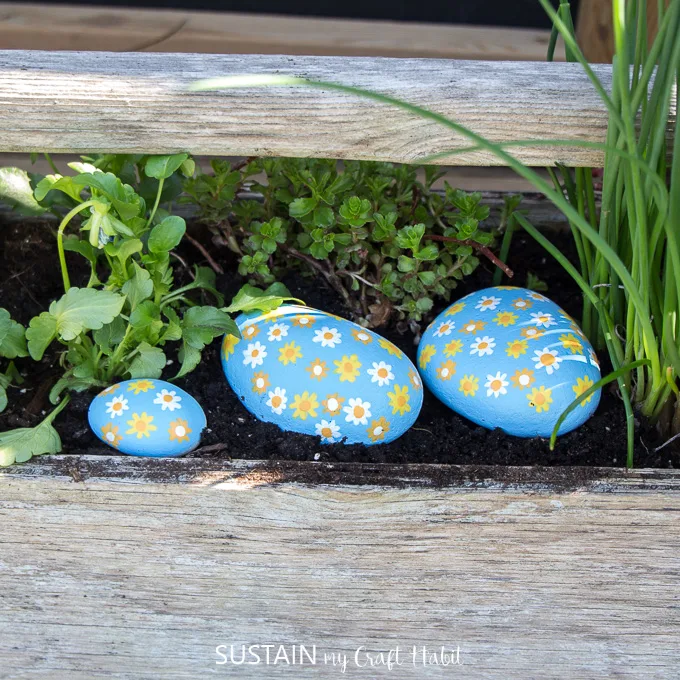
- Daisy Painted Rocks for Outdoors
Thank you so much for stopping by! We’d love to know what sort of Easter crafts do you like to make? To stay in the know on our latest crafts, special offers and freebies, join our mailing list.
Like it? Pin it for later!
DIY Cute Easter Rock Painting
Materials
- Smooth Beach Stones Various sizes
- Multi-Surface Craft Paint white, yellow and other Spring colors
- Paint Brushes
- Black Sharpie
- Paint Pens in silver (optional) and brown
Instructions
Painting Chicks on Rocks
- Paint the rocks with white paint and let them dry.
- Using a pencil, draw the outline of the chick on the rock.
- Using the yellow paint, paint the chick that was drawn on the rock and let it dry.
- Take a brown paint pen and draw legs on the chick.
- Paint an upside down triangle on the chick for the beak.
- Take a black sharpie and draw circle eyes and eyelashes for the chick.

