DIY Dried Rose Petal Serving Tray
Did you get a beautiful bouquet of roses and are now looking for dried rose petal crafts? If so, try this DIY serving tray.
Did you get a beautiful bouquet of roses and are now looking for dried rose petal crafts? Well this rose petal serving tray is one great way to preserve the beauty indefinitely.
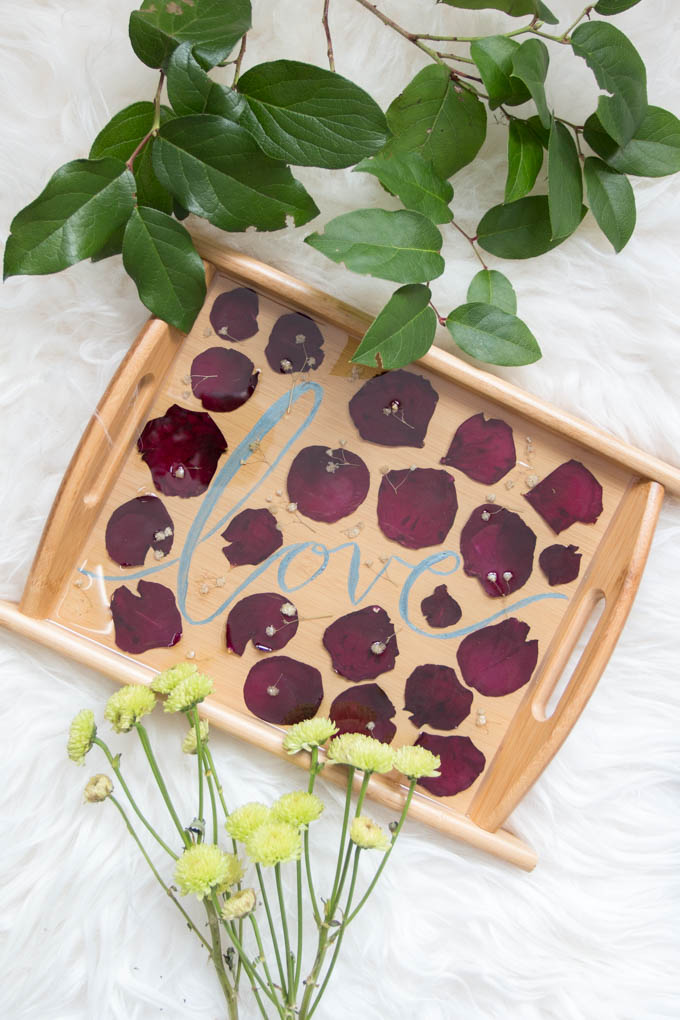
Dried Rose Petal Crafts
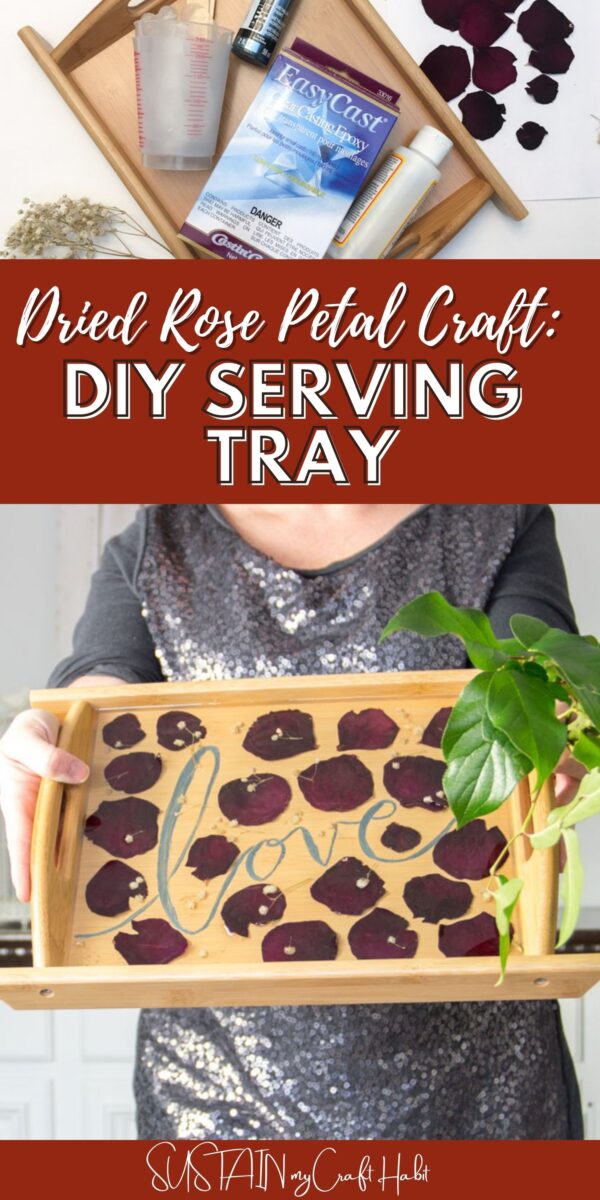
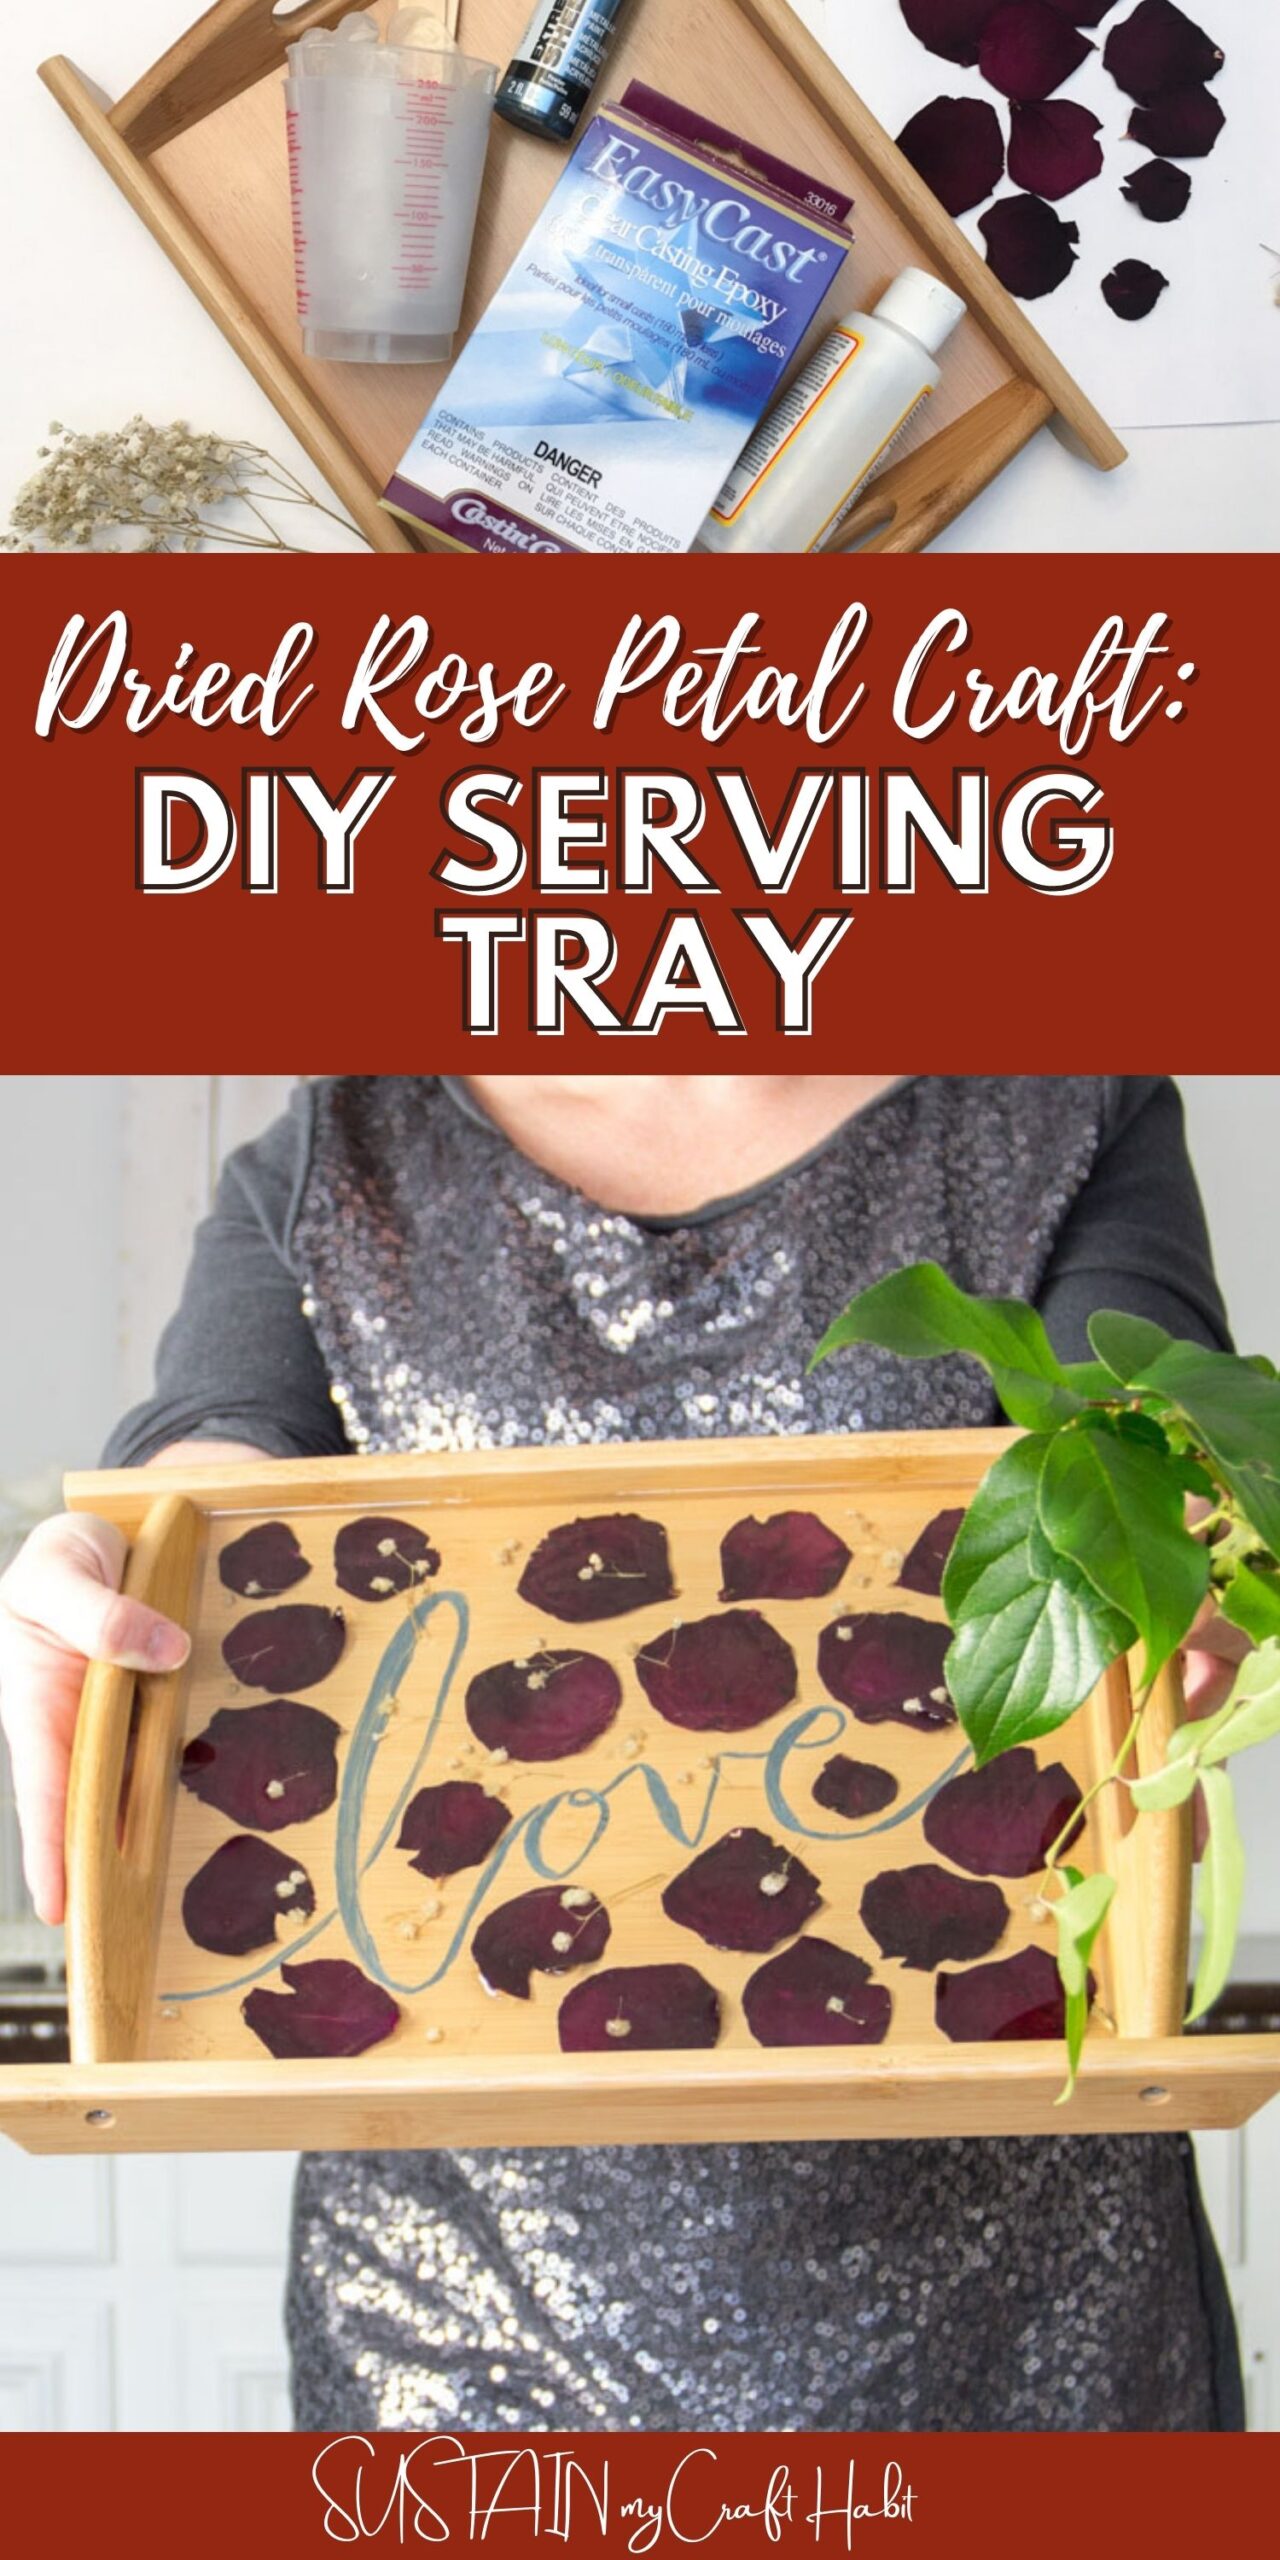
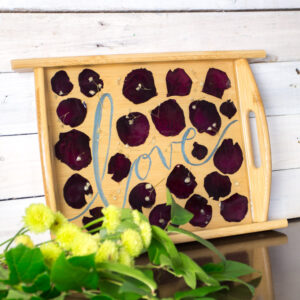
One of our favorite dried rose petal crafts is this serving tray we made using resin and an old tray we picked up at the thrift store for a few dollars. If it’s you’re first time working with resin, it may seem intimidating but don’t worry we’ve got the full step by step instructions below!
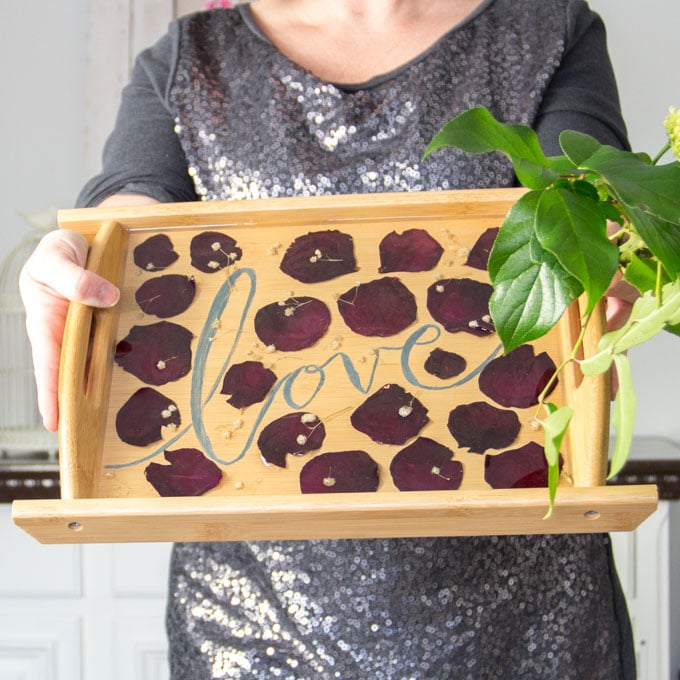
Before starting though, keep in mind that this is a project that you’ll need to prepare for. The rose petals need to be pressed for about 2-3 weeks (instructions below) so make sure that you do that before you start the project. After that, the rest of this takes little time at all and is super fun!
Join our crafting community to find more nature-inspired DIYs and upcycled craft ideas. It feels good to repurpose, upcycle and create with nature!
Materials Needed
Disclosure: This post contains affiliate links for your shopping convenience. Should you choose to purchase through them, we will make a small commission at no extra cost to you. You can read our full disclosure policy here.
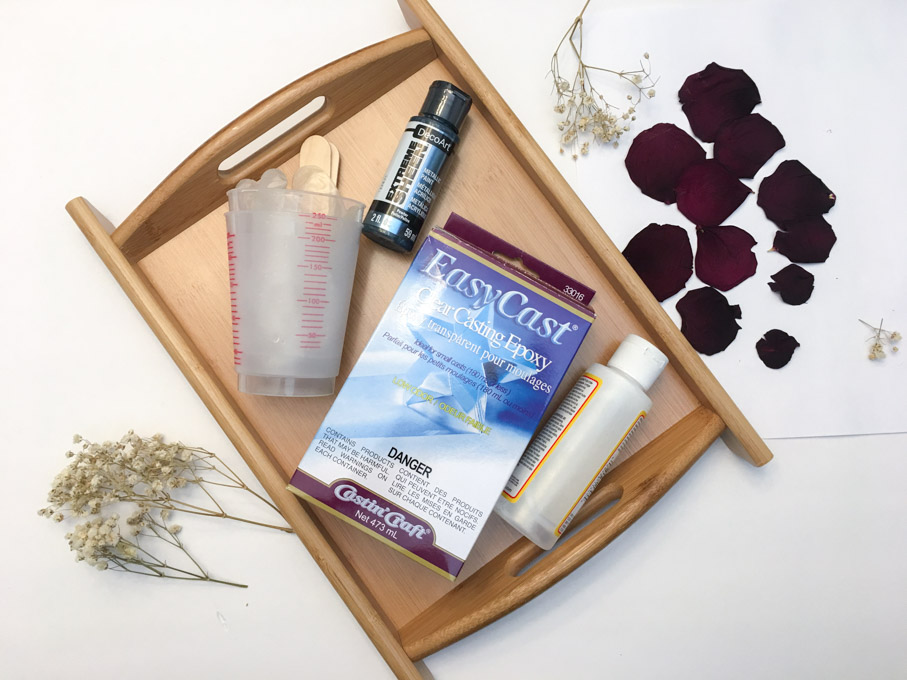
- EasyCast Clear Casting Resin
- Wooden serving tray
- Pressed rose petals
- Glue
- Paint brushes
- Blue paint
- Measuring cups, wooden stir sticks, gloves
- Small kitchen torch or straw
- Related: 10 Easy Pressed Flower Art Ideas
How to Make a Dried Rose Petal Serving Tray
Before you start, read all the instructions and work in a well-ventilated area prior to using the EasyCast resin.
Preparing the Rose Petals
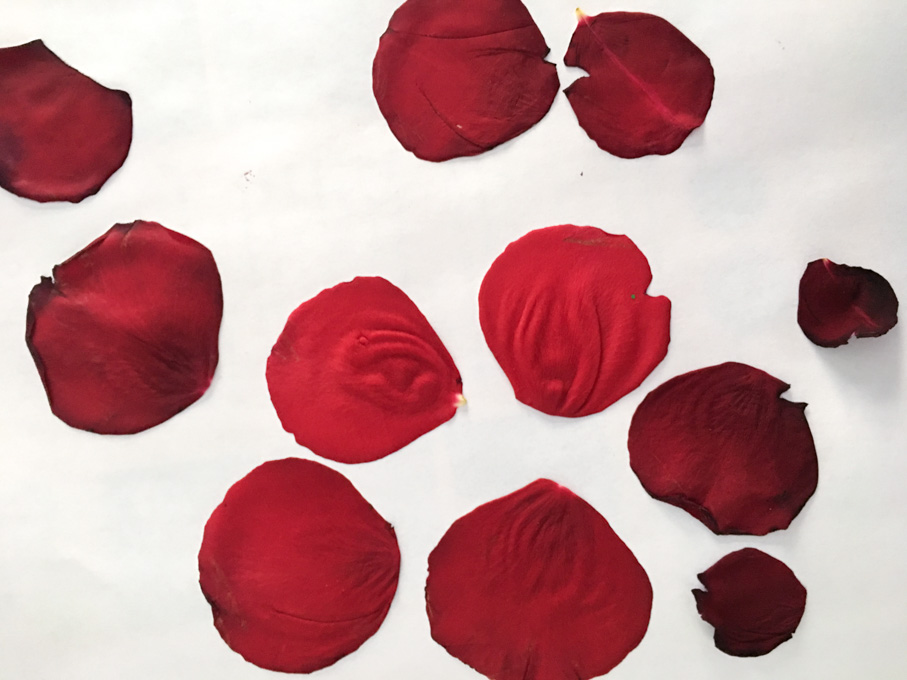
Gather number of various-sized rose petals from your fresh flower bouquet and pieces of baby’s breath (if you have them). Press them between the pages of a book for 2 to 3 weeks, sandwiching them in between sheets of parchment paper. Once dry, they’ll be ready to use for your project.
Assembling the Tray
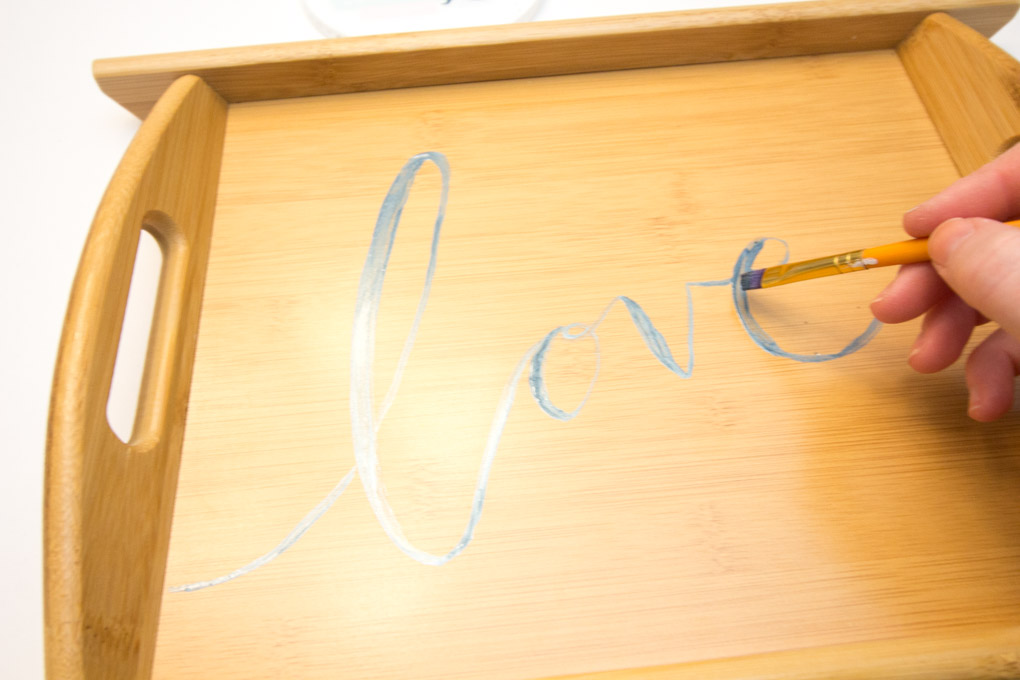
Start by sketching out the word “love” with a pencil on the tray and then filling it in with blue metallic paint. Let this dry fully before moving onto the next step
Once your rose petals are fully dry, arrange them on your serving tray either randomly or in a pattern of your choice. Additionally, place pieces of pressed baby’s breath throughout the tray as well.
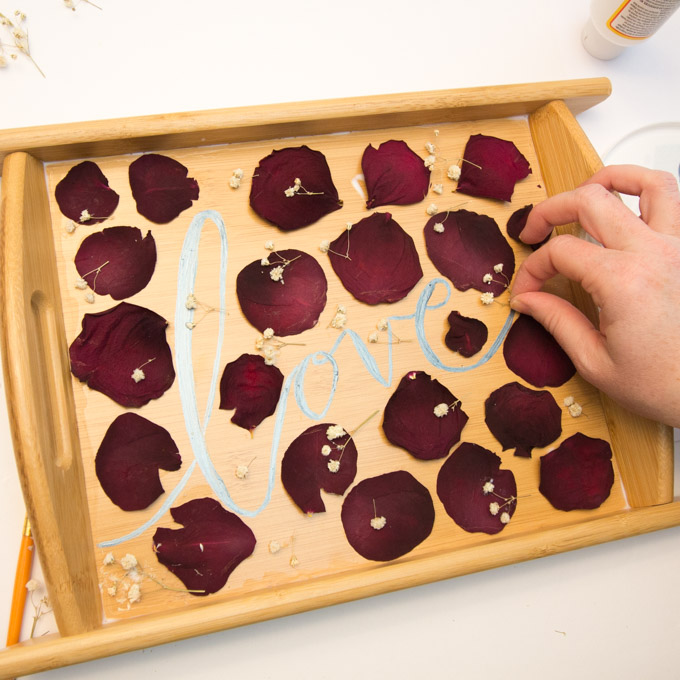
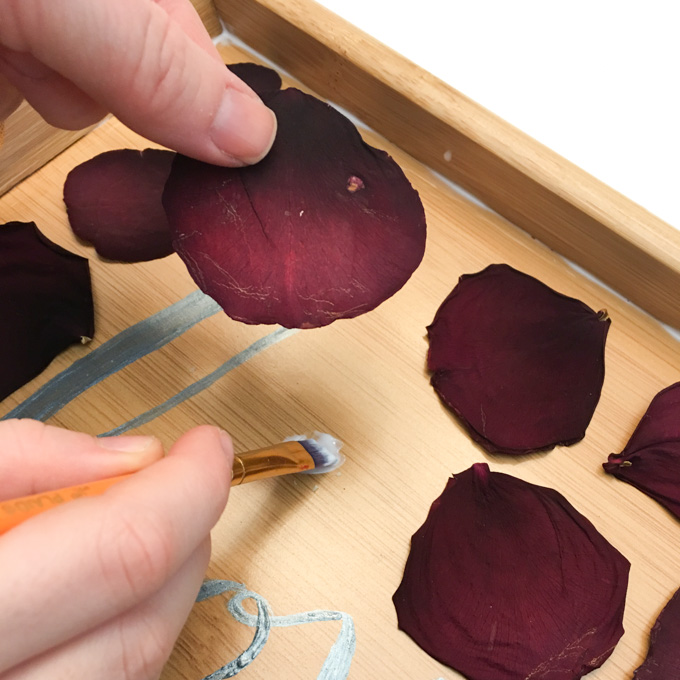
Once you’re happy with the arrangement, glue all the pieces onto the tray to keep them from floating up in your resin. This is an important step so don’t miss it!
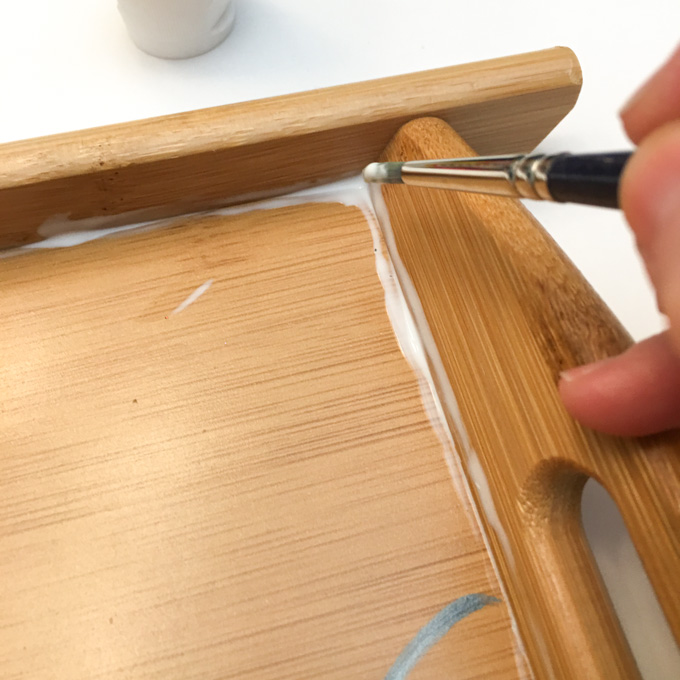
Also be sure to glue the inner edges of the tray to keep the resin from seeping out.
Pouring the Resin
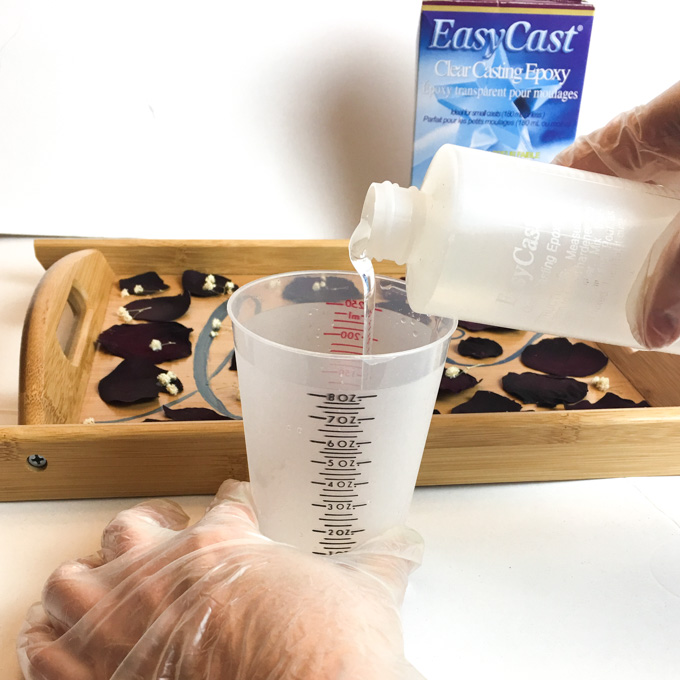
To prepare the resin for pouring, mix equal amounts of resin and hardener in a measuring cup. One and a half ounces of each should be sufficient for this project but will depend on the size of your tray.
The first time I mixed up 4 oz total volume and poured it into the tray. After the resin cured for 12 hours I decided the petals weren’t covered enough, so I poured another 3 oz total volume.
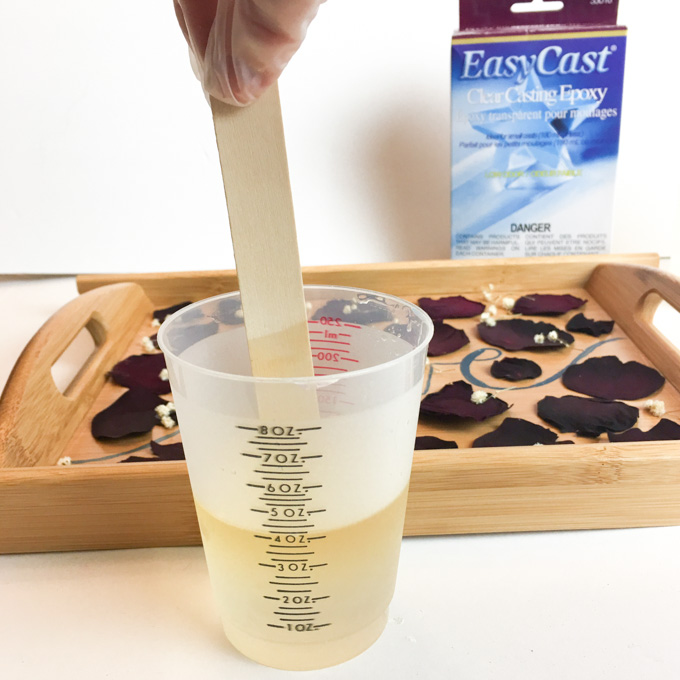
Stir the two parts together for 2 minutes scraping the bottom and sides with the wooden stir stick.
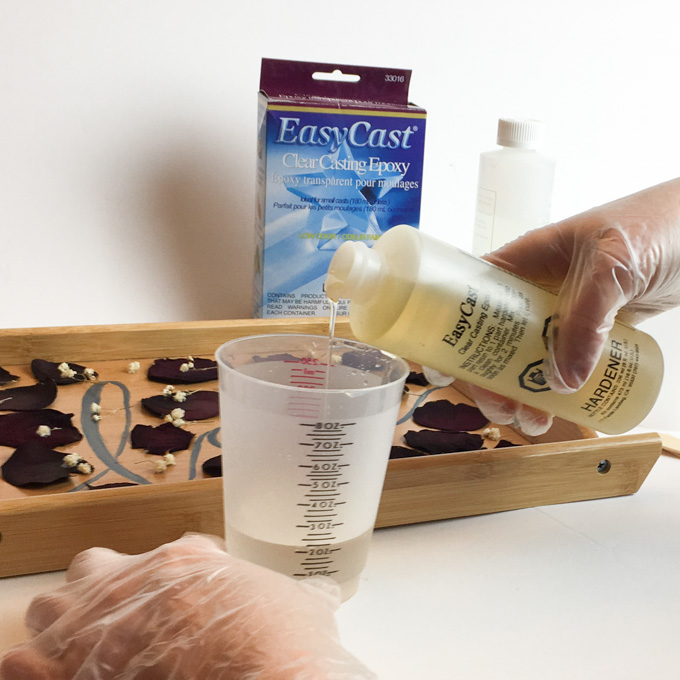
Pour the mixture into a second measuring cup and continue stirring for another minute. Your resin will then be ready to pour…yay! This is the fun part.
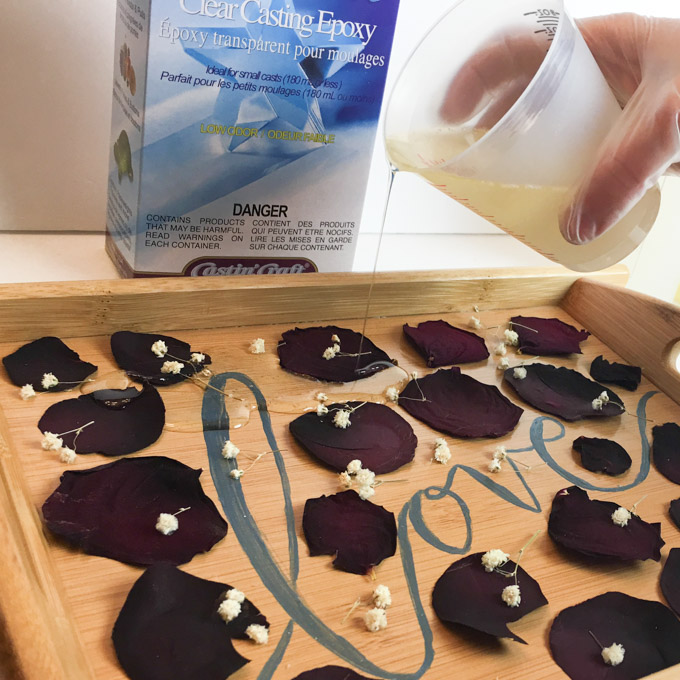
Slowly pour the resin into the serving tray being careful around the petals. Cover the tray to keep dust or other particles from falling in to the resin and let this settle for 15 to 20 minutes.
Using a kitchen torch, blow off any bubbles that have risen to the top. You can also use a straw to blow out the bubbles if you don’t have a torch.
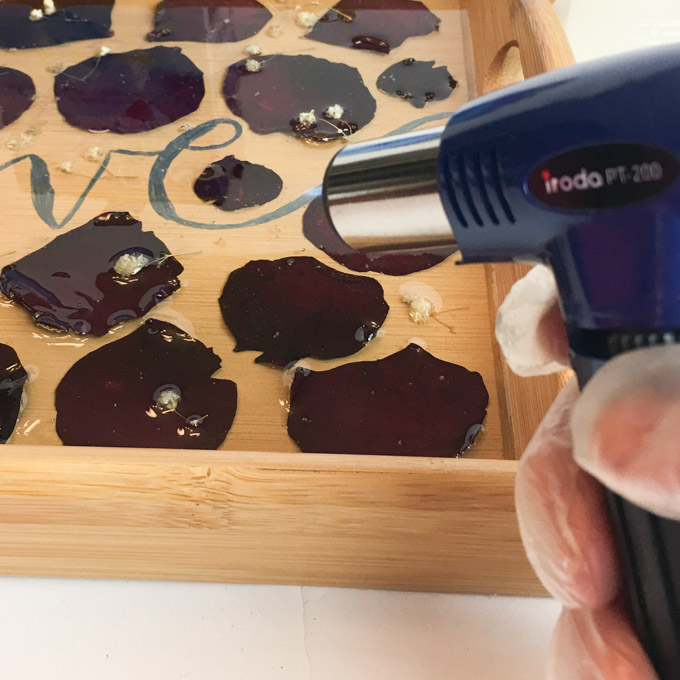
Keep checking the piece for more bubbes and blow them off as they appear. Cover the tray and let the resin cure completely, at least 72 hours for a complete cure.
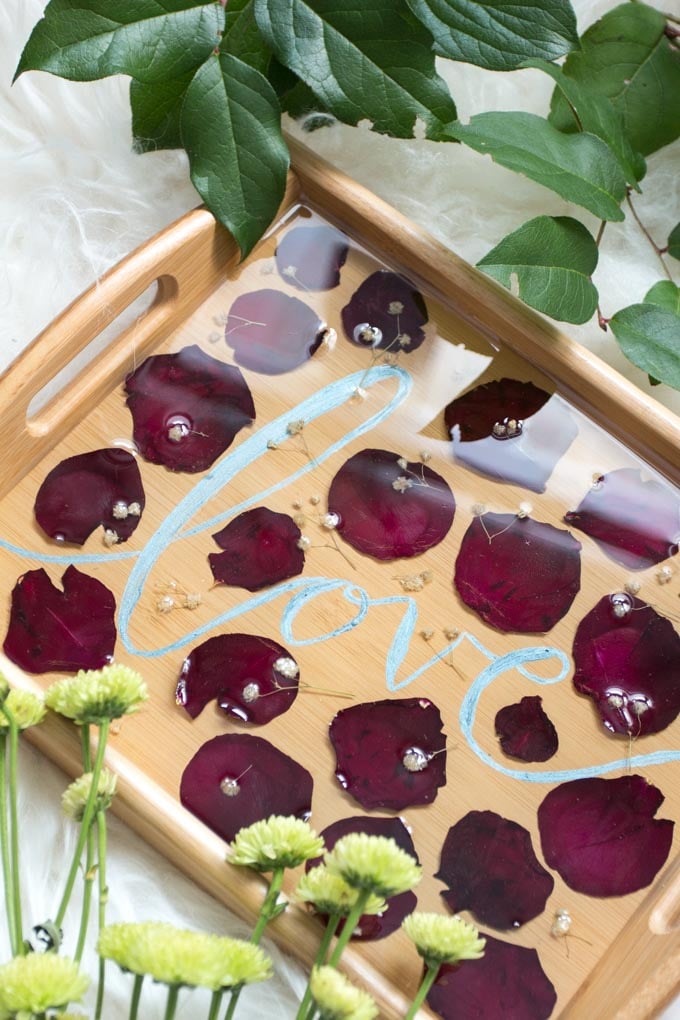
This craft was originally shared on the Resin Crafts Blog.
More Resin Crafts to Make
We often use pressed flowers and leaves in our resin crafts. Check out some of these projects.
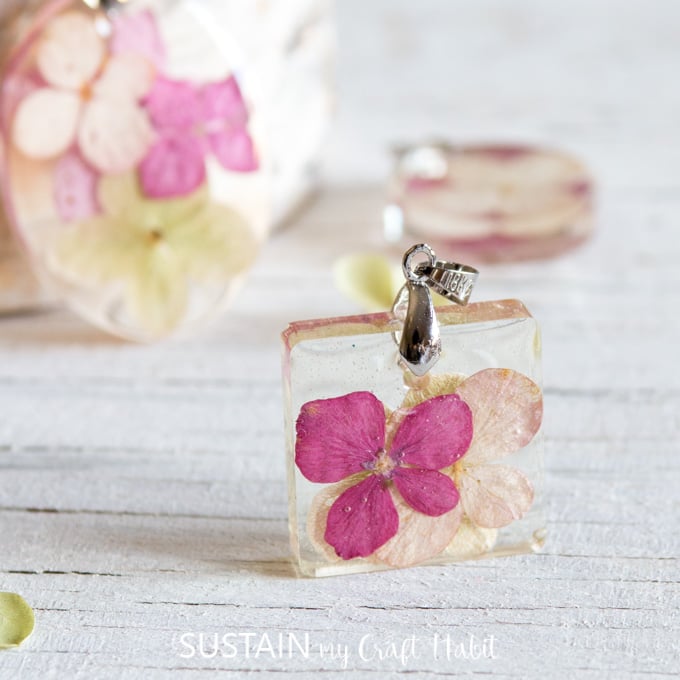
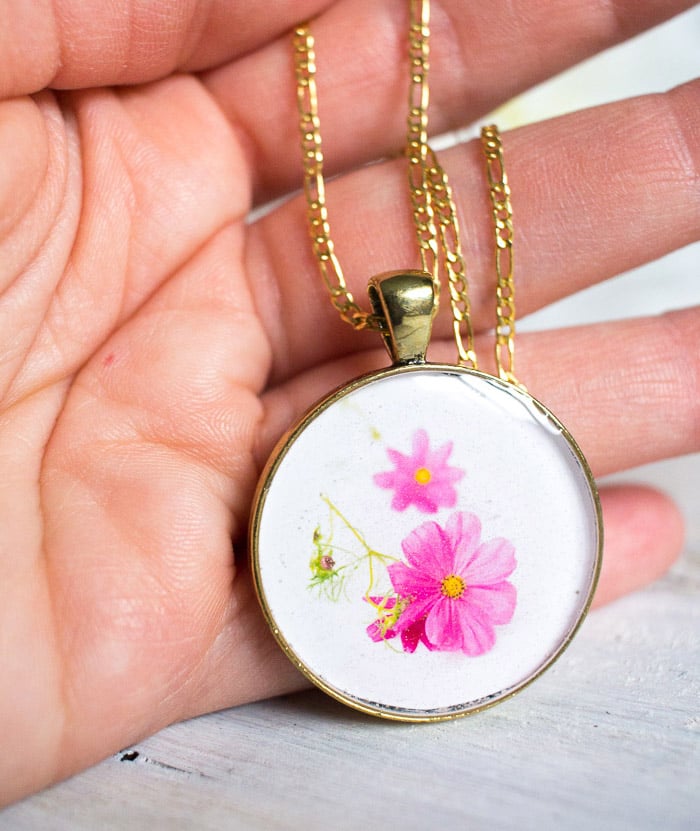
- Resin Jewelry with Flowers
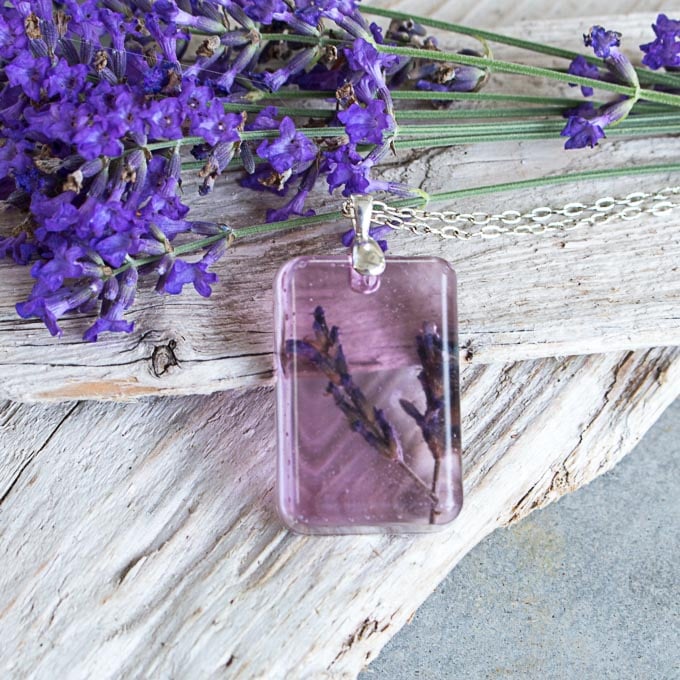
- Resin Pendants with Lavender
- Birth Month Flower Pendants
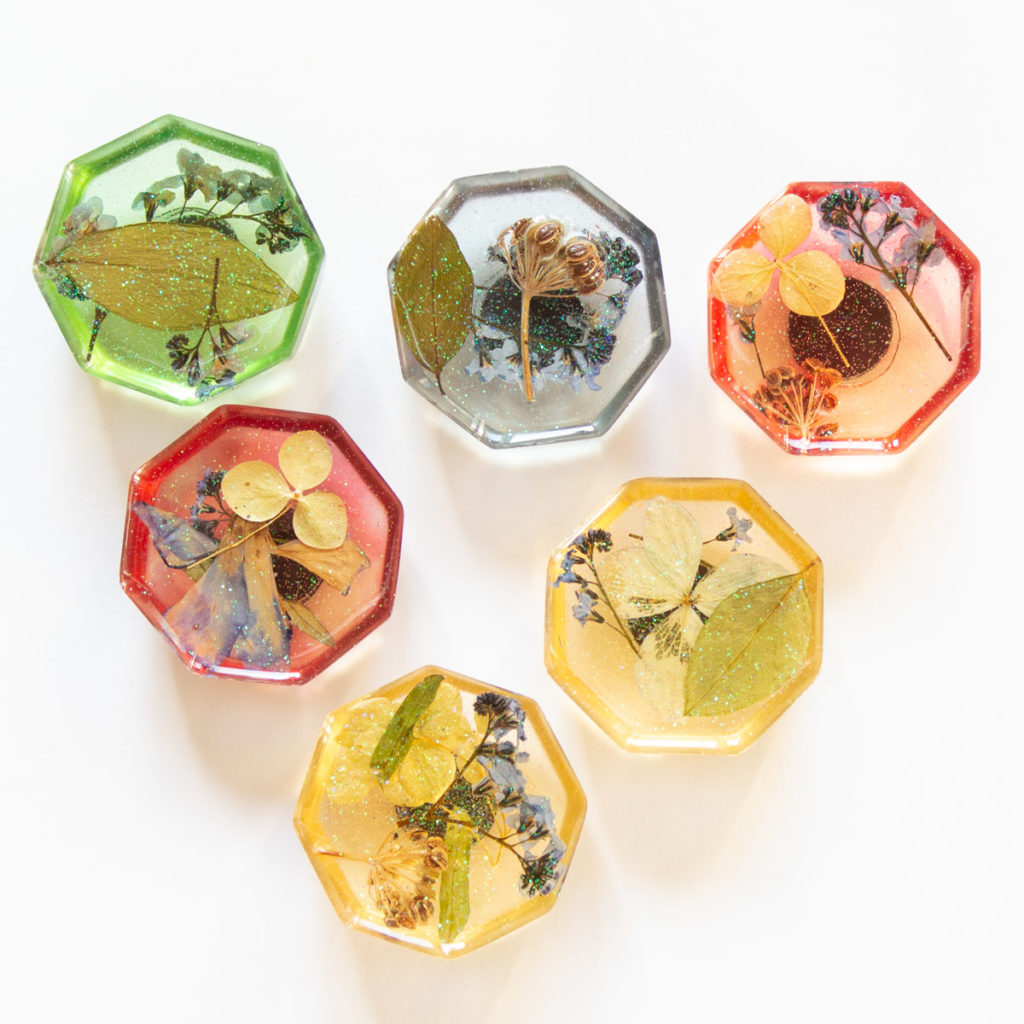
- Pressed Flowers in Resin Fridge Magnets
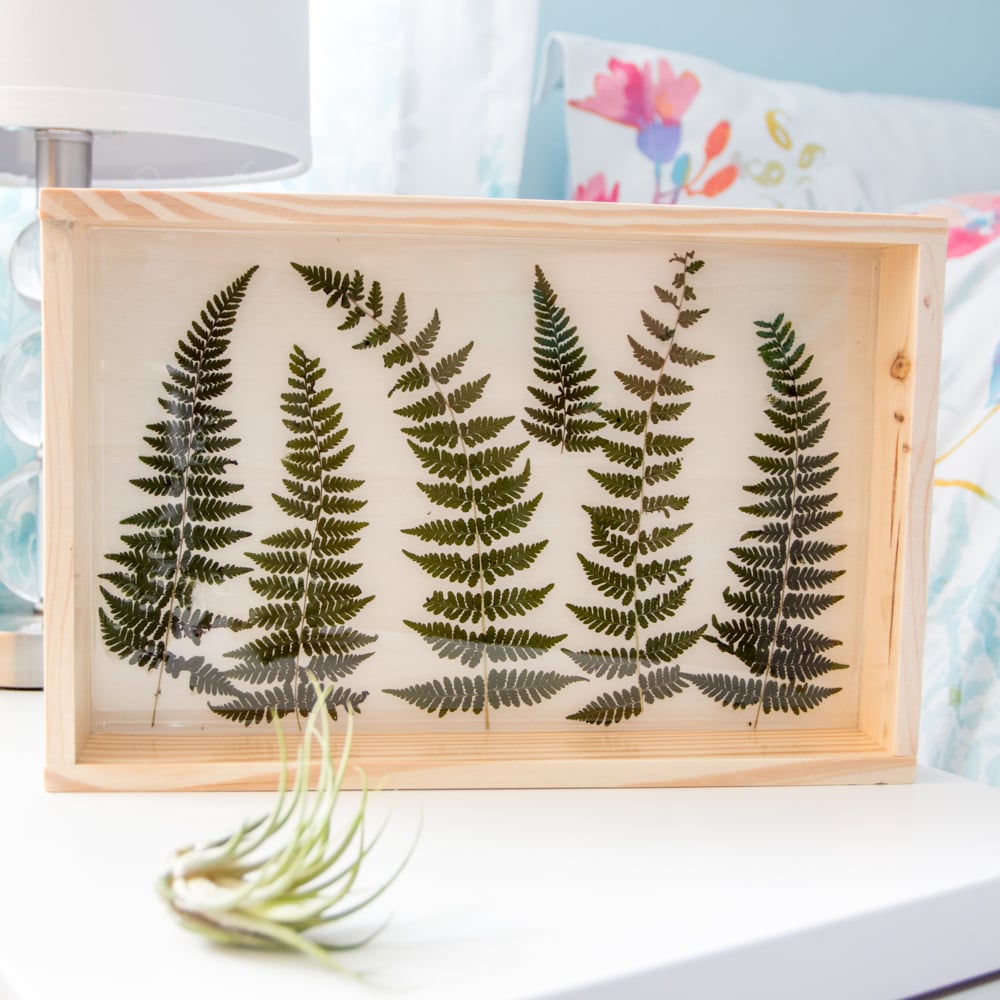
- Fern Art in Resin
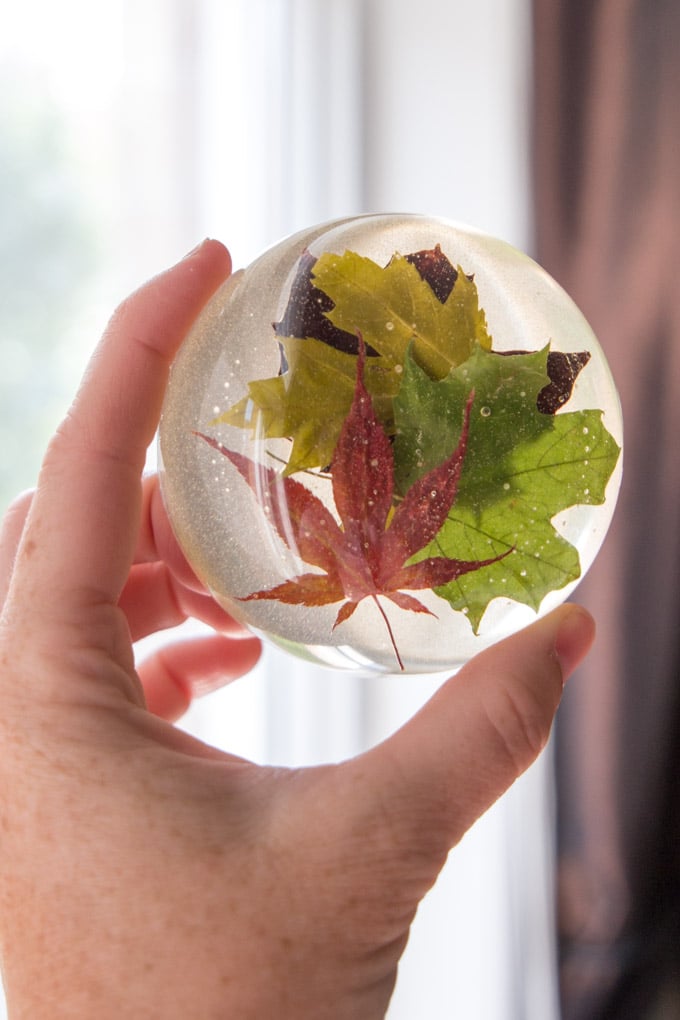
- Leafy Resin Paperweights
Want to receive a ton of inspiration and money saving ideas for decorating, gift-giving and crafting? Join HERE!
If you finished the first of your dried rose petal crafts, we would love to see it! Make sure to show it off to us! Tag us on Facebook or Instagram– we can’t wait to see it!
Like it? Pin it for later!
Dried Rose Petal Serving Tray
Materials
- EasyCast Clear Casting Resin
- Wooden serving tray
- Pressed rose petals
- Glue
- Paint brushes
- Blue paint
- Measuring cups wooden stir sticks, gloves
- Small kitchen torch or straw
Instructions
- Hand-letter the word love onto the center of the tray. Let this dry fully before moving onto the next step
- Once your rose petals are fully dry, arrange them on your serving tray either randomly or in a lovely pattern of your choice.
- Glue all the pieces onto the tray to keep them from floating up in your resin. Also make sure to glue any holes or edges in the tray to keep the resin from seeping out.
Pouring the Resin
- To prepare the resin for pouring, mix equal amounts of resin and hardener in a measuring cup. Stir the two parts together for 2 minutes scraping the bottom and sides with the wooden stir stick.
- Pour the mixture into a second measuring cup and continue stirring for another minute.
- Carefully pour the resin into the serving tray being gentle while working over the petals.
- Ensure that all the contents on the tray are covered with resin. Cover and let this settle for 15 to 20 minutes.
- Blow off any bubbles that have risen to the surface of the resin using a kitchen torch or your breath through a straw.
- Check the resin several more times for additional bubbles. Blow them off. Cover the pieces and let the resin cure fully (72 hours for complete cure).

