
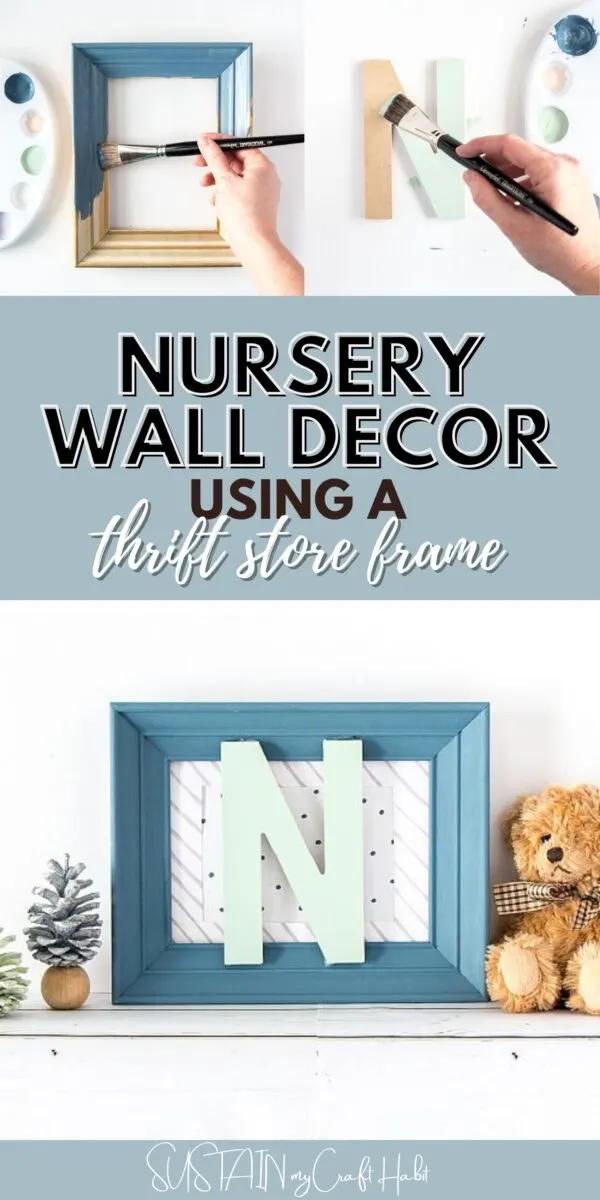
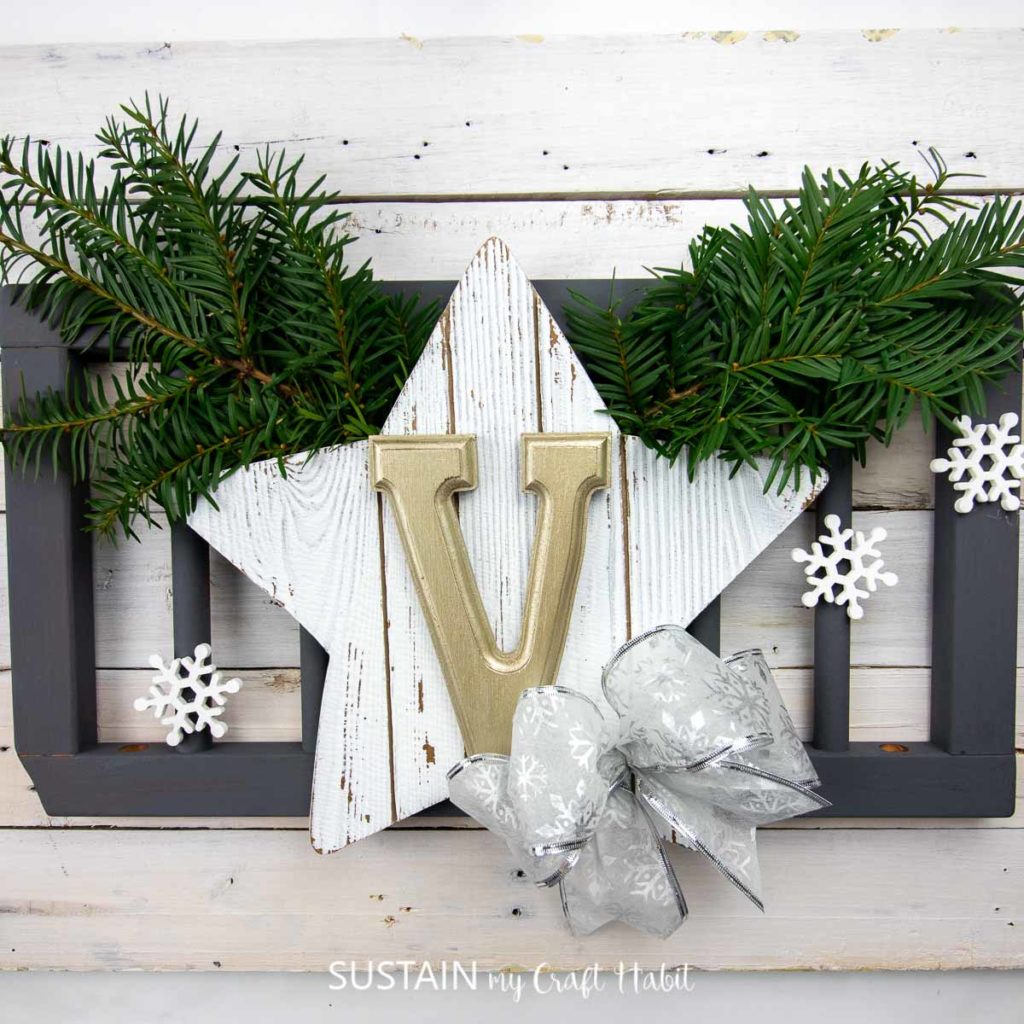
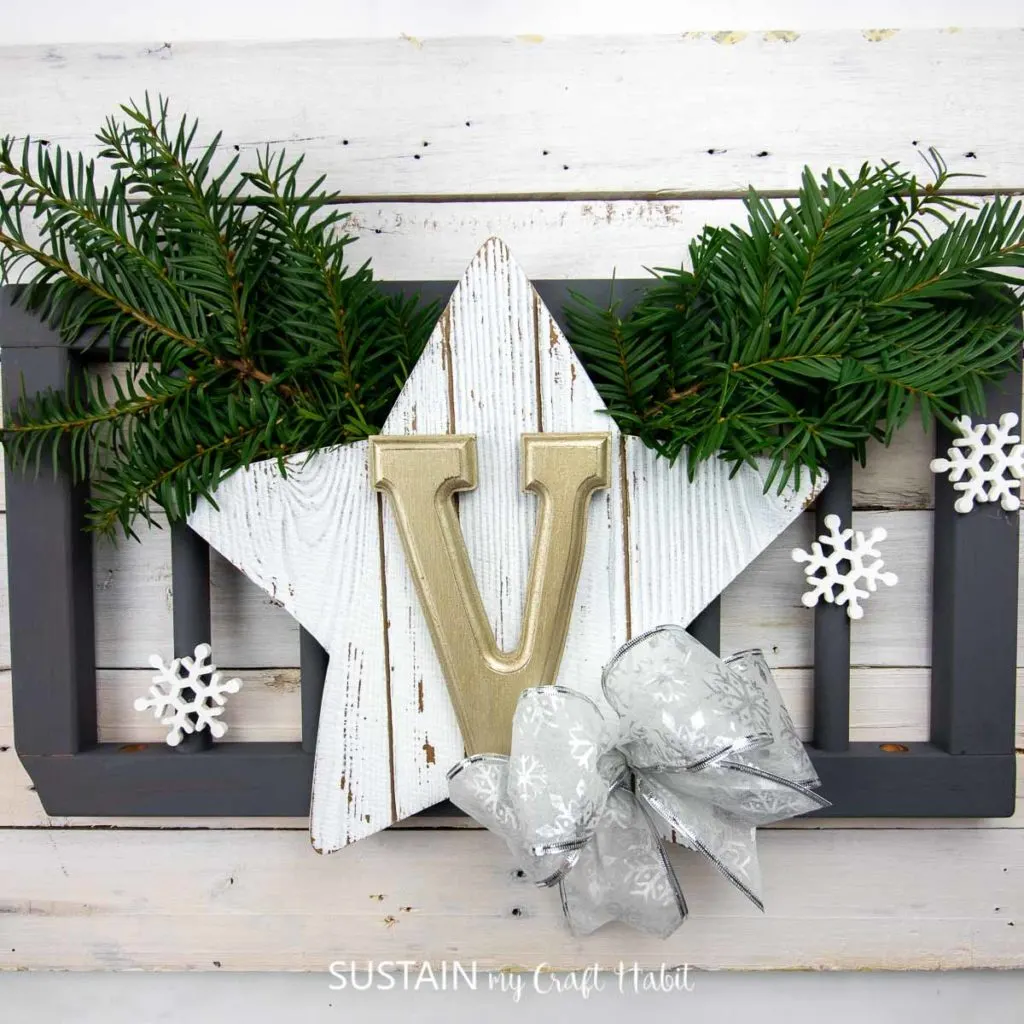
While there are amazing nursery wall decor ideas out there, many are overpriced. It is also hard to match the exact theme or vision for a nursery. Try our nursery letter idea below with materials from the thrift shop to perfectly match your planned nursery!

Nursery Wall Decor Idea
If you’ve been on Pinterest, or any nursery decor site, you may see a lot of monogram ideas. A monogram is a beautiful decoration to add to your nursery. It is so much fun to get once you have decided on a name; it almost solidifies the chosen name which is wonderful. Once your child is older, it can be the first letter they learn. It’s truly special!


Some of the prices for the letters for nurseries are quite expensive! If you’ve been here before, you know that we are huge fans of upcycling- or taking content that could be recycled and turning it into something even greater. With a frame from the thrift store (you could probably find one at your local dollar store as well), we were able to paint it and add a monogram letter to it. Find out how below!
Stay in the know on our latest crafts, special offers and freebies by joining our mailing list.
Materials Needed
Disclosure: This post contains affiliate links for your shopping convenience. Should you choose to purchase through them, we will make a small commission at no extra cost to you. You can read our full disclosure policy here.
- Vintage wood photo frame with insert
- Wood monogram letter
- Decoart Americana paint in Light Sage, Thicket, Morning Mist, Snow (Titanium) White
- Paintbrush
- Glue
How to Make Nursery Wall Decor
Disassemble the photo frame, removing any glass and or backing. Clean the frame to remove any dirt or grease.
Paint the wood frame with Thicket. Let dry and apply a second coat if needed.


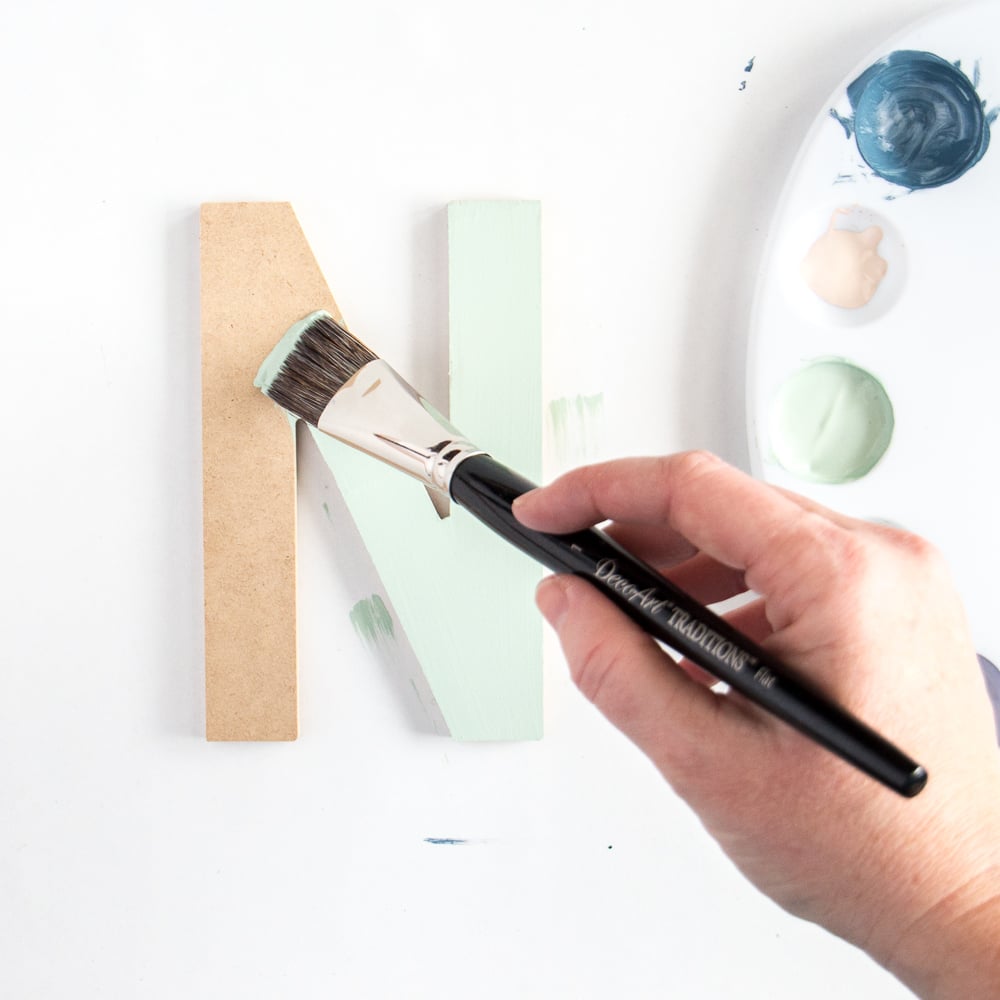
Paint the letter with Morning Sage. Let dry and apply a second coat if needed.

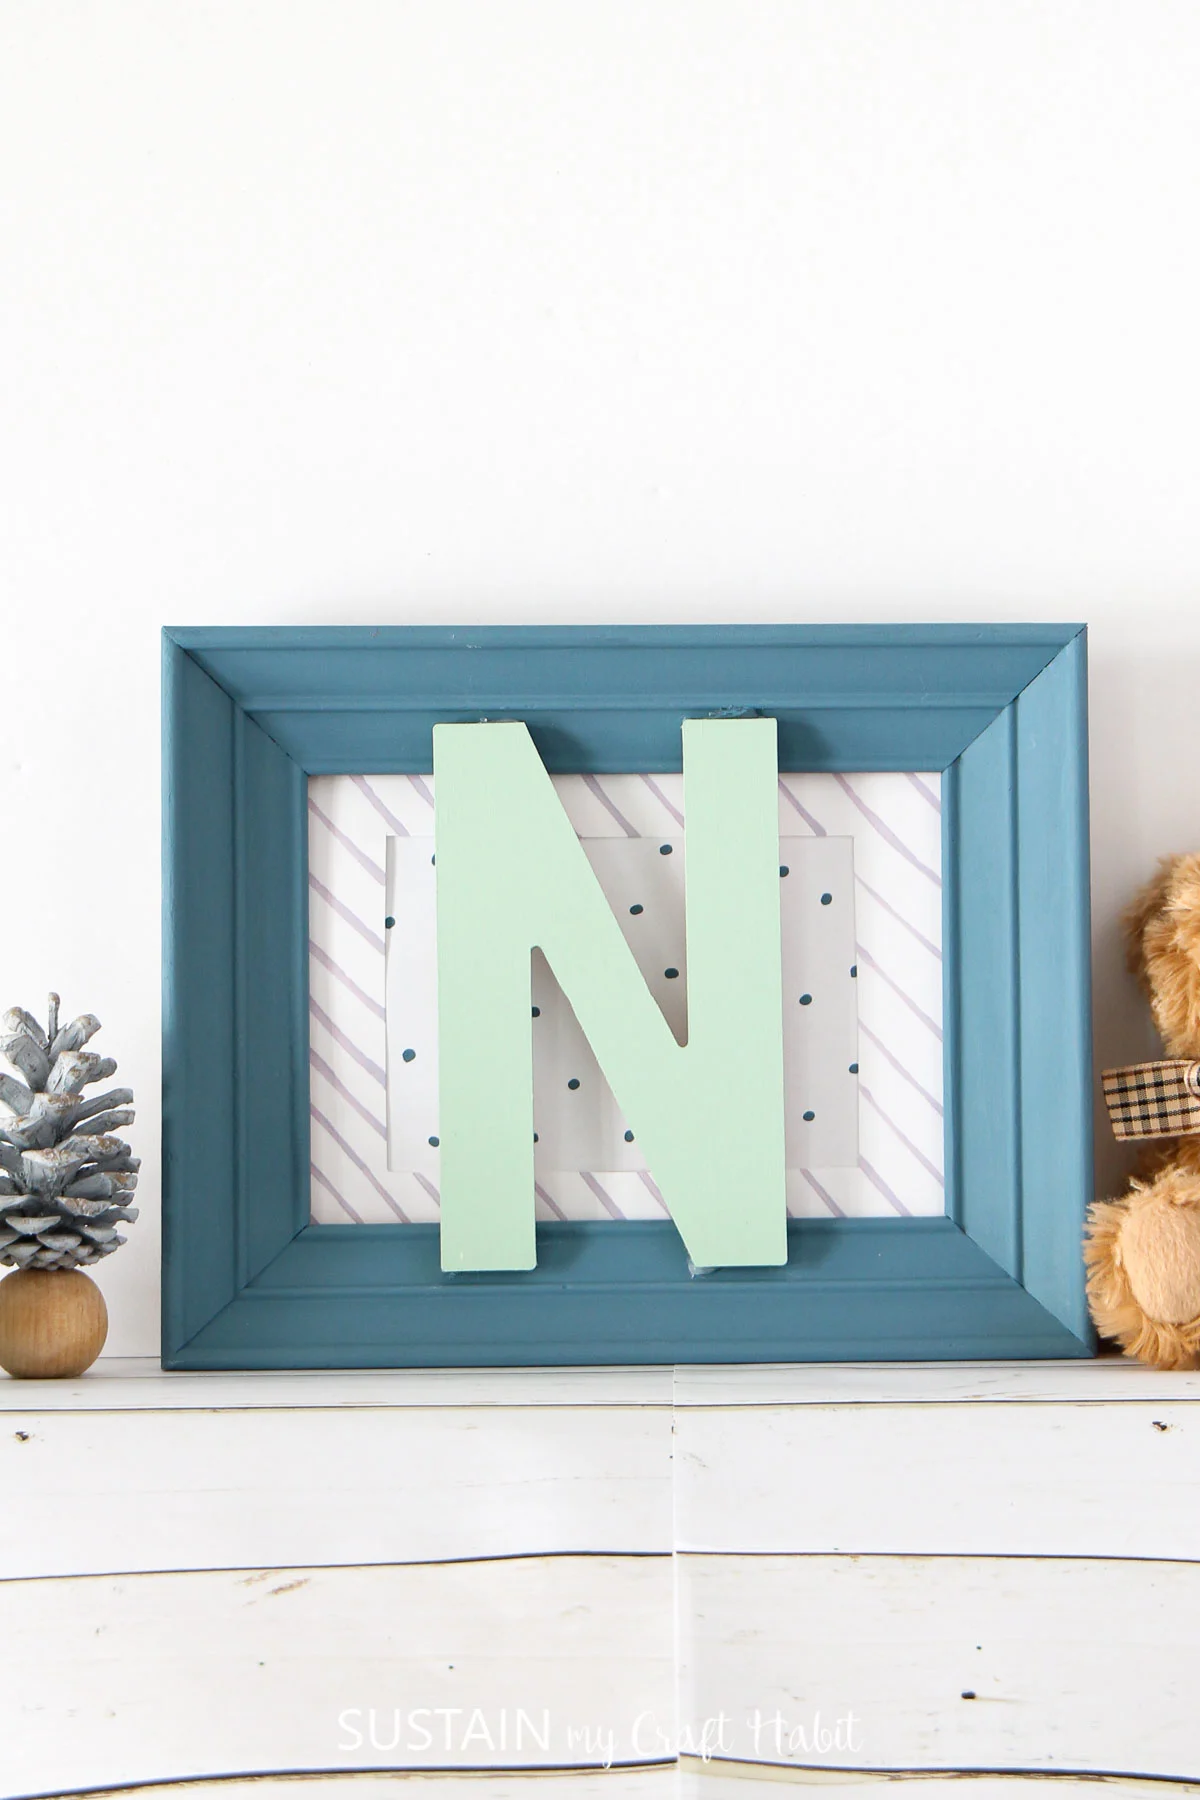
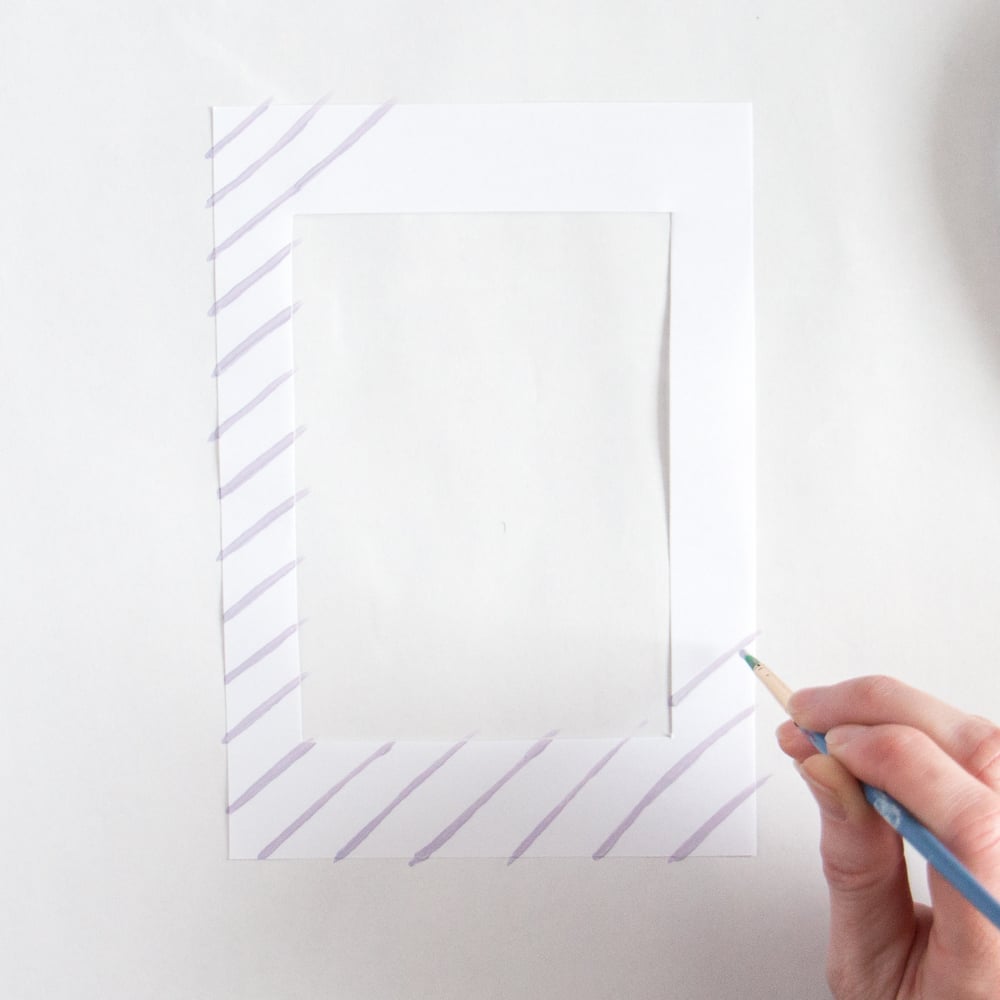
Cut out and insert a white background into the frame (i.e. from cardboard, bristol board or cardstock). Or if there was an insert of photo already in place, paint it white. Let dry and apply a second coat as needed.


Use a straight edge as a guide and paint thin lines diagonally onto the white photo insert.

Reassemble the photo frame and glue the letter in place with a hot glue gun and clear craft glue.


This craft originally appeared on DecoArt’s project gallery.


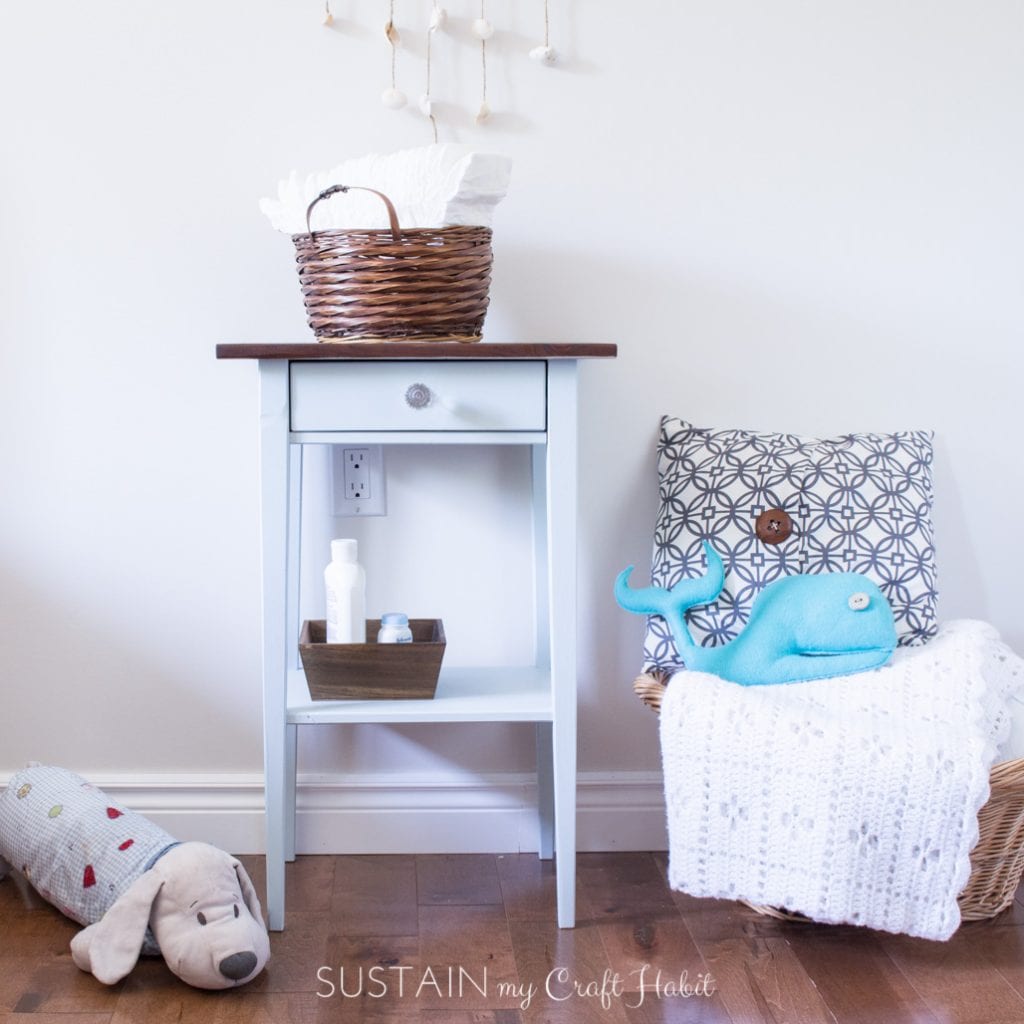
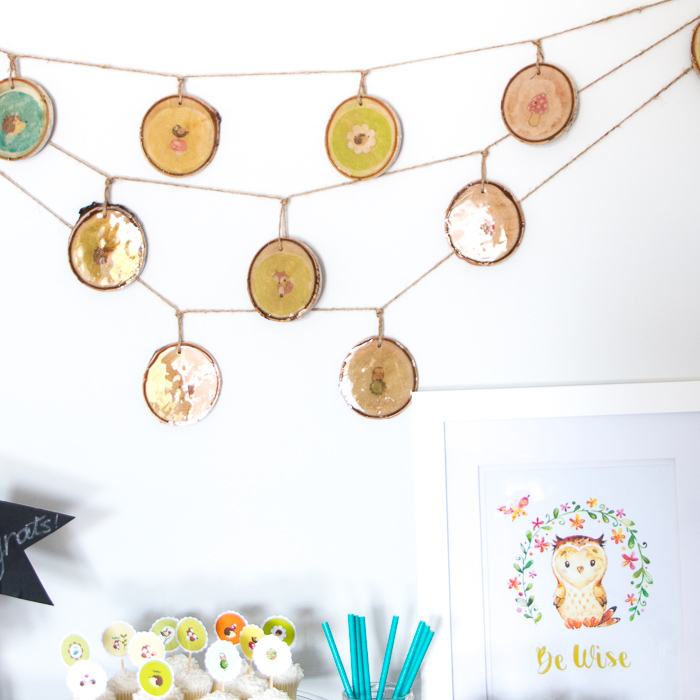
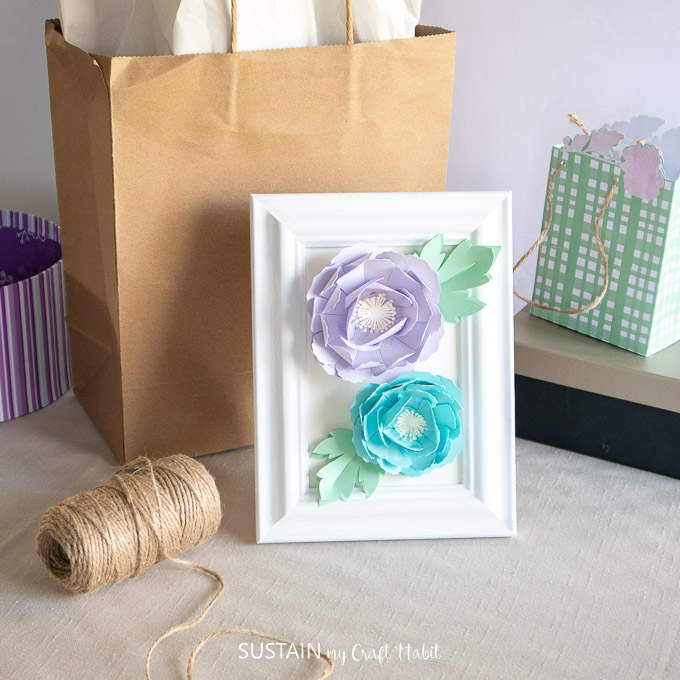
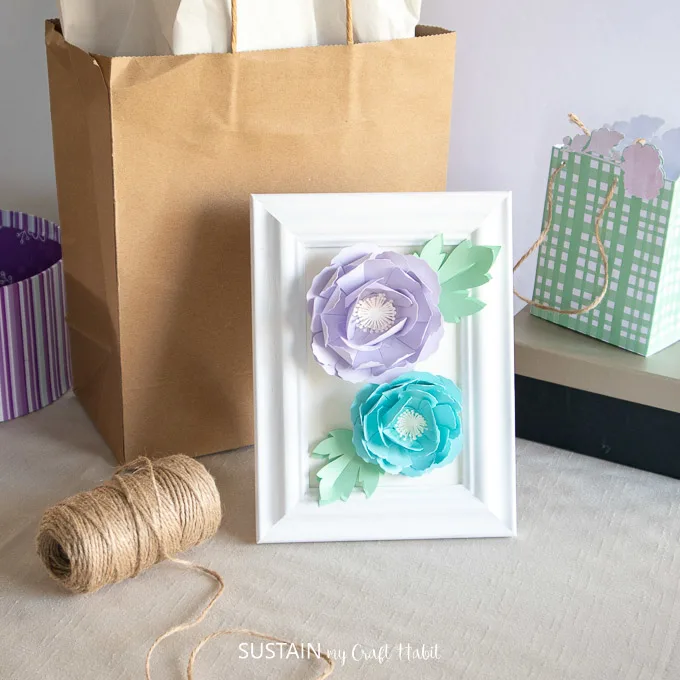
Complete your nursery with a nightstand makeover, blanket ladder and more DIY decor like this upcycled monogram decor, race car craft, woodland garland and these framed paper peonies.


How did your nursery wall decor idea turn out? We love seeing all of the nursery letter ideas you all have come up with since watching the video or following the step-by-step instructions here. Make sure to show it off to us! Tag us on Facebook or Instagram– we can’t wait to see it!
Join our crafting community to find more nature-inspired DIYs and upcycled craft ideas. It feels good to repurpose, upcycle and create with nature!
Like it? Pin it for later!


DIY Nursery Wall Decor Idea
Materials
- Vintage wood photo frame with insert
- Wood monogram letter
- Decoart Americana Paint in Light Sage, Thicket, Morning Mist, Snow (Titanium) White
- Paintbrush
- Glue
Instructions
- Disassemble the photo frame, removing any glass and or backing.
- Paint the wood frame with Thicket. Let dry and apply a second coat if needed.
- Paint the letter with Light Sage. Let dry and apply a second coat if needed.
- Cut out and insert a white background into the frame (i.e. from cardboard, bristol board or cardstock). Or if there was an insert of photo already in place, paint it white. Let dry and apply a second coat as needed.
- Use a straight edge as a guide and paint thin lines diagonally onto the white photo insert.
- Reassemble the photo frame and glue the letter in place with a hot glue gun and clear craft glue.