Making a Concrete and Driftwood Sailboat and other DIY Nautical Decor
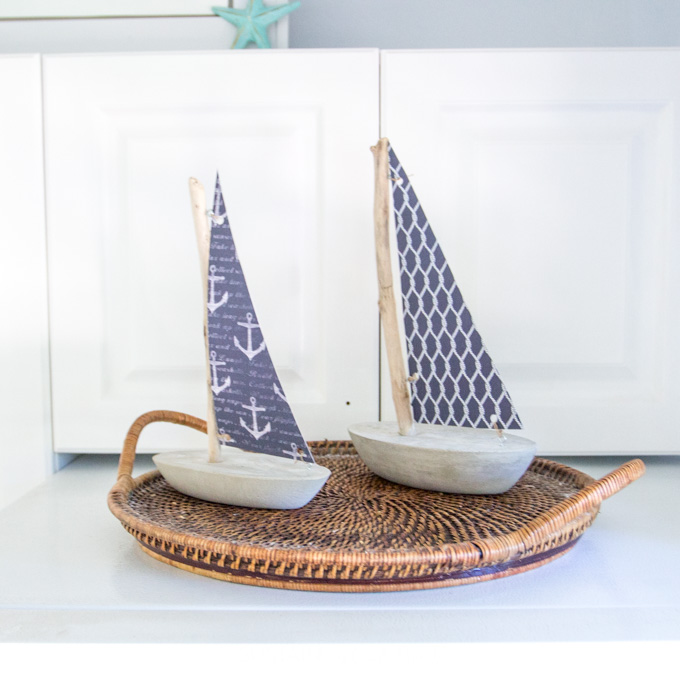
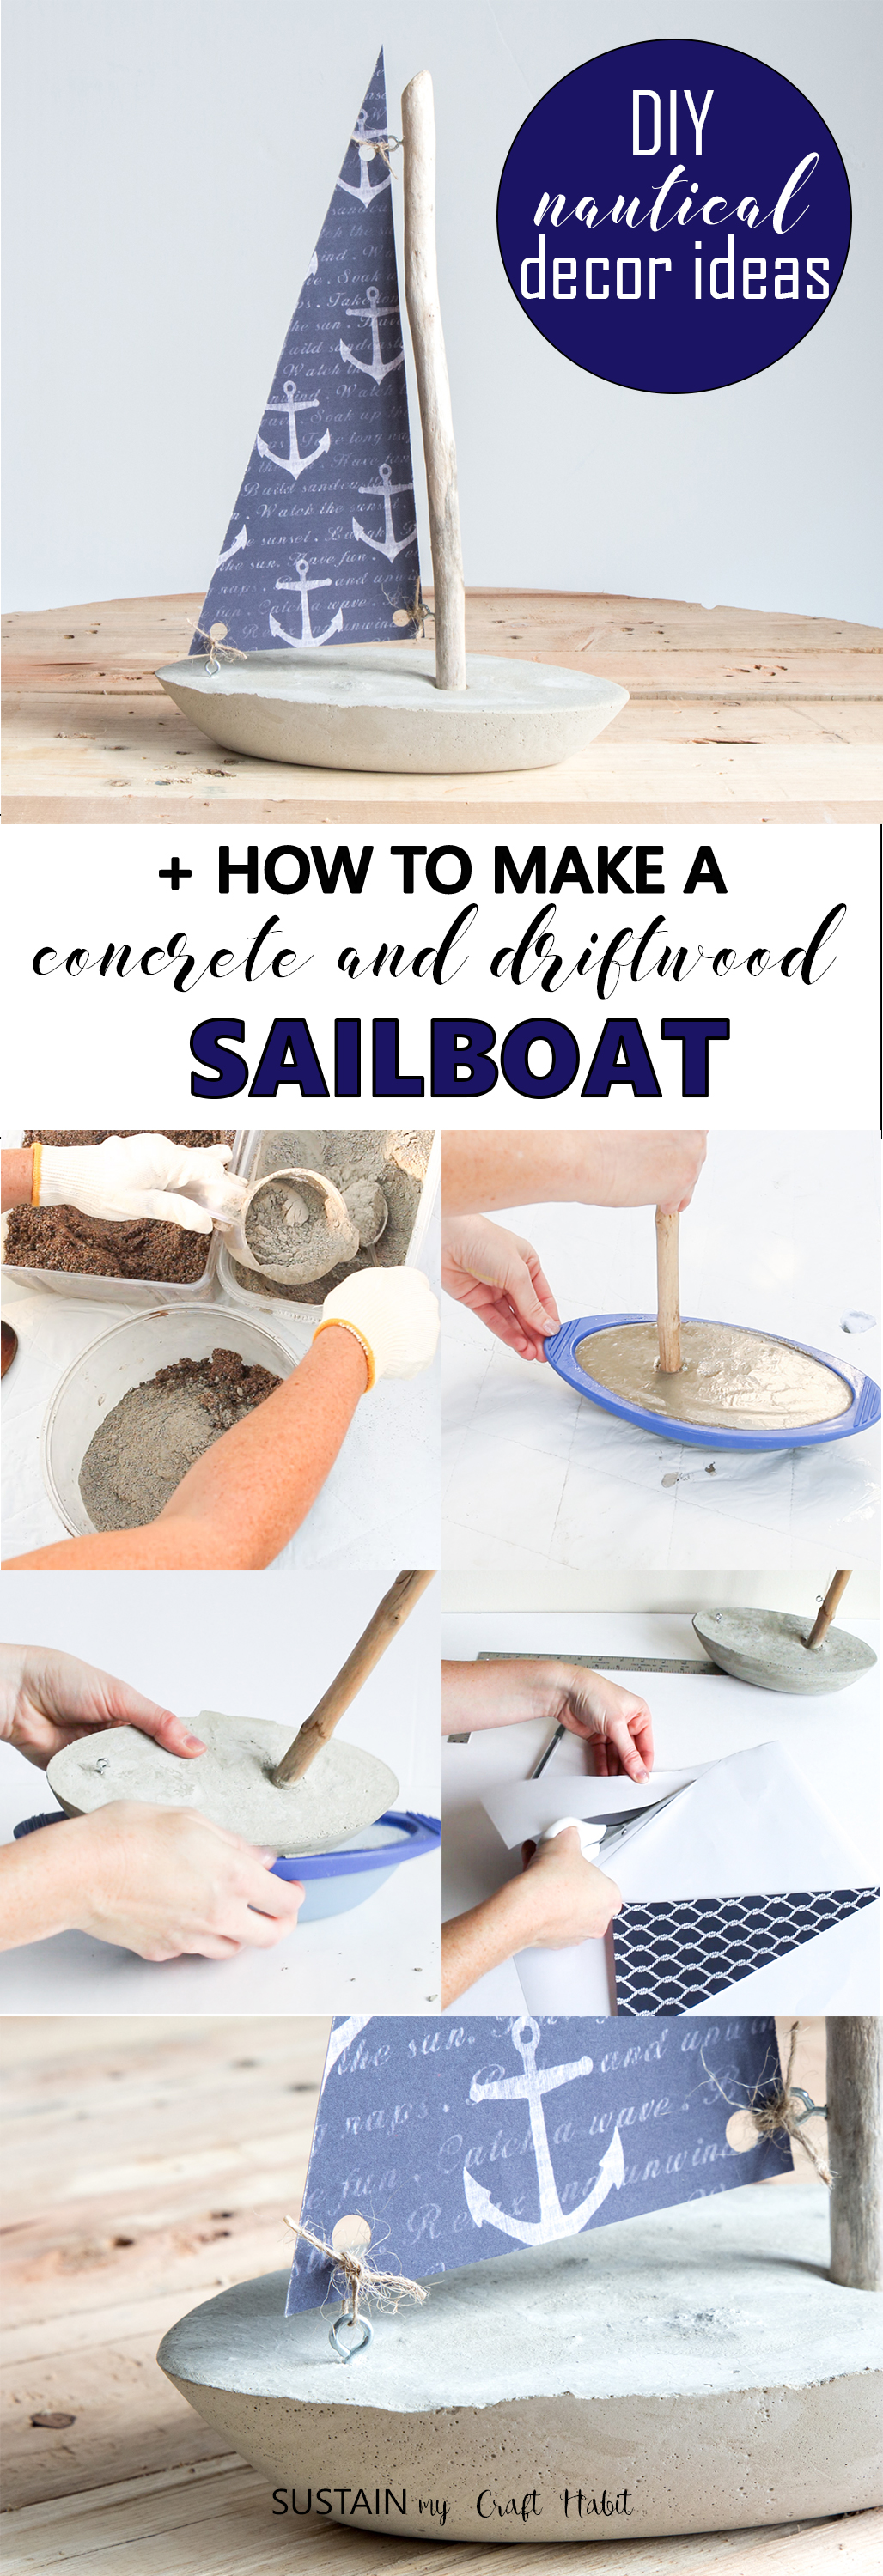
A few things instantly come to mind when we think of the word nautical: sailboats are one of them. So we thought it’d be fun to make this concrete and driftwood sailboat as part of our DIY nautical decor.
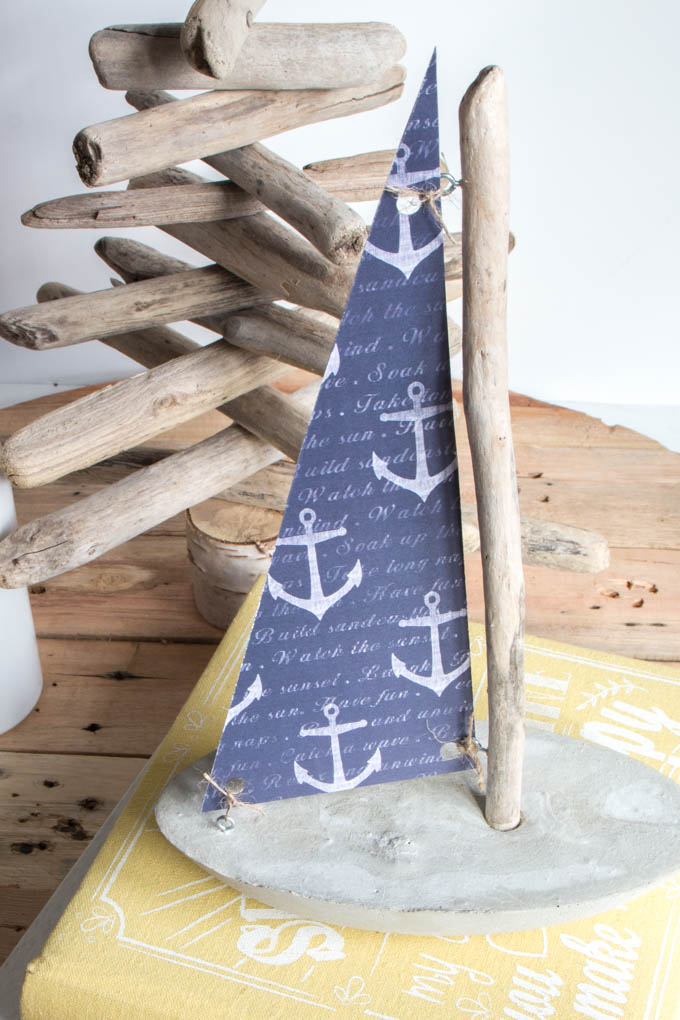
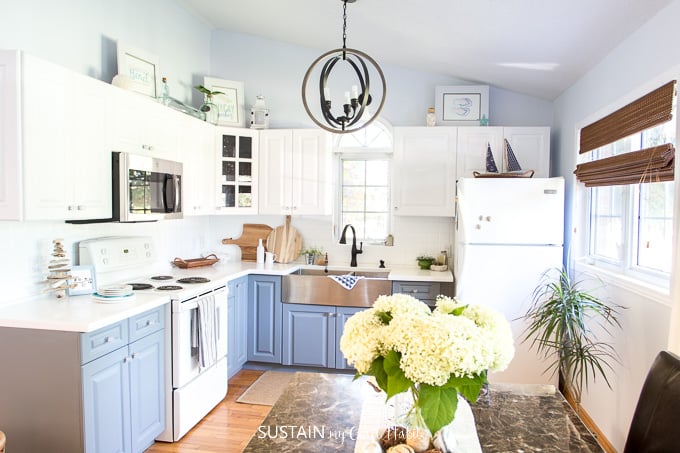
These sailboats look adorable when styled in a beach-themed bedroom such as our Lakeside cottage bedroom or our Orchardview cottage bedroom, bathroom, living room or as in our case, they make the perfect addition to our coastal cottage kitchen. Can you spot them there on top of the fridge? We choose nautical-themed scrapbook paper in shades of blues and whites that work well with all things coastal.
Around the same time, we also made these personalized DIY stepping stones as a keepsake for our mom’s flower garden. The process for mixing the concrete is the same and once you get started you can easily get hooked on the creative process!
For other DIY nautical decor ideas, check out these how-to posts:
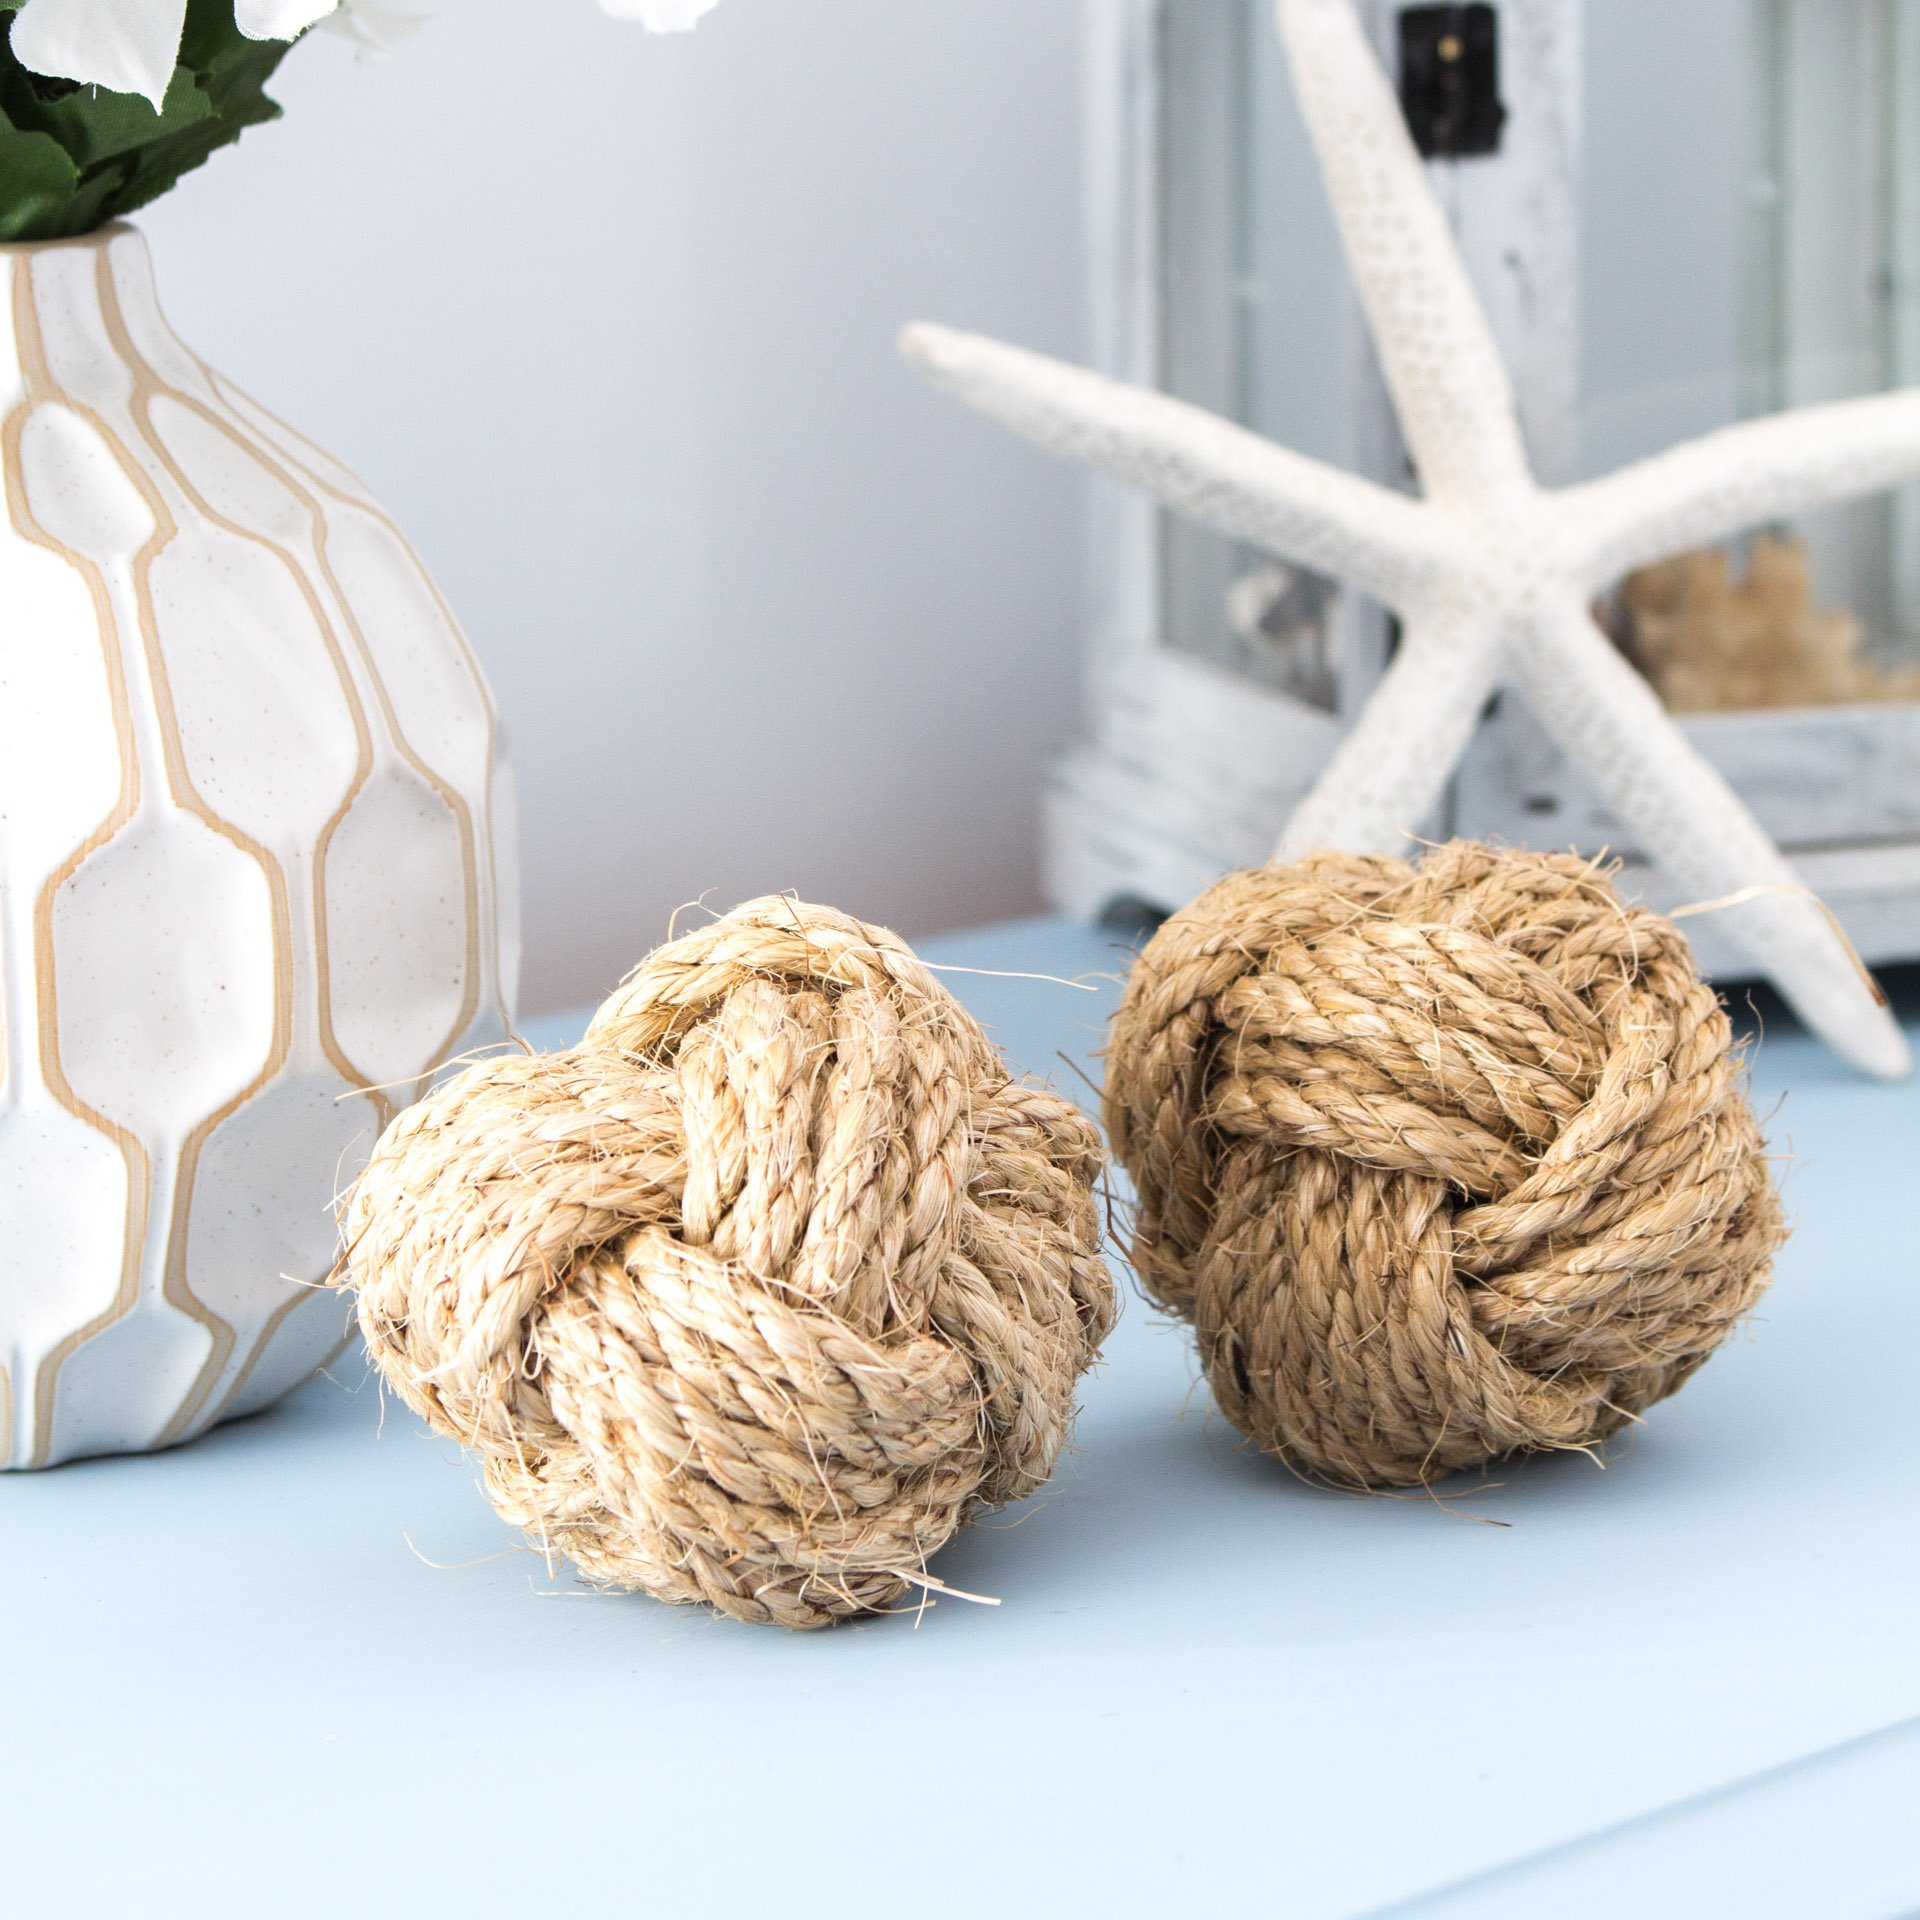
- Monkey Fist Rope Balls
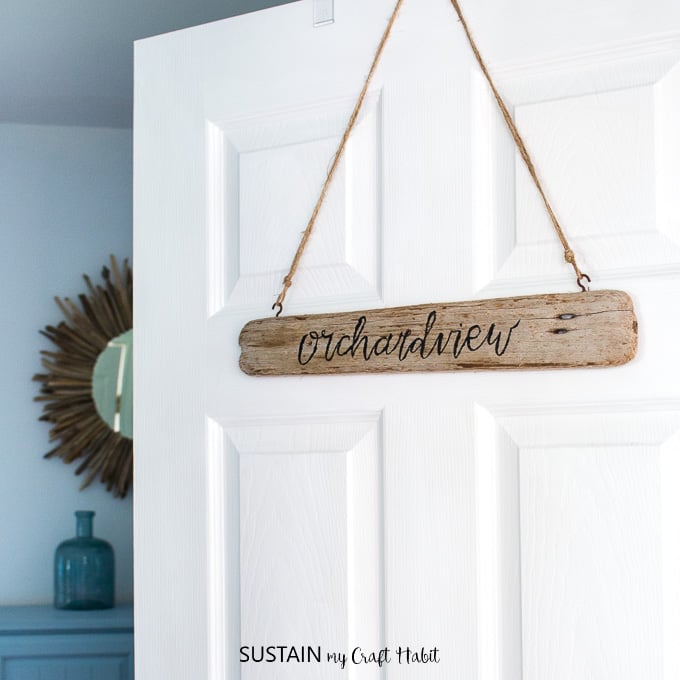
- Hand Lettered Driftwood Sign
- Hanging Rope Shelf with Driftwood
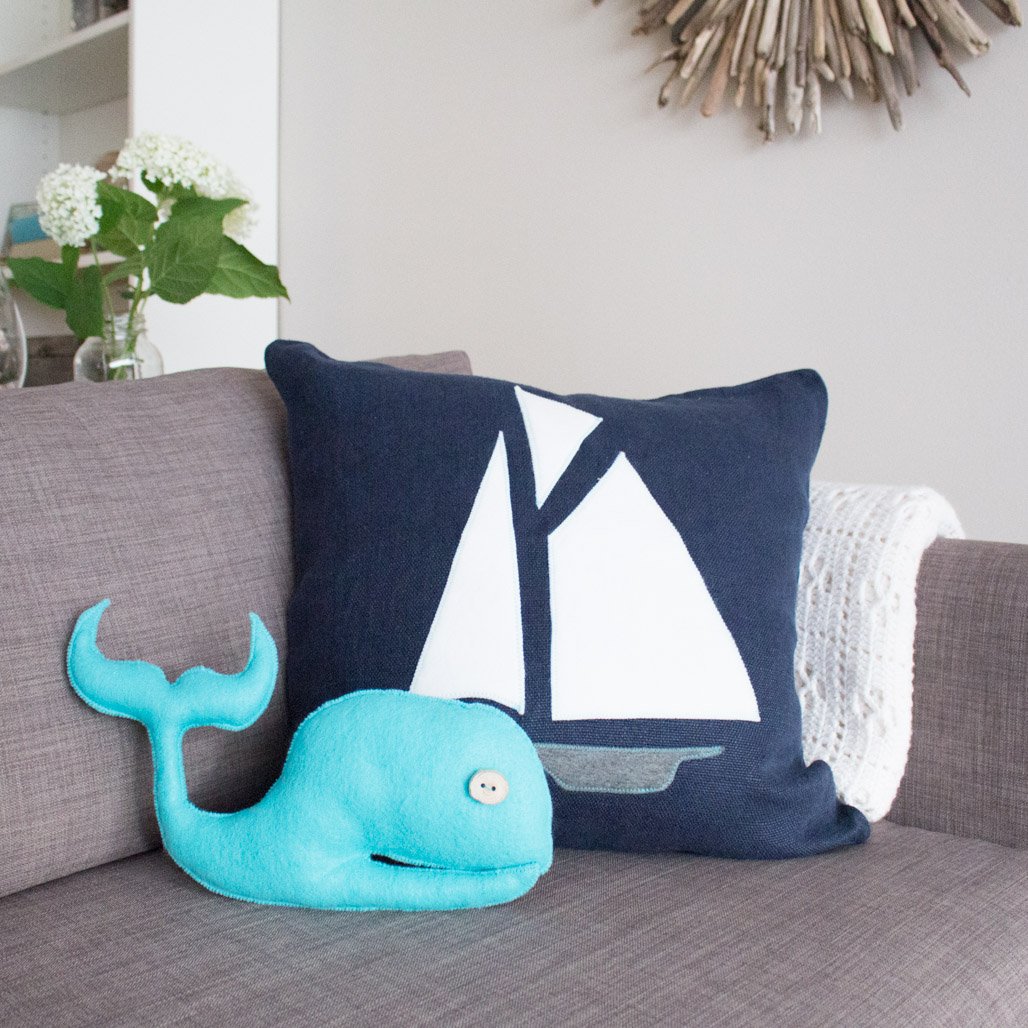
- Felt Sailboat Throw Pillows
- Seashell Wind Chime
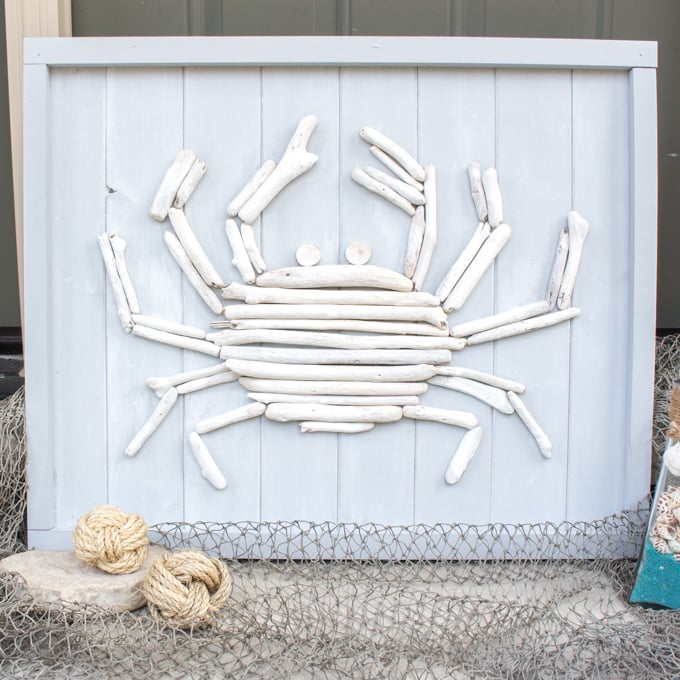
- Crabby Driftwood Wall Art
- Linen Napkins and Nautical Cable Napkin Rings
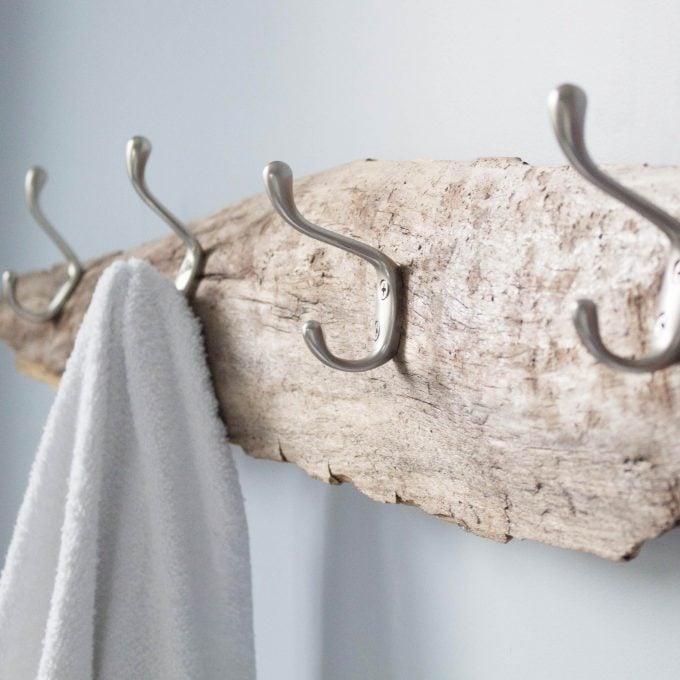
- Beachcomber’s Driftwood Towel Rack
- Heart Rocks and Seaglass Mobile
Supplies Needed to Make a Concrete and Driftwood Sailboat:
Disclosure: This post contains affiliate links for your shopping convenience. You can find our full disclosure here.
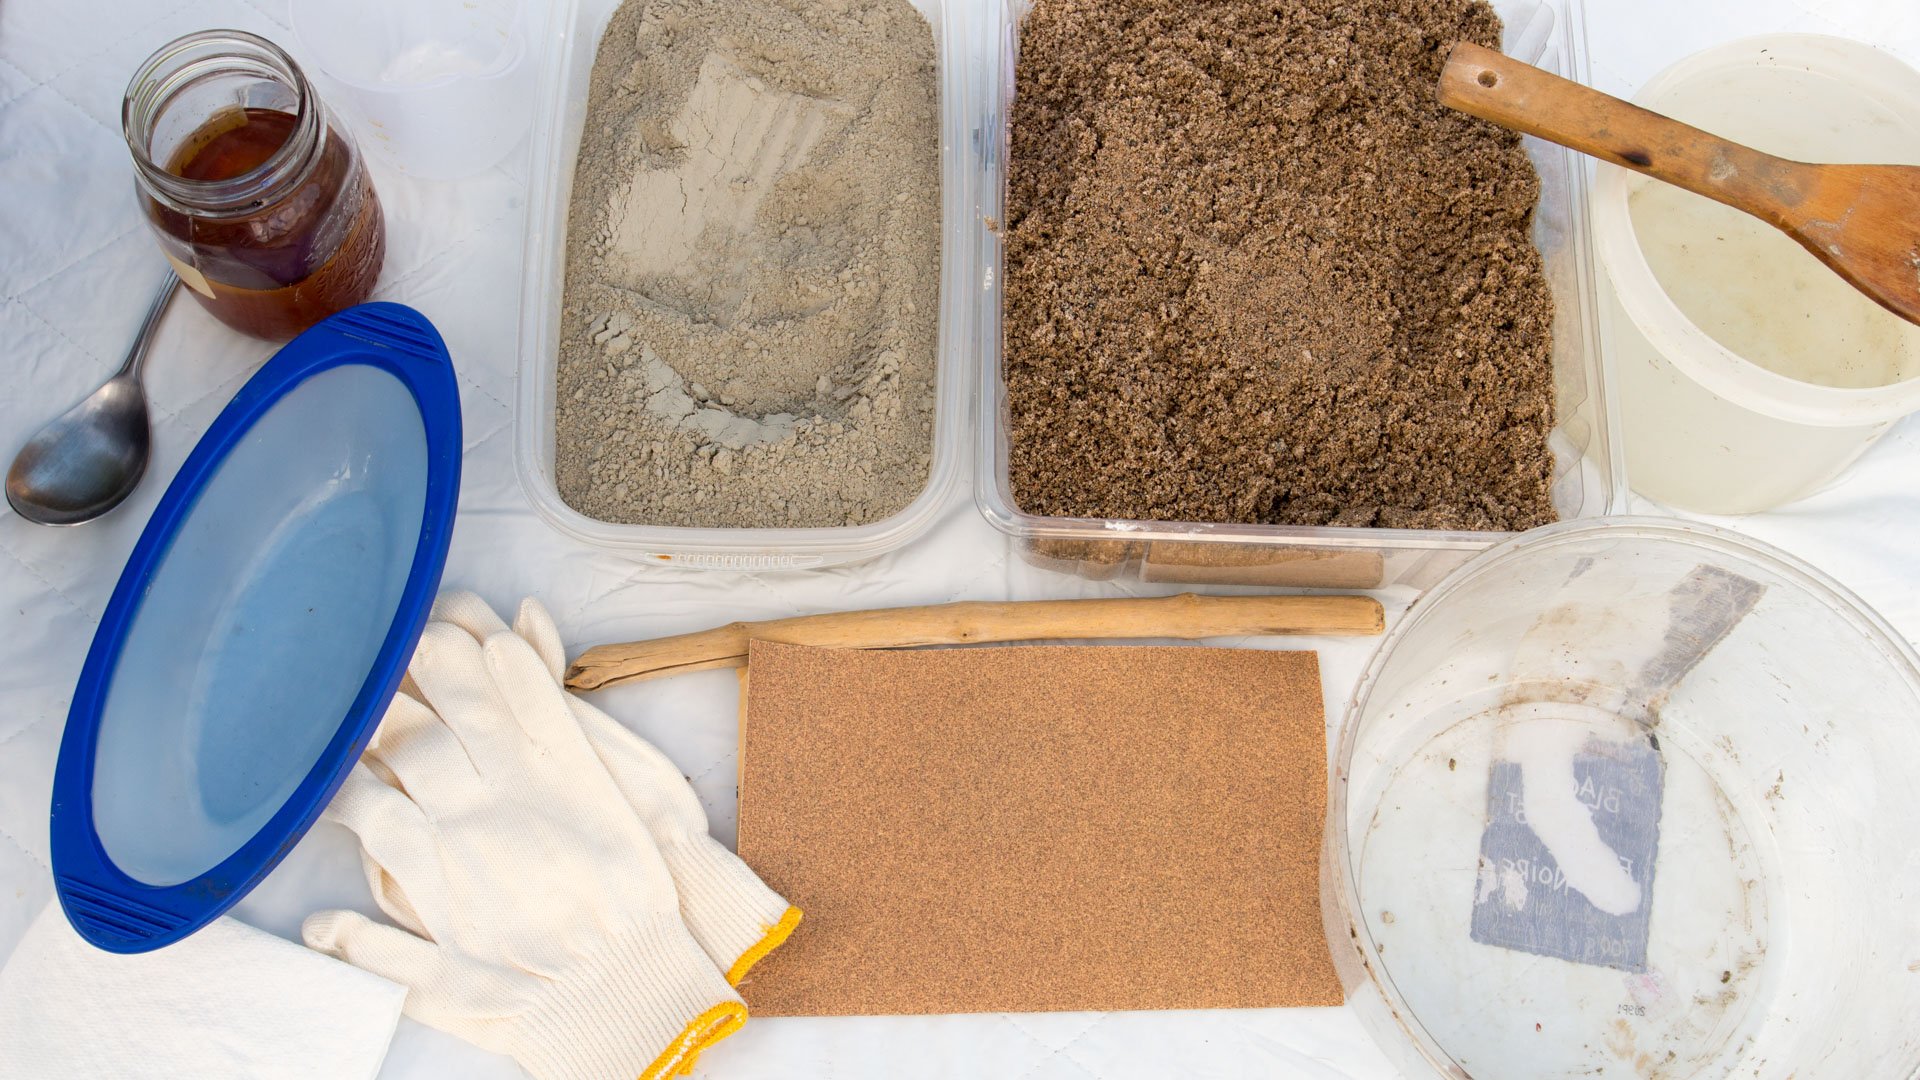
- boat-shaped mold (e.g. a beach toy)
- vegetable oil
- sand for concrete
- Portland cement
- container with water
- container for mixing
- measuring cup
- spoons for scooping ingredients and for mixing
- straight driftwood piece, about 12” long
- sandpaper
- drill and small drill bit
- 3 eyelets, small 1/2″
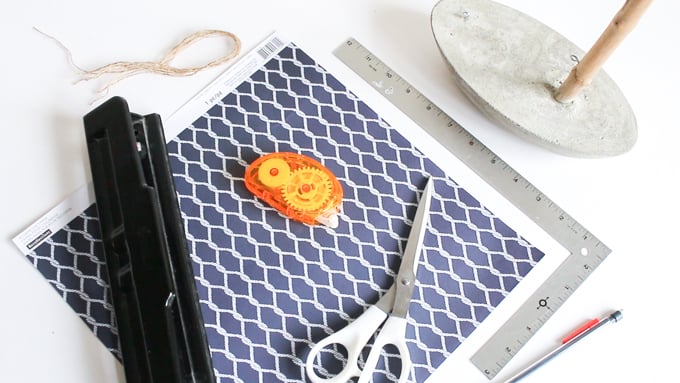
- 12”x12” nautical themed scrapbook paper
- natural twine
- hole punch
- pencil, ruler
- scissors, glue
Instructions:
Making the Concrete Base
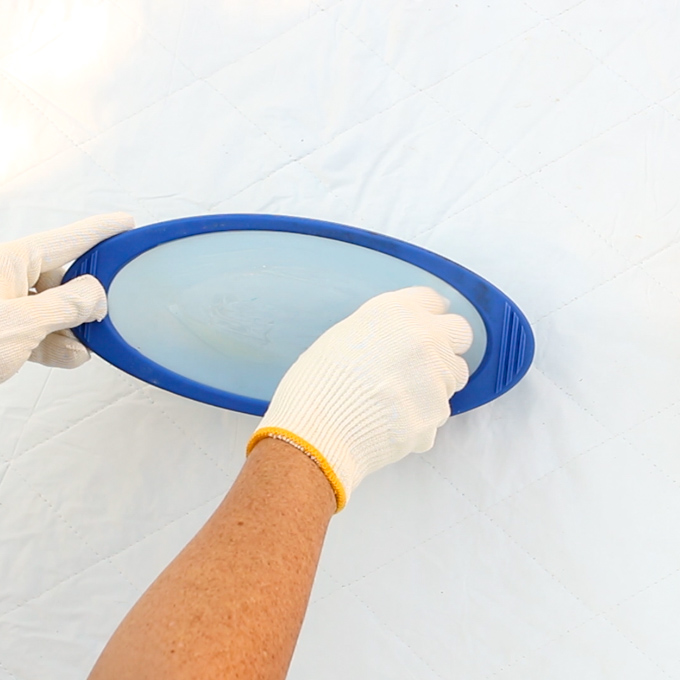
Generously coat your boat mold with a release agent such as vegetable oil.
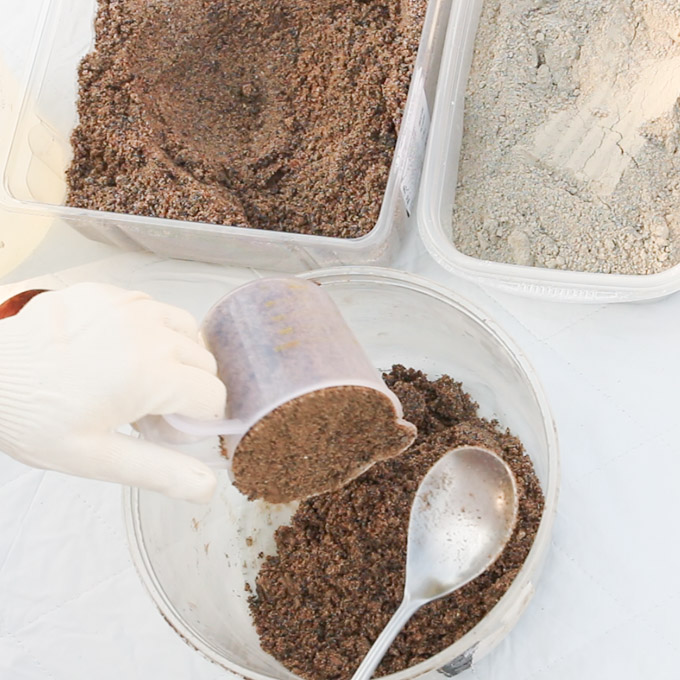
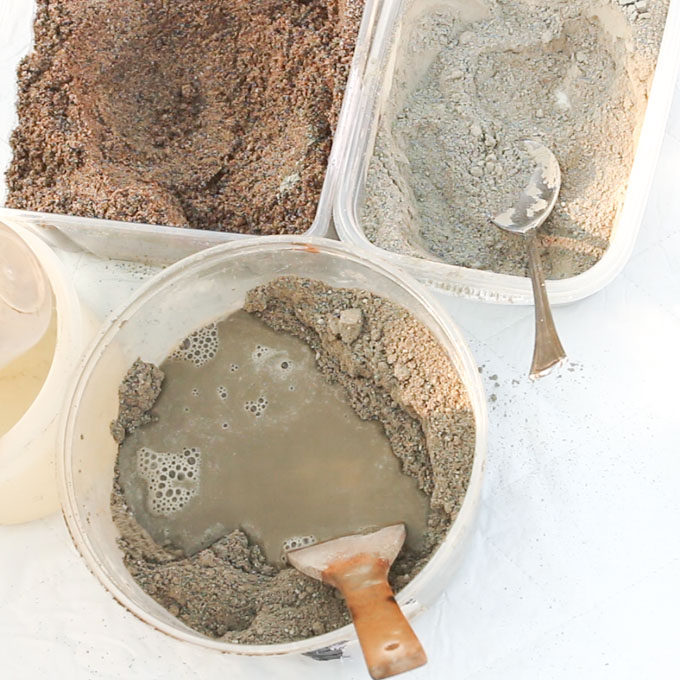
Use a measuring cup to measure equal amounts of sand and cement (two cups of each in this case). Mix them together well.
Next, you’ll need to add water to the mixture but this will depend on the moisture level of the sand to begin with. Start by adding a half the amount of water to the cement mixture. It’s better to start with less water and then add more if needed. You’re aiming for a thick dough-like consistency.
Pour or scoop your concrete mixture into your mold and gently tap the mold to level the concrete and help move air bubbles to the surface. Avoid overfilling the mold.
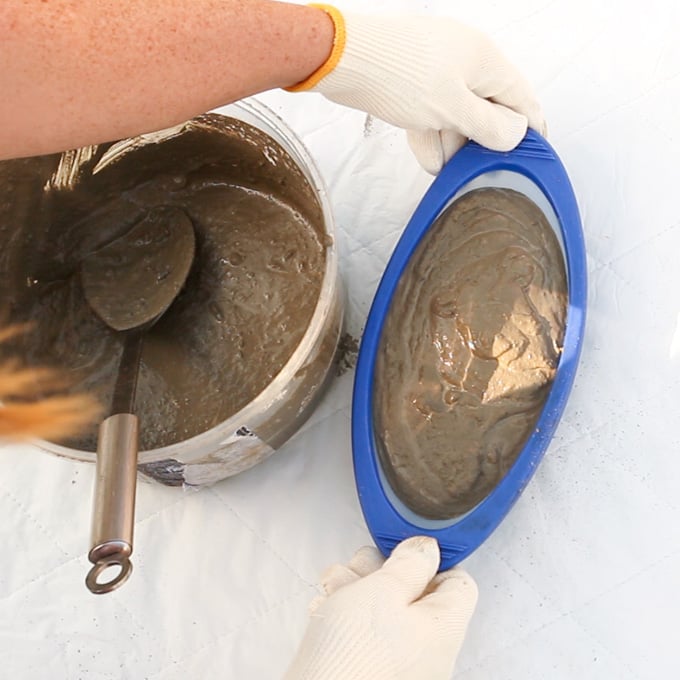
Place the filled boat mold on a level surface and let set for at least one hour before inserting the driftwood mast. In hot climates, or if the concrete appears to be drying too quickly, consider spraying the surface with water to keep it from cracking.
Adding the Sailboat Mast and Eyelets
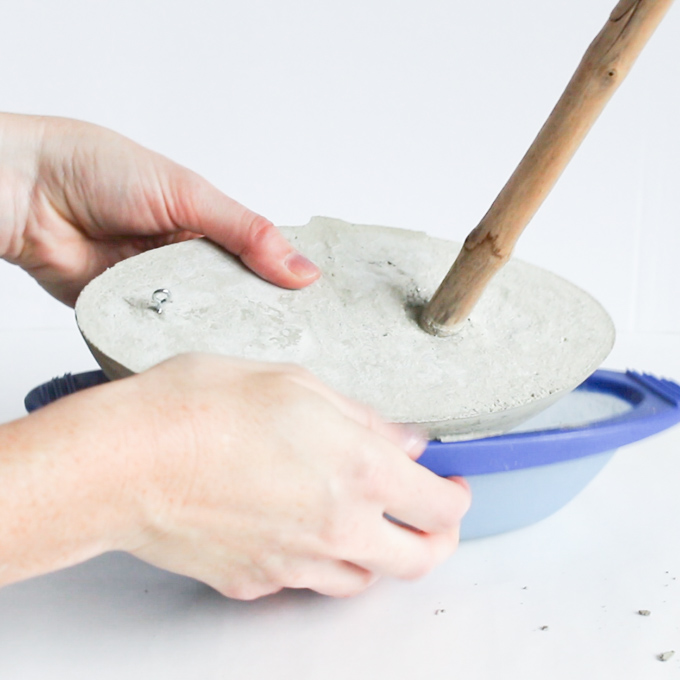
Once the concrete has firmed up a bit, insert the driftwood mast, about 1/3 of the way from the front of the boat. It should be able to stand up on its own. If not, wait another hour and try to insert the driftwood again. Jiggle the boat to help the cement settle around the driftwood.
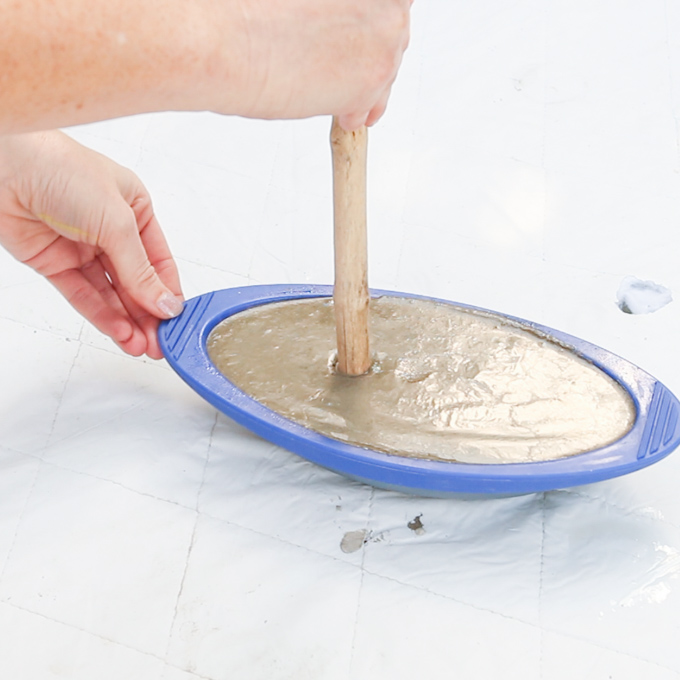
Insert a small eyelet close to the back of the concrete boat base before the concrete sets completely. Let the concrete boat completely cure 24-48 hours.
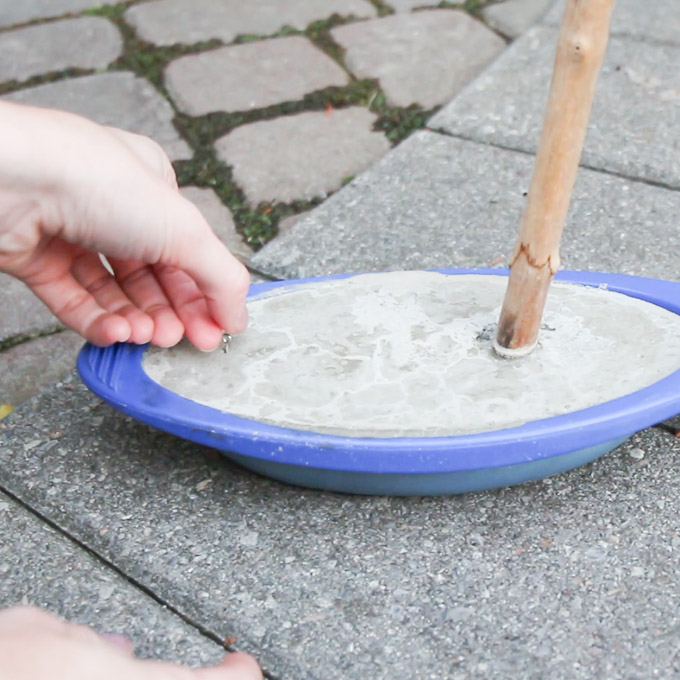
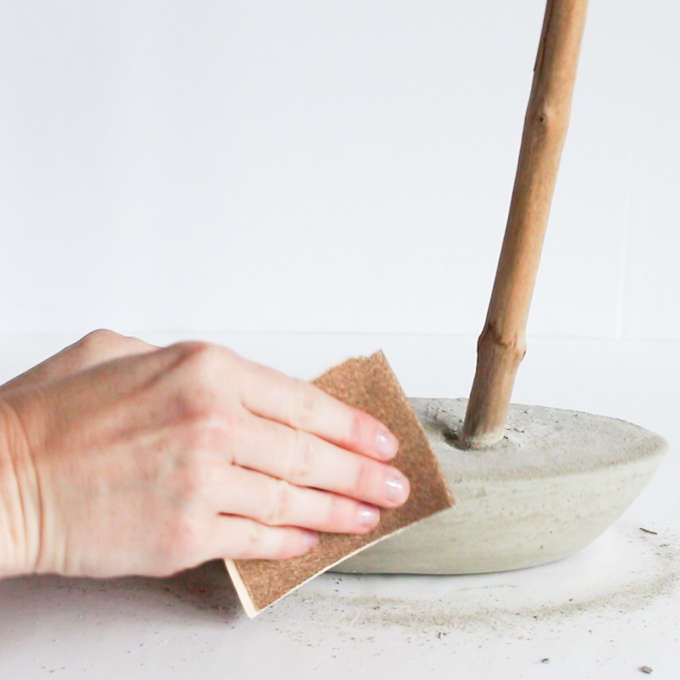
Remove concrete from mold and gently sand all edges.
Drill two small eyelet holes in the driftwood mast: 1” from the top and 1” from the surface of the concrete boat. Ensure that the holes are facing towards the back of the boat.
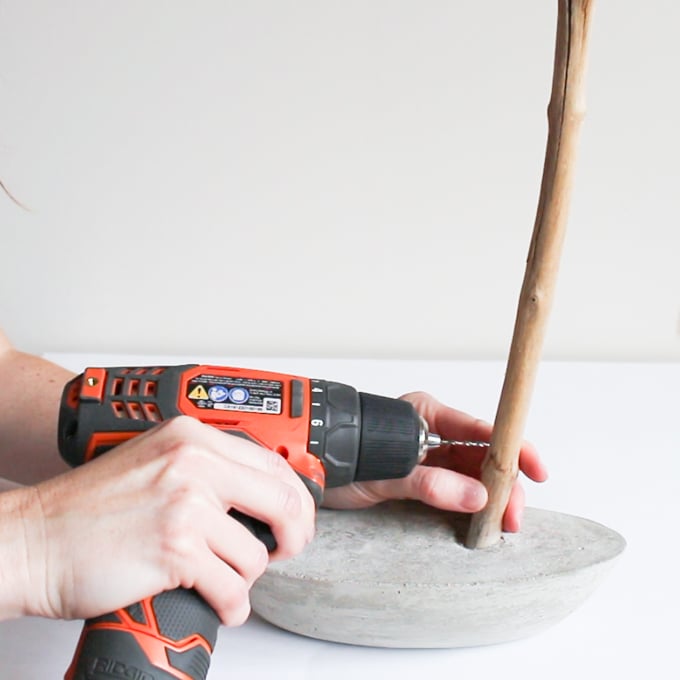
Screw eyelets into each of the drilled pilot holes.
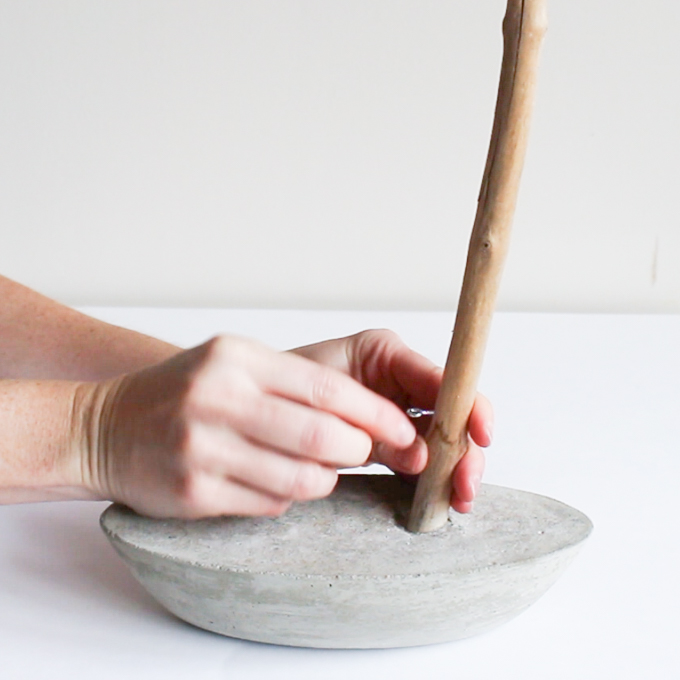
Mounting the Sail
Measure the distances between the three eyelets to determine how the sail needs to be cut. Add an extra 1” to the length and width of the triangle.
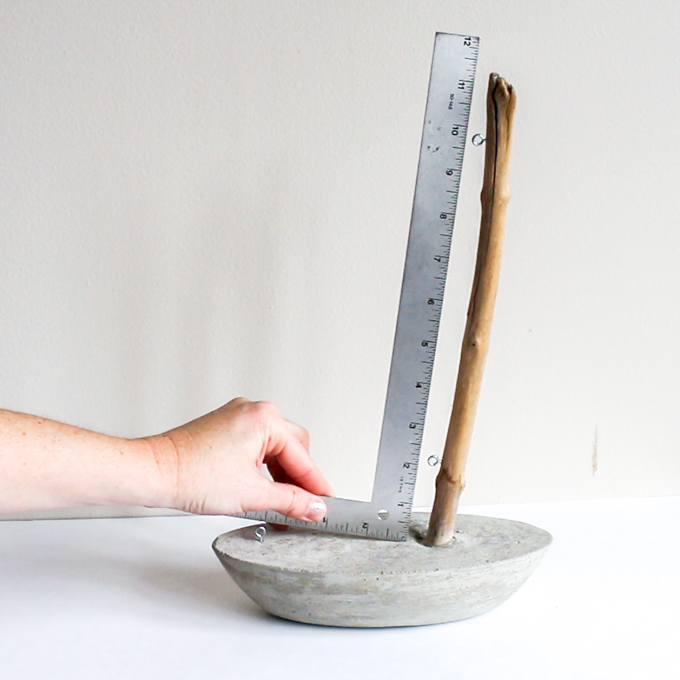
Use those measures to mark and then cut a triangular shaped sail from the nautical scrapbook paper. Use the cut sail as a template to cut a second sail. (Note: this step isn’t necessary if you use 2-sided scrapbook paper).
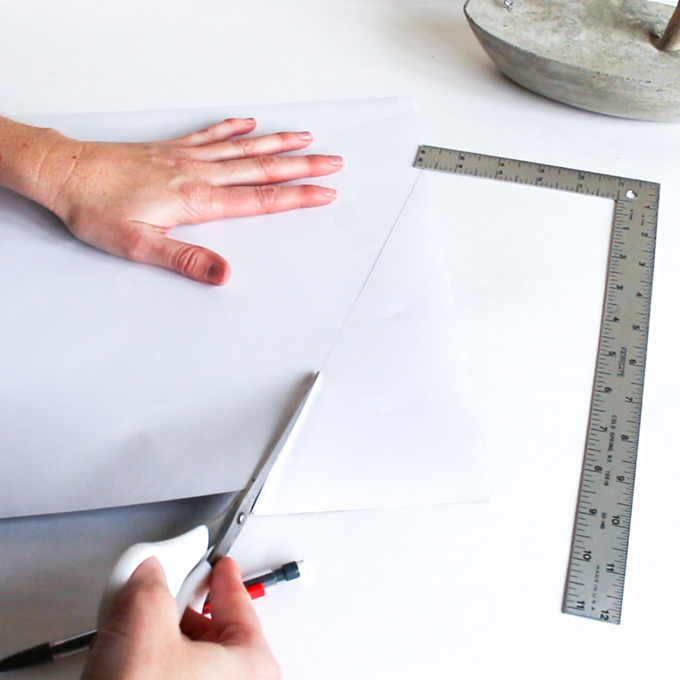
Using a double sided tape, apply tape to back side of one cut triangle. Stick the two wrong sides together and trim away any uneven edges.
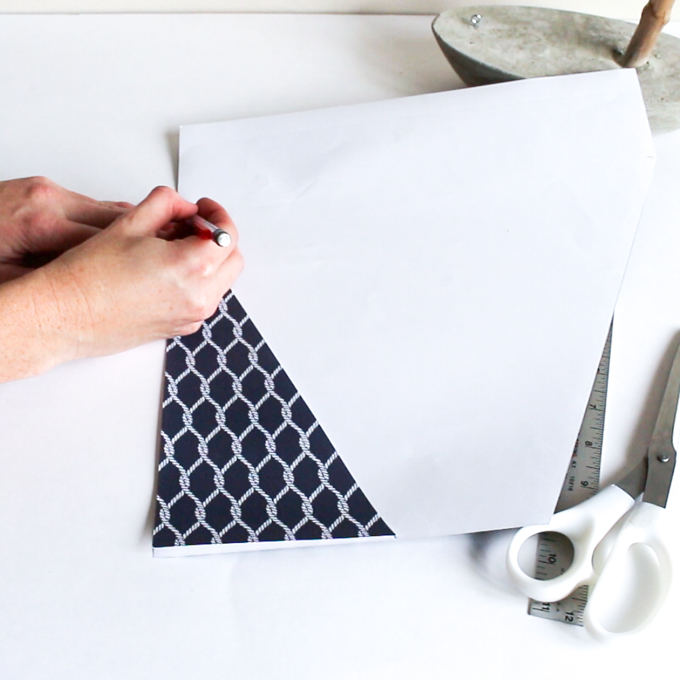
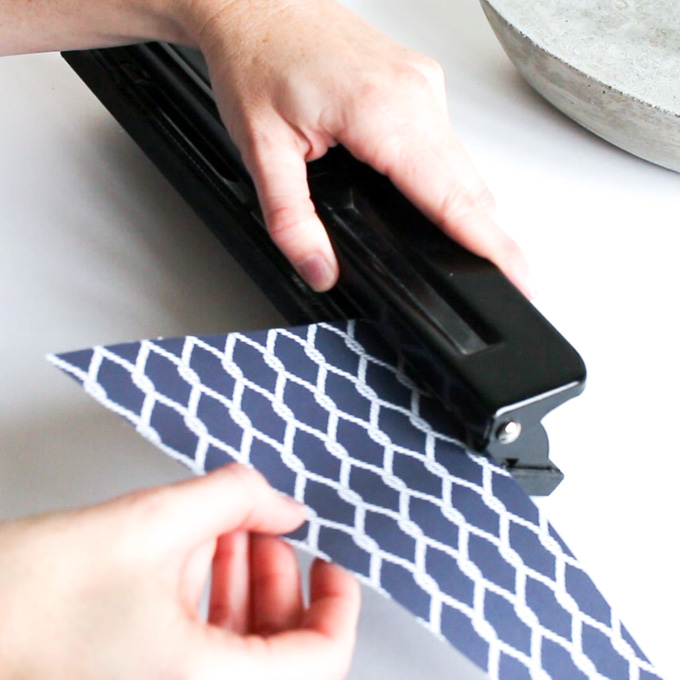
Measure the distance between the eyelets (length and width) and mark them onto the triangle cut paper. Using a hole punch, insert your cut paper and punch one hole over top of your markings.
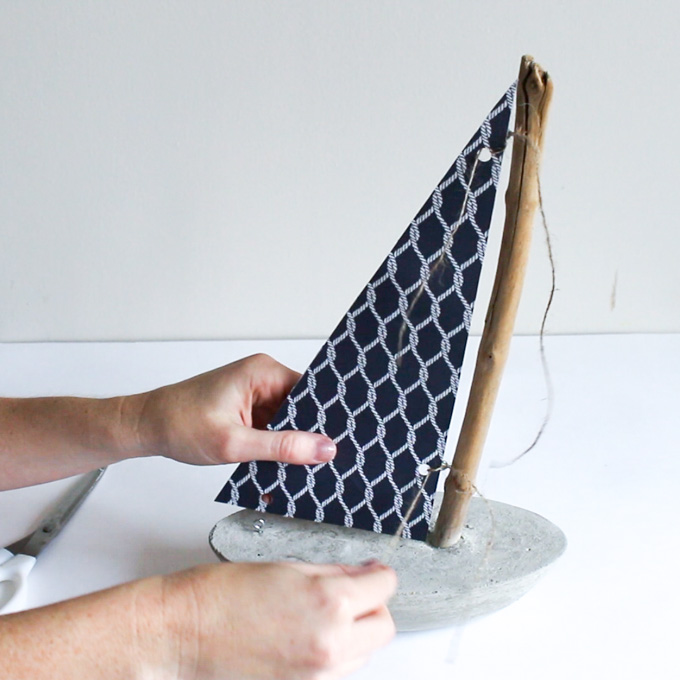
Begin attaching the sail to the boat by aligning the hole punches on the paper with the eyelets on the boat. Loosely tie them together using a pieces of cut twine.
What other things come to your mind when you think about the word nautical?
Note: This project originally appeared on Crafts By Amanda .
Like it? Pin it for later!








Thank you for this nice list of DIY nautical decor projects! 🙂
I personally designed several paper decors. If you are curious, I invite you to see them on my website https://www.ecogamishop.com/marine-animal