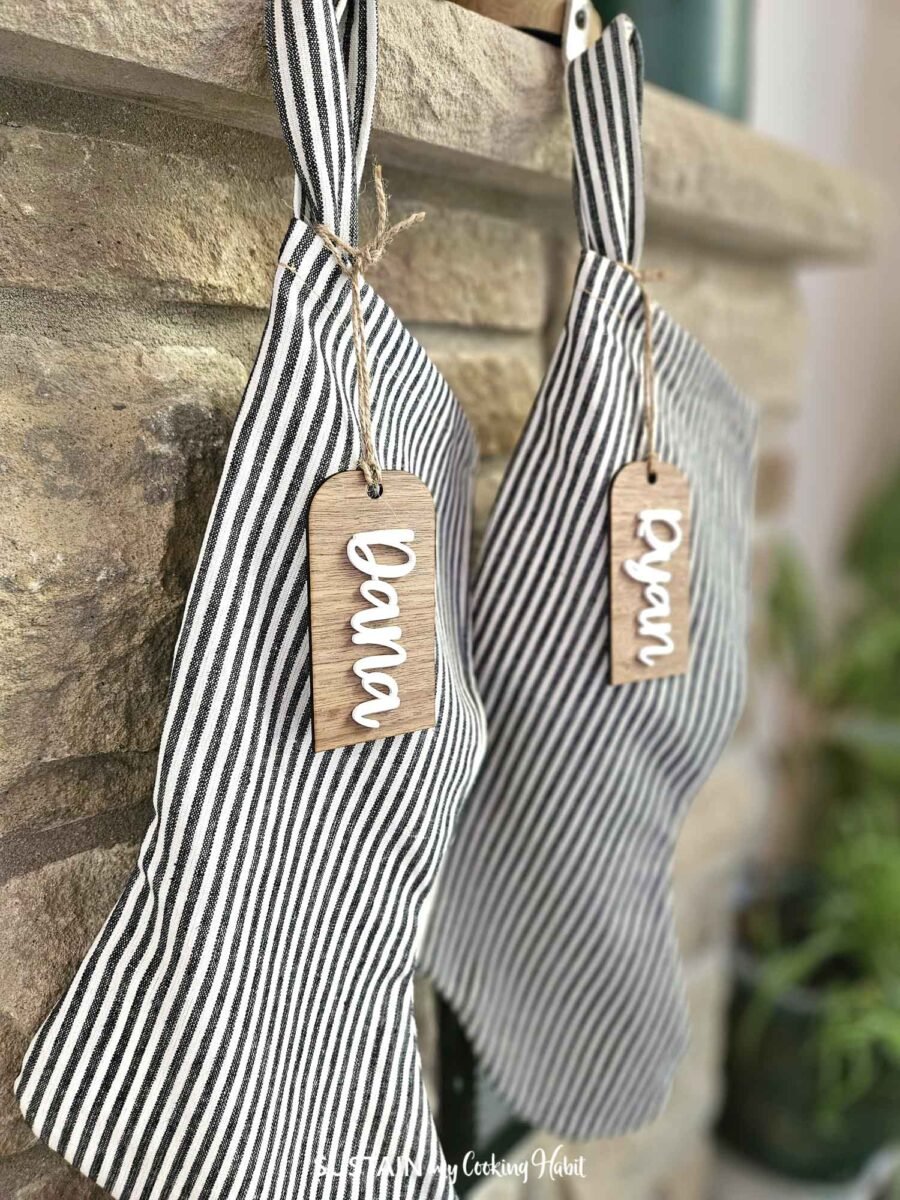
The holiday season brings with it countless opportunities for personalization, and few decorations carry more sentimental value than Christmas stockings hung with care. Creating personalized DIY stocking name tags with an xTool laser cutting machine adds a modern twist to this cherished tradition, allowing you to craft professional-looking name tags that will last for years to come.
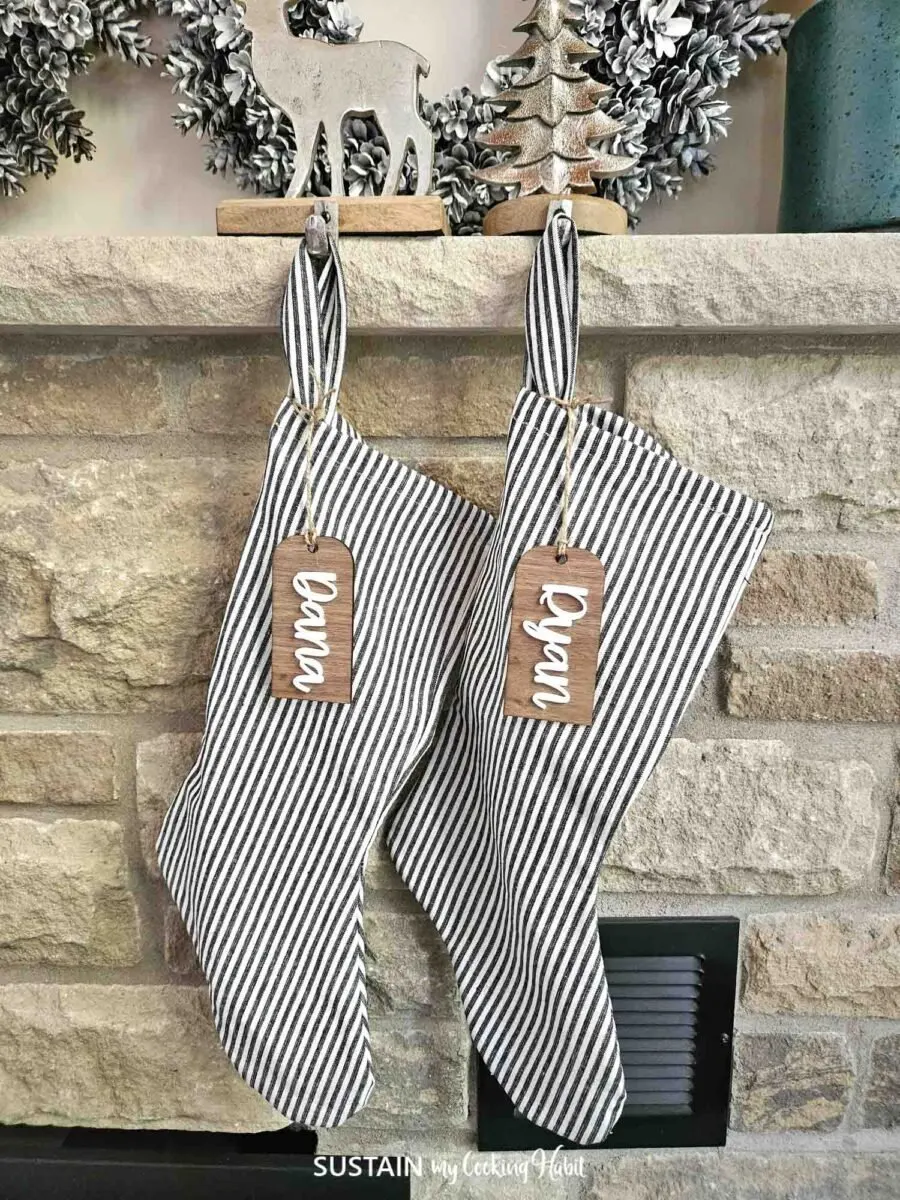
This project is perfect for both beginners and experienced crafters, requiring just 1-2 hours to complete a set of tags (and less once the template is all set up!).
Why You Will Love These DIY Stocking Name Tags with xTool
Crafting DIY stocking tags with an xTool laser cutter is a rewarding project that perfectly blends traditional holiday charm with modern personalization. These custom tags not only add a sophisticated touch to your Christmas decor but also create lasting family heirlooms that can be treasured for generations.
They’re also remarkably cost-effective when made at home; once you have your materials, you can create multiple tags for the entire family, make extras for gifts, or even start a small holiday business selling custom designs. Whether you’re replacing worn-out tags, welcoming new family members, or simply wanting to refresh your holiday décor, these DIY stocking tags are a perfect blend of practicality and festive creativity.
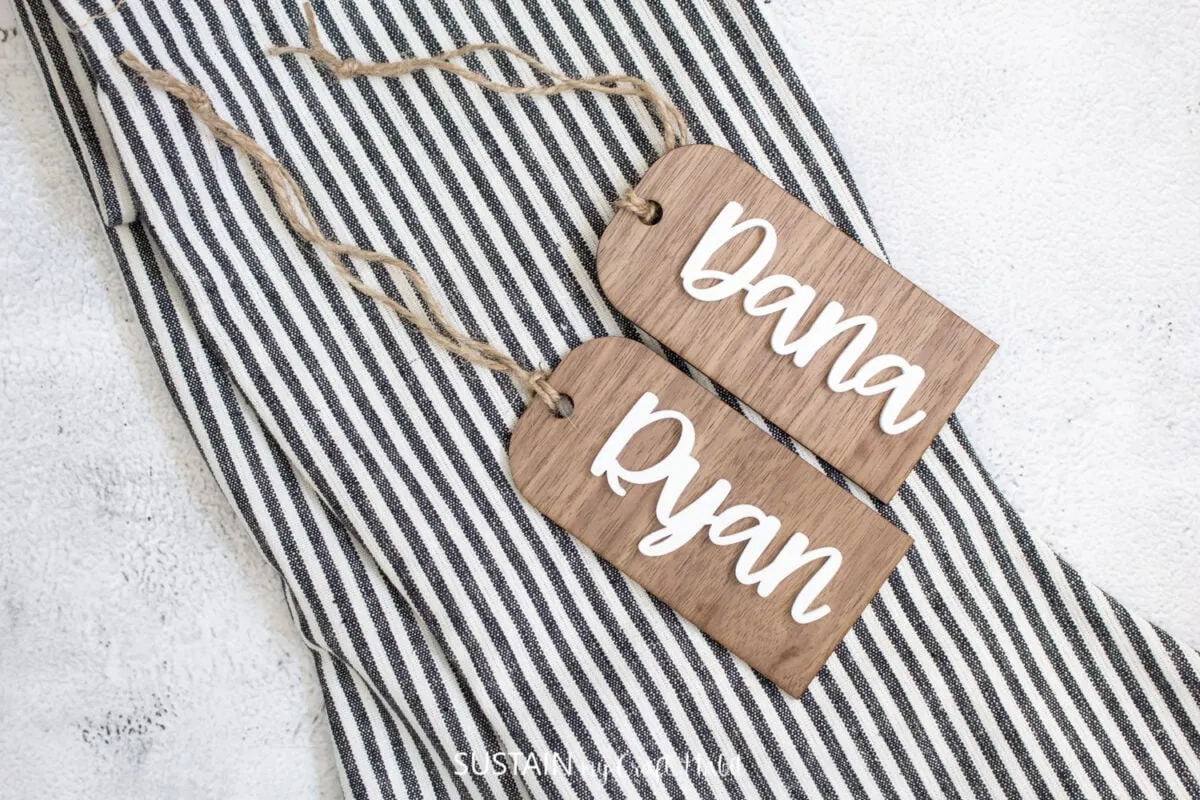
Tips and Tricks for the Perfect Stocking Tags
Always keep your design proportional to your stocking size – typically, tags between 3 to 4 inches work best for standard stockings. To prevent wood splitting, ensure your hanging hole is at least 1/4 inch from any edge.
If you’re making multiple tags, create a simple template in your design software to maximize material usage and maintain consistent spacing. Finally, store your finished tags flat in tissue paper to prevent warping or damage during the off-season.
Get access to our resource library filled with cut files and other xTool craft ideas!
Materials Needed
Disclosure: This post contains affiliate links for your shopping convenience. Should you choose to purchase through them, we will make a small commission at no extra cost to you. You can read our full disclosure policy here.
Christmas Stocking Pattern
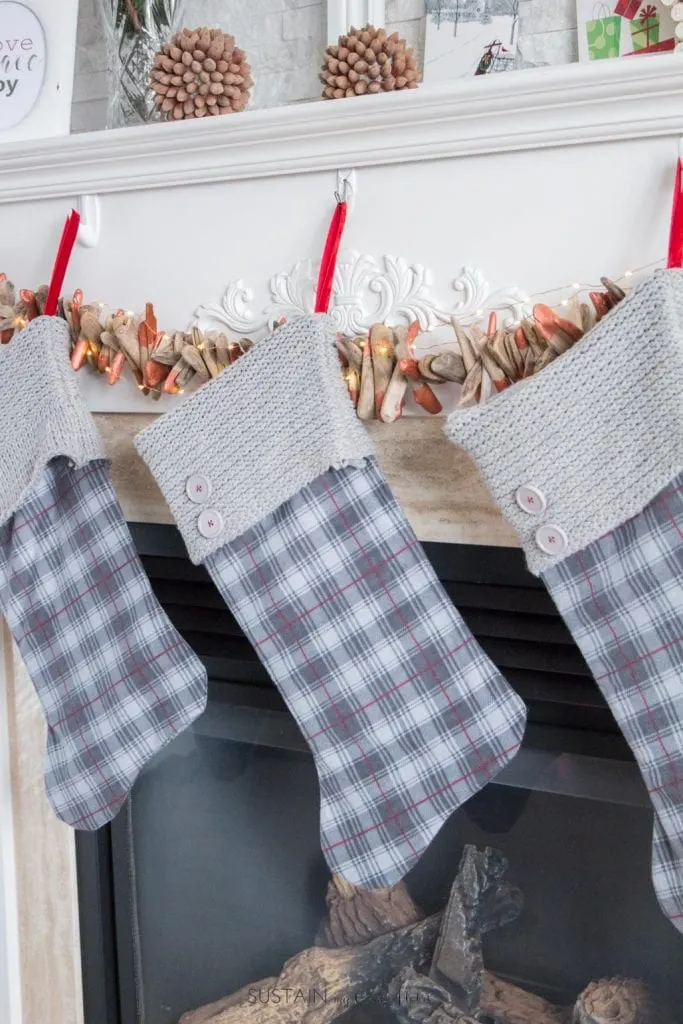
Before you make your personalized stocking tags make sure to check out our free stocking pattern and create beautiful, vintage-inspired Christmas stockings for the whole family!
How to Make Stocking Tags with xTool
Preparing the Stocking Name Tag Design
Open Creative Space and select new project.
Insert a rectangle shape on to the canvas and size it to 4”w x 2.25” high.
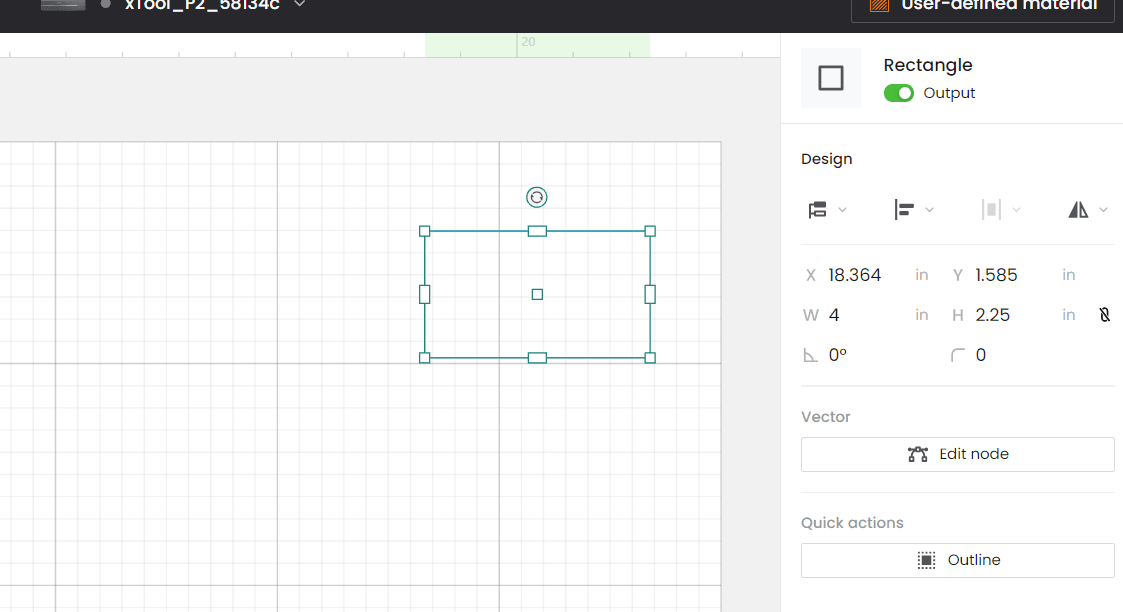
Insert a circle shape on to the same canvas and size it to 2.25” diameter.
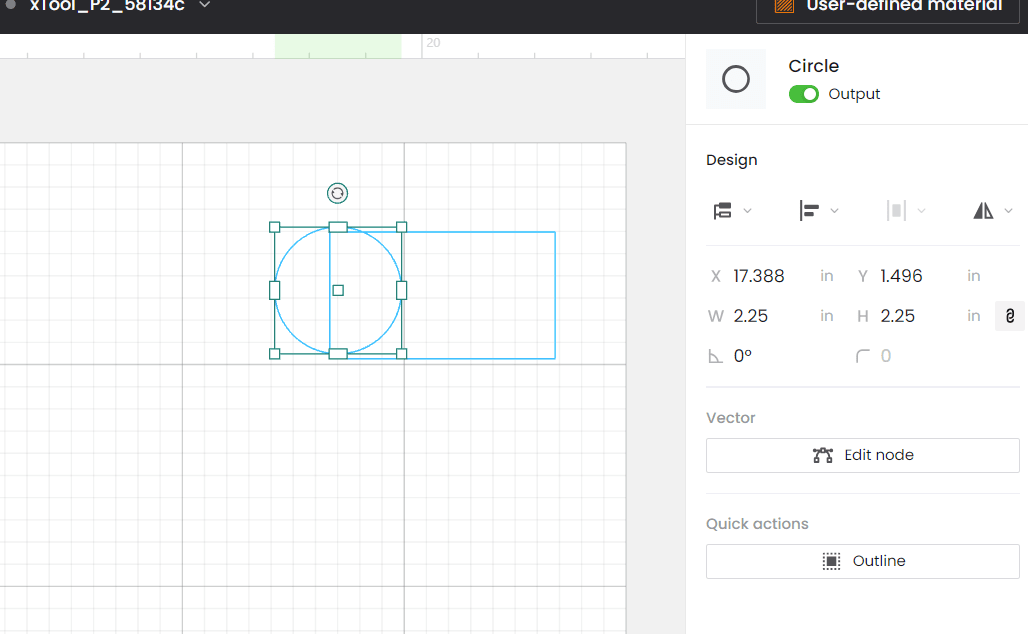
Align the two shapes to the LEFT and the BOTTOM.
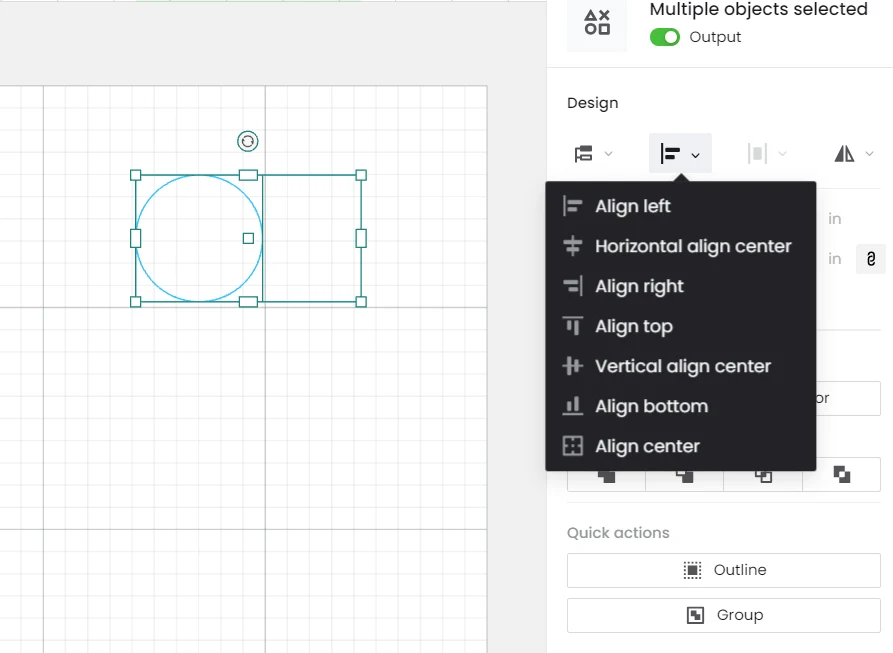
Reduce the width of the rectangle by half the circle shape as shown.
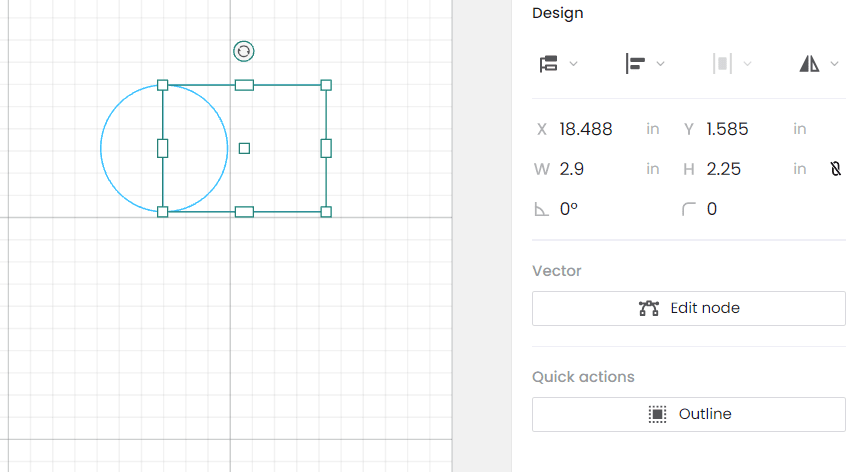
Select both shapes at same time and UNITE the shapes together.
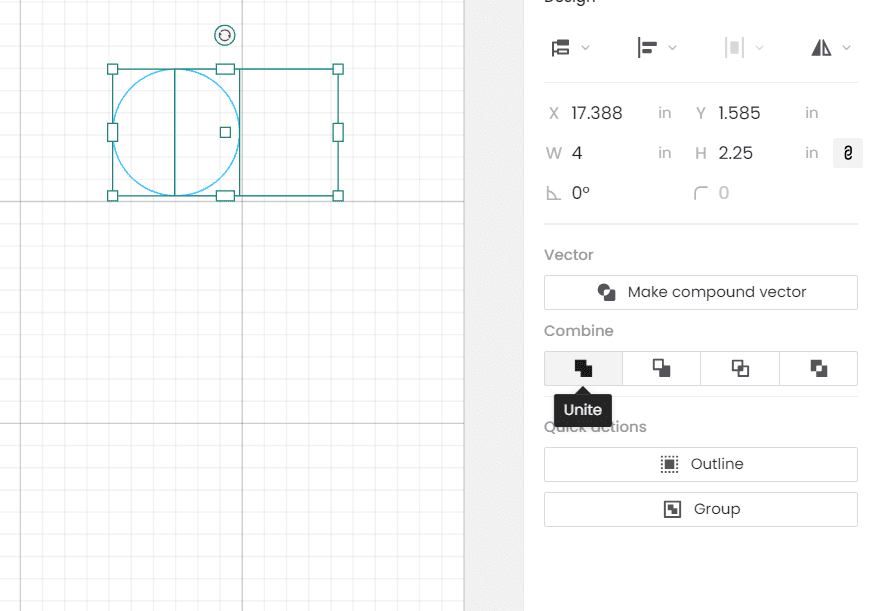
Add a small circle shape (¼” diameter) for the hanging loop at the top of the tag. Make sure it’s centered on the tag and group the shapes together.
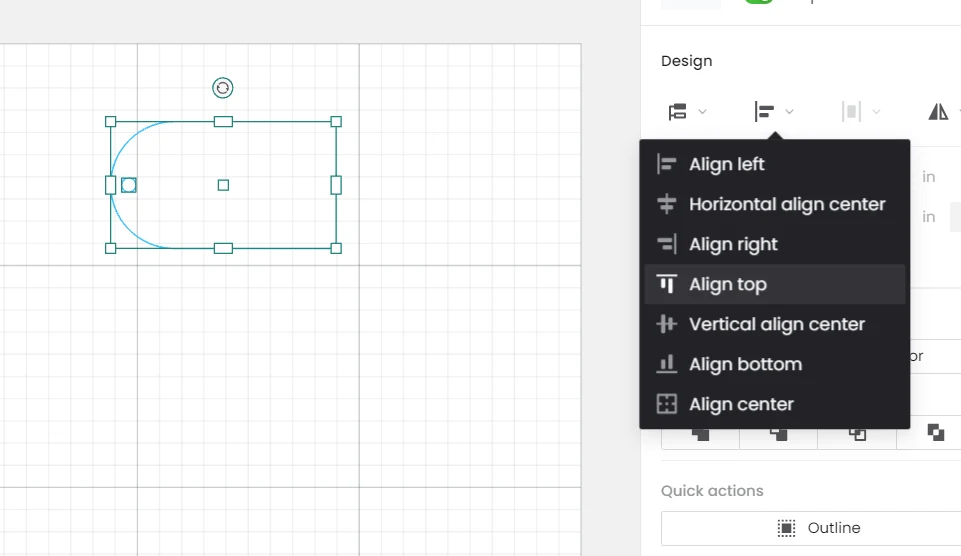
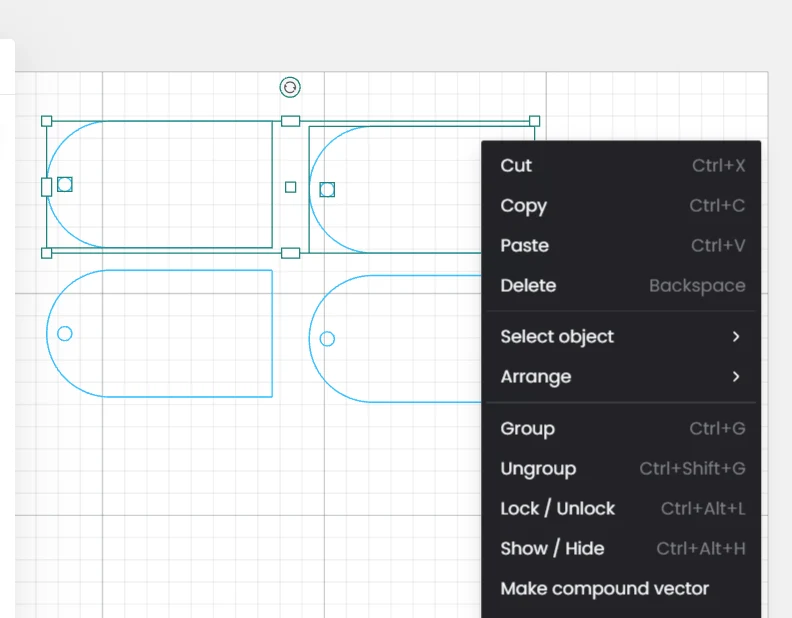
Duplicate the tags to make as many as you like and position them on the canvas to reduce wasting material.
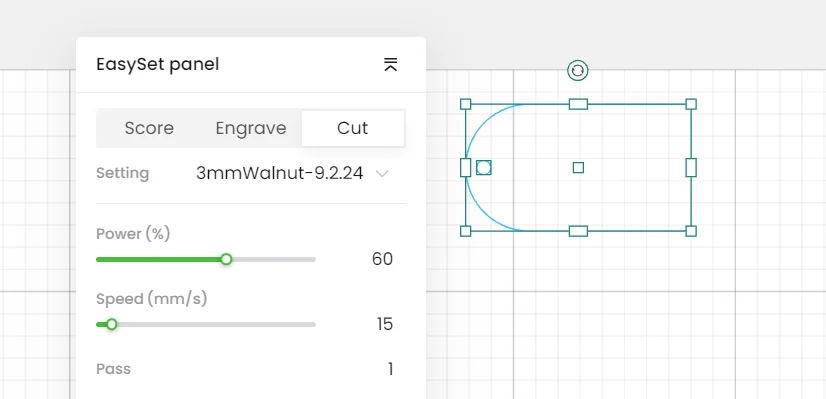
Set the material type to 3mm Walnut and use your preferred walnut cut settings.
Next, create the name for the tag by inserting a text box.
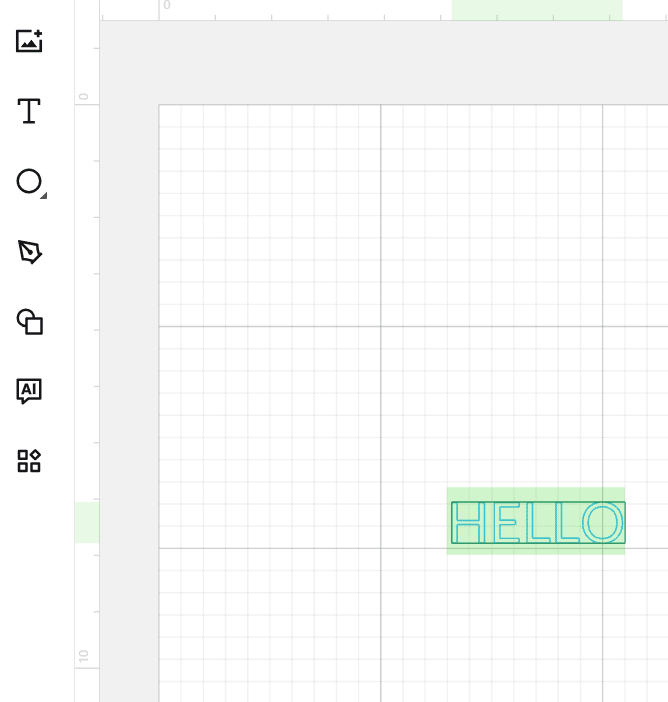
Type out the name and choose the writing font style you want to use. In our case, we use “barbie” downloaded from Creative Fabrica.
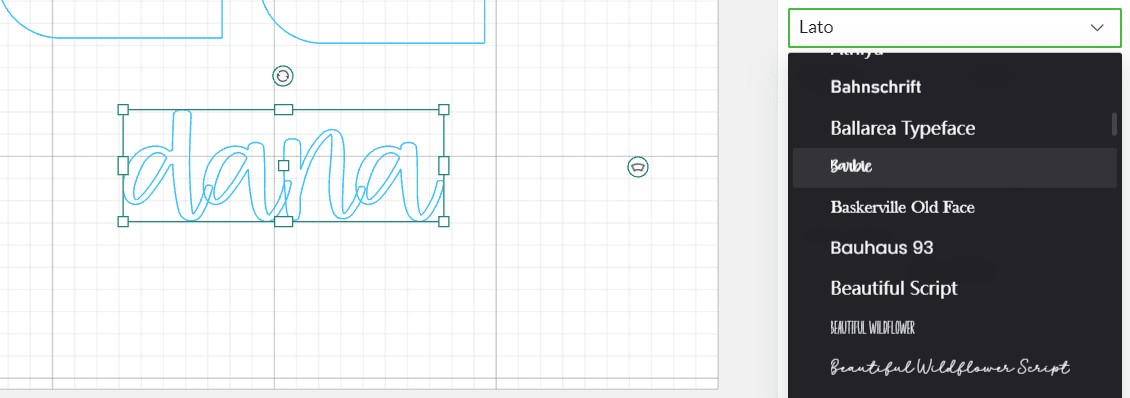
Ensure the letters are WELDED together before cutting.

If you find the lettering too thin (and I often do), create an outline with an offset of your choosing. In my case, I like 0.05″ offset. Then release the compound and delete the thinner, inner lettering.


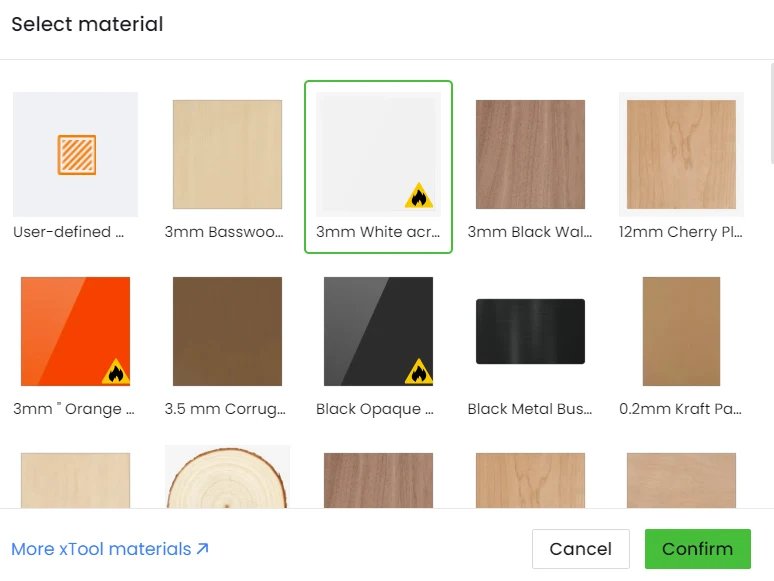
Size the name to fit on to the tag and then set the material type to 3mm white acrylic and choose the cut settings you’ve established. In our case, the recommended settings work best for acrylic sheets.
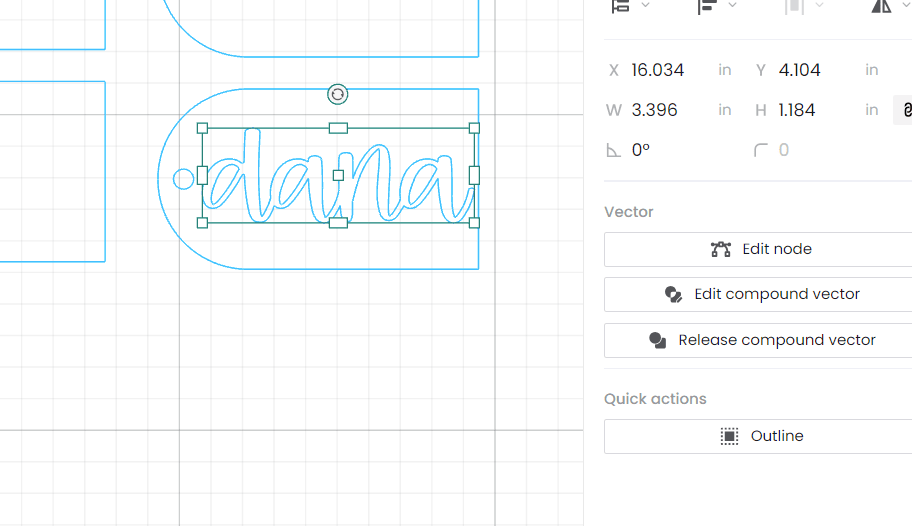
Cutting the Material with xTool P2
Insert the acrylic material into the xTool P2 and refresh your screen.
Position thenames onto the surface and proceed to cutting and follow the prompts on the screen. When cutting is complete, remove the names and peel away the paper layer on both sides.
Next, insert the walnut wood on to the slats and position the tag designs on to the wood in Crestive Space. Proceed with cutting using your desired settings (we like 65% power with 15mm/sec).
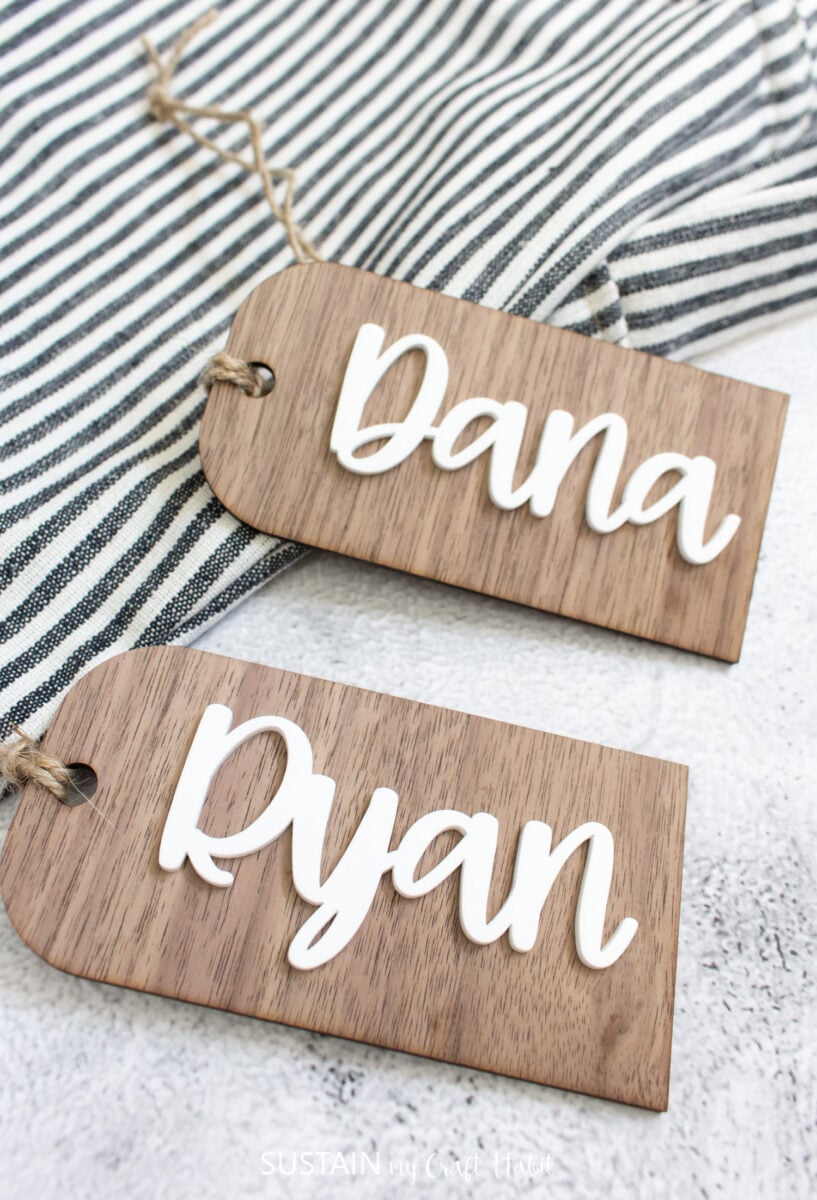
Lastly, use a wood glue to adhere the names on to the tags and attach a piece if twine to the tag to complete.
Timeless Christmas Charm to Create at Home
Creating DIY stocking tags with your xTool laser cutter is more than just a craft project – it’s an opportunity to start a new holiday tradition that combines technology with timeless Christmas charm. The satisfaction of seeing your custom-designed name tags hanging from each stocking, knowing they were made with care in your own workshop, adds an extra layer of joy to the holiday season.
Whether you’re making a complete set for your family, crafting thoughtful gifts for friends, or adding new tags as your family grows, these personalized markers will become cherished parts of your Christmas decor.
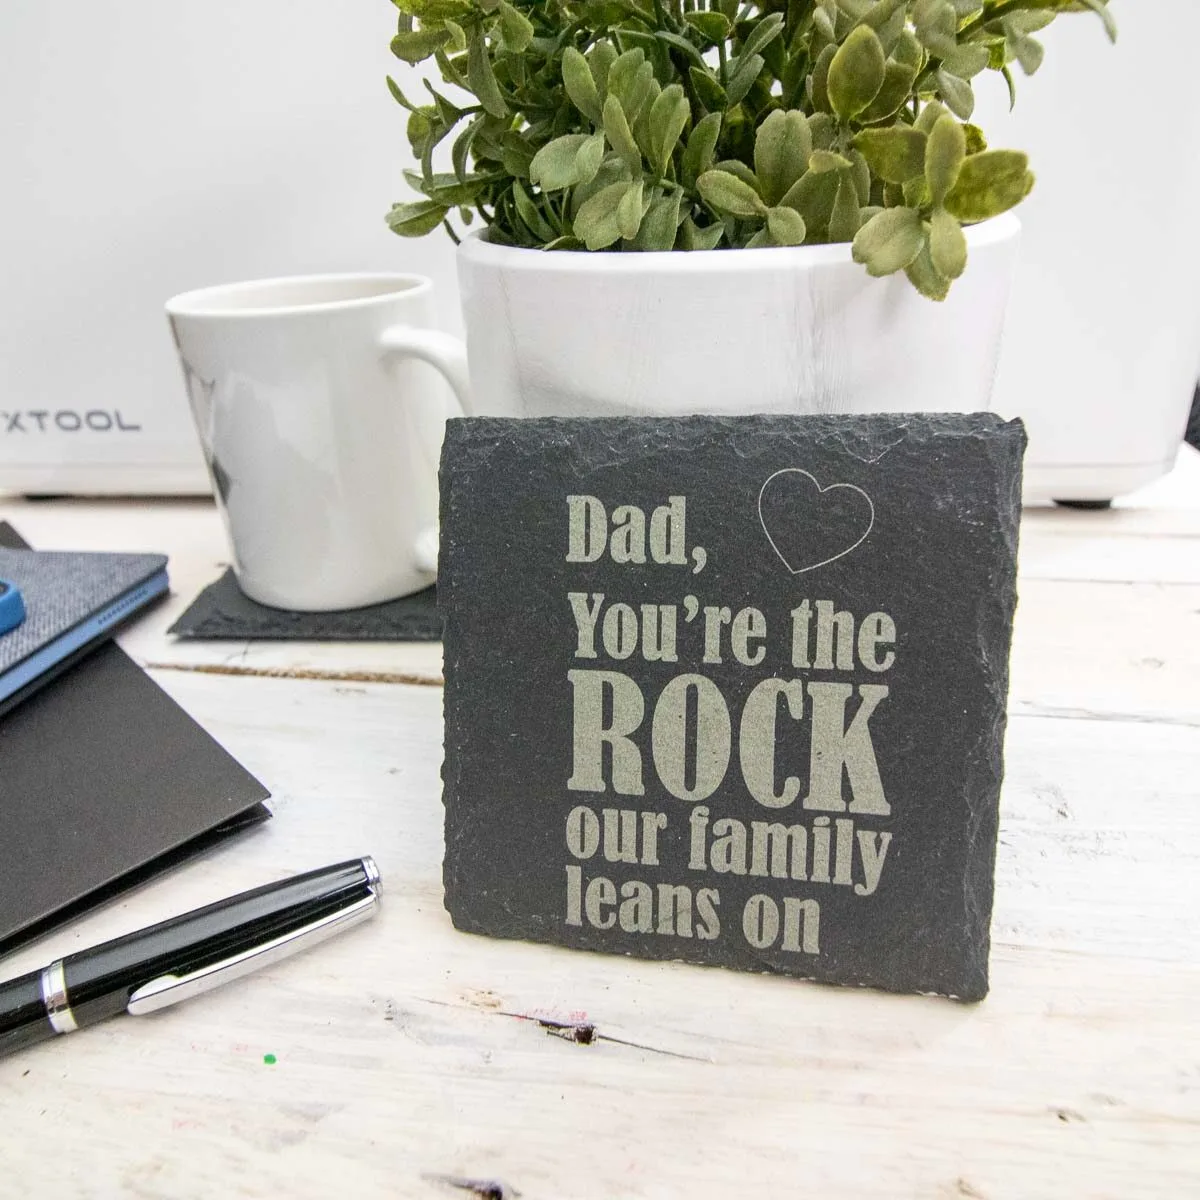
More XTool Crafts to Make



Want to receive a ton of inspiration and money saving ideas for decorating, gift-giving and crafting? Join HERE!
Like it? Pin it for later!
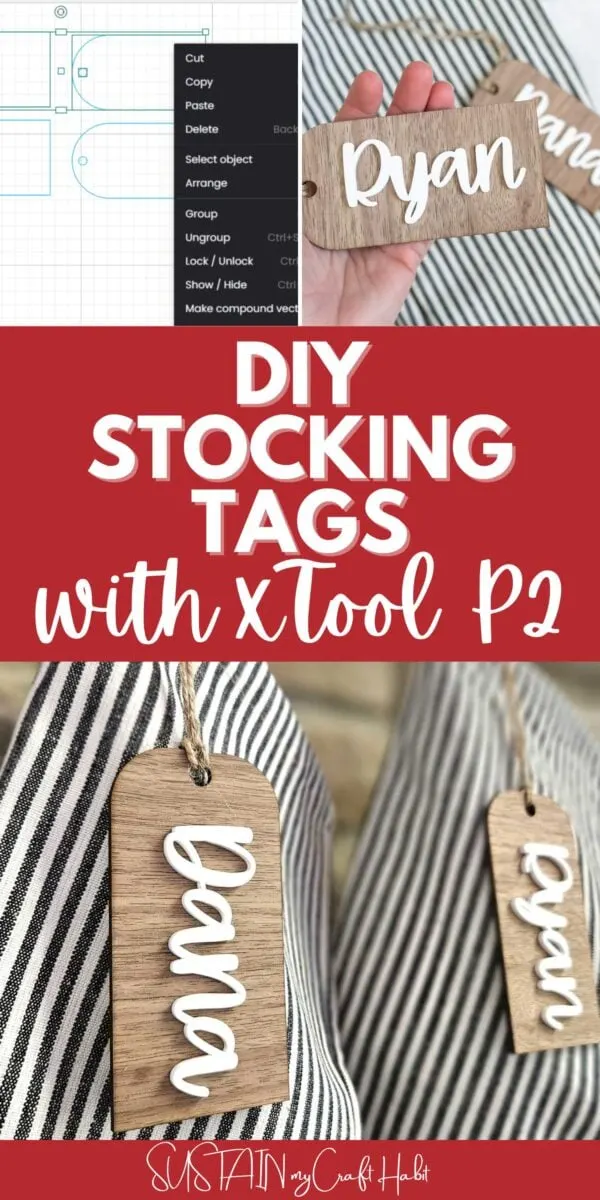

DIY Stocking Name Tags with xTool
Materials
- xTool P2 or other laser cutting machine
- 3 mm Walnut
- 3 mm White Matte Acrylic
- Twine
Instructions
- Open Creative Space and select new project.
- Insert a rectangle shape on to the canvas and size it to 4”w x 2.25” high.
- Insert a circle shape on to the same canvas and size it to 2.25” diameter.
- Align the two shapes to the LEFT and the BOTTOM.
- Reduce the width of the rectangle by half the circle shape.
- Select both shapes at same time and UNITE the shapes together.
- Add a small circle shape (¼” diameter) for the hanging loop at the top of the tag.
- Duplicate the tags to make as many as you like and position them on the canvas to reduce wasting material.
- Set the material type to 3mm Walnut and use your preferred walnut cut settings.
- Next, create the name for the tag by inserting a text box.
- Type out the name and choose the writing font style you want to use.
- Ensure the letters are WELDED together before cutting.
- Size the name to fit on to the tag and then set the material type to 3mm white acrylic and choose the cut settings you’ve established.
- Insert the material into the xTool P2 and refresh your screen.
- Position the design onto the surface and proceed to cutting and follow the prompts on the screen.
