Printing photos on wood has never been a craft easily done at home until now that is! The xTool M1 Ultra offers a unique way to transfer your favorite images onto wooden surfaces, creating stunning, rustic pieces of art.
This blog post will guide you through the process and help you get started with this exciting craft.


Why You Will Love Learning How to Print Photos on Wood with xTool M1 Ultra
You’ll love making this craft for several reasons. First, it allows for personalization, enabling you to create unique gifts or home decor items with your own photos. The versatility of the technique means you can print on various wood types and sizes for different projects.
Wood prints also offer durability, lasting longer than traditional paper photos. Additionally, the natural grain of the wood adds an artistic touch, giving character to your images. Finally, the xTool M1 Ultra makes the process accessible to beginners, ensuring a user-friendly experience.

Get access to our resource library filled with cut files and other xTool craft ideas!
Seal or Not to Seal the Wood Before Printing?
If you’re like us, you might be asking yourself, should I seal the wood before I print on to it? So to answer this question, we did a test to see if there was in fact a difference between pre-sealing and not sealing the surface.
Before printing, we applied a coat of sealer (Mod Podge) on to the basswood sheet and left it to dry fully. Once dry, we followed the same printing steps outlined below. In the end, we found there to not be a noticeable difference between the two in terms of color intensity.


Materials Needed
Disclosure: This post contains affiliate links for your shopping convenience. Should you choose to purchase through them, we will make a small commission at no extra cost to you. You can read our full disclosure policy here.
- xTool M1 Ultra
- 3mm Basswood
- Photo JPEG of your choosing
- Simple 2-layer Ornament Shape SVG
- Painter’s Tape
- Ribbon
- Wood Glue
How to Print Photos on Wood with xTool M1 Ultra
Preparing the Image in xTool Creative Space
Open the Creative Space app on your computer. Turn on xTool M1 Ultra and connect the machine to your computer with the usb cable.
Connect the Creative Space app to the machine and import the photo you wish to print onto the canvas.


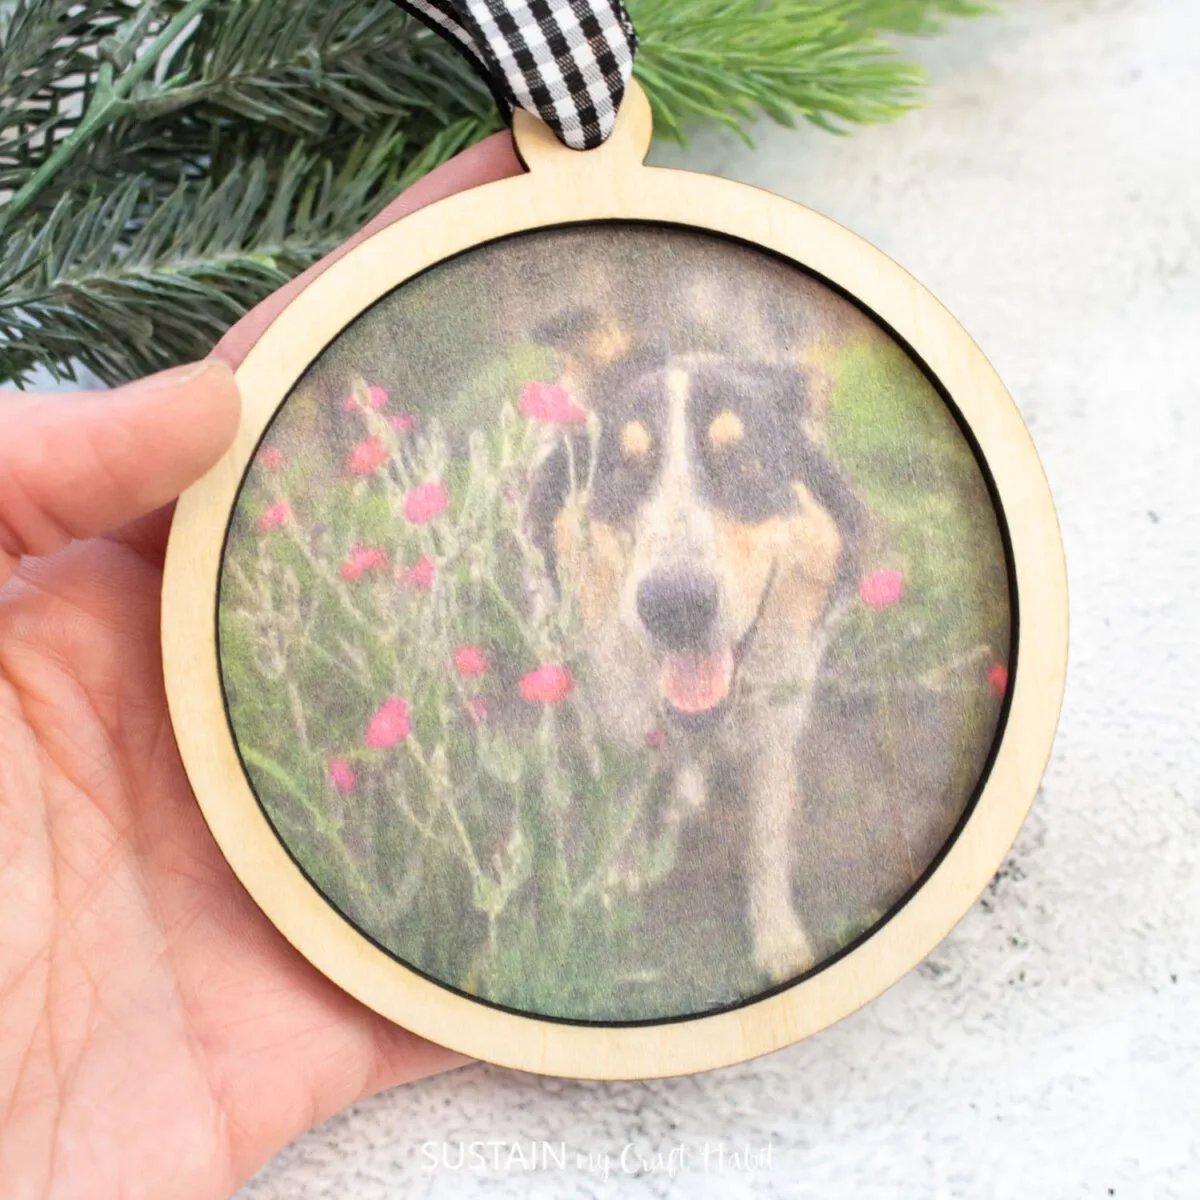
Add a circle shape to the canvas, sized 4” and select the image together with the circle. Click on “create mask” to cut out the portion of the photo you don’t want to print. Adjust the size and placement within the circle. When happy with the placement, select done.
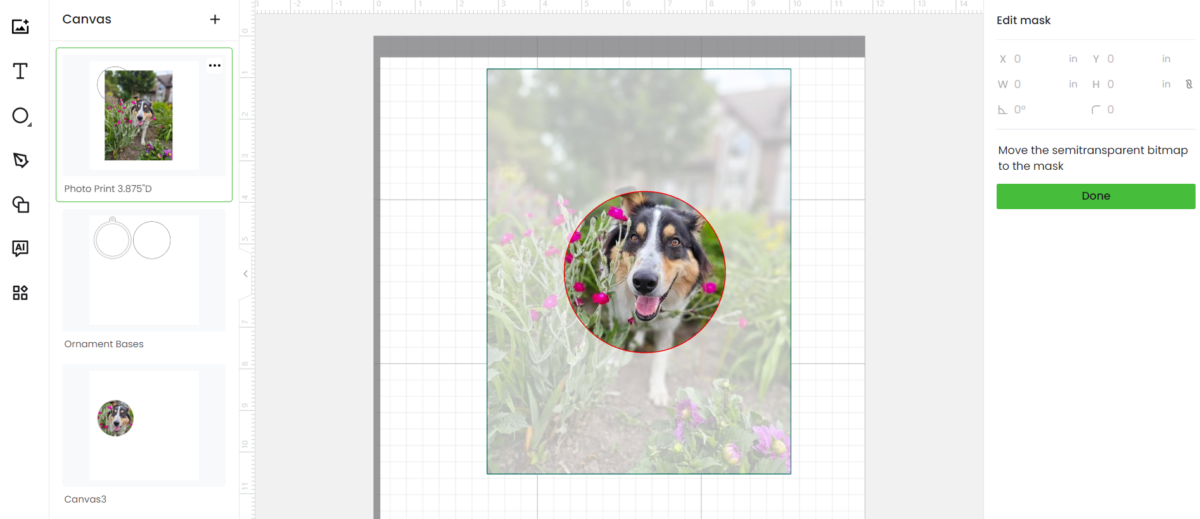
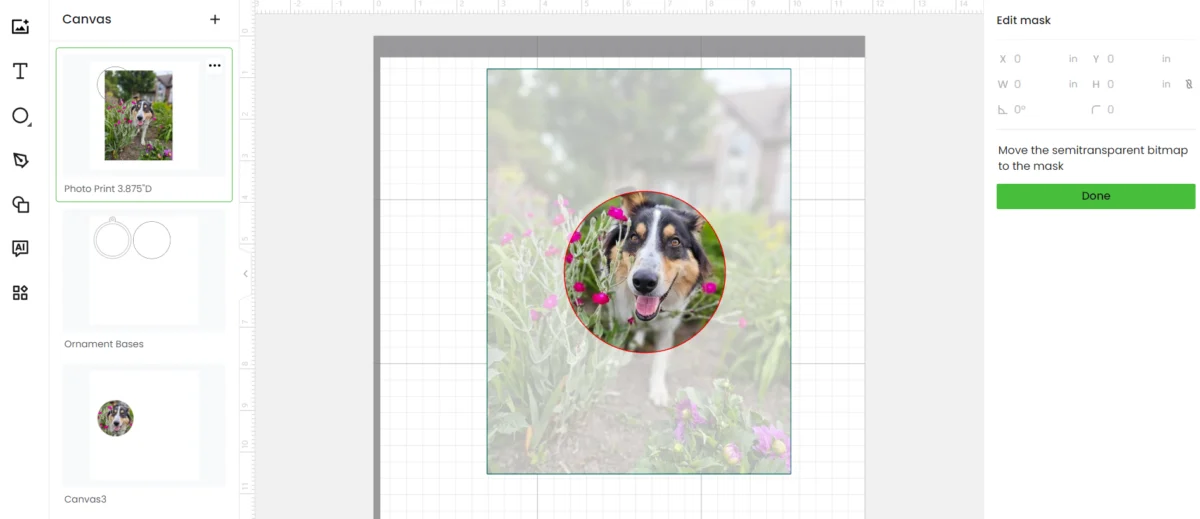
Adjust the masked image size to 3.875” wide x 3.875” high or smaller. Ornaments tend to range in size from 3″ to 4″ across.


Printing Photos with xTool M1 Ultra
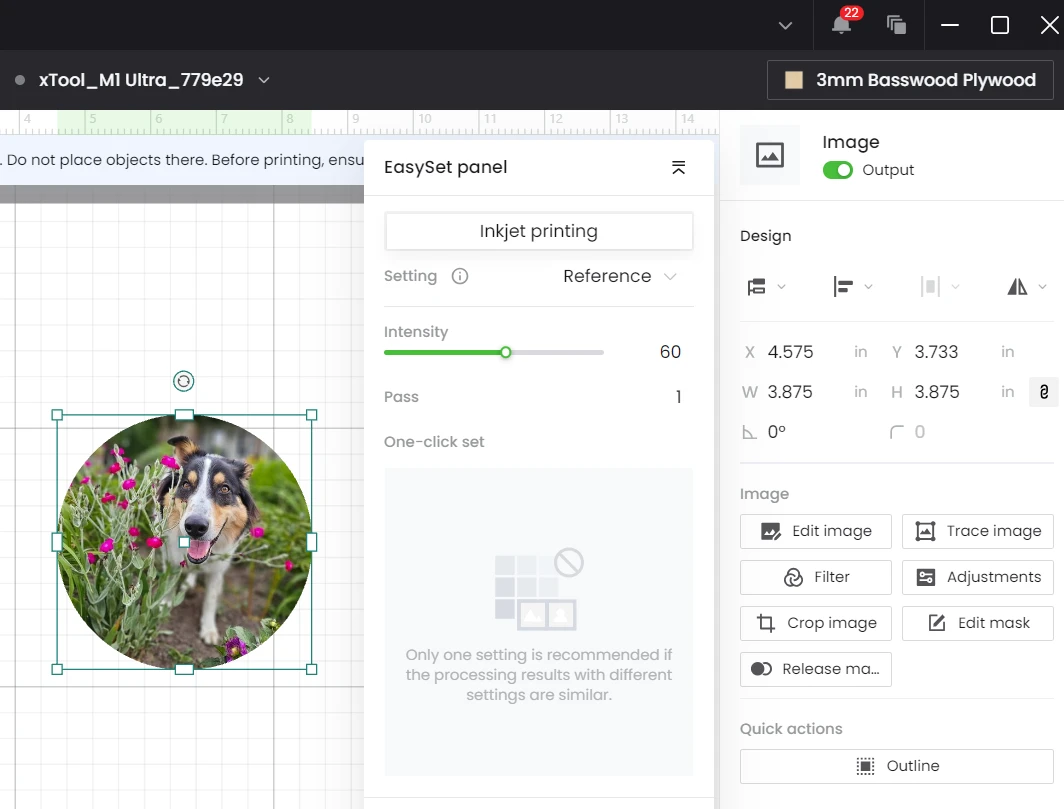
Set material type to “3mm basswood plywood” (an xTool material) and load the wood sheet into the cutting machine flat against the base plate.
Use painter’s tape to secure the sides of the sheet to the base plate. Otherwise, the sheet will shift during printing.


Remove the laser module and insert the ink cartridge instead.
Mark the area to be printed following the steps on the screen.

Auto measure the distance to the surface of the sheet.
Double check framing to ensure the area to be printed is where you want it to be.
Select proceed and continue on to printing using the default settings.


When printing is complete, lift the lid and remove the printed wood sheet.


Laser Cutting the Ornament Shape with xTool M1 Ultra
Import the simple ornament base shape onto a new canvas.
Change the module to the laser module.
Add the slats on to the base plate for laser cutting.


Position the printed wood sheet back in the machine on top of the slats.
Mark the area to be cut by selecting the circle shape and choose points surrounding the printed picture. When done, move the 4” circle over top of the printed part and within the marked circular area. Set to cutting using desired settings. In our case, we used the default power and time settings.
Proceed with laser cutting out the photo and remove when complete.


Next, position the other piece of the ornament base (the upper framed piece with loop) on to the canvas for cutting. Also, mark the area to be cut and place the shape within the marked area.
Proceed with laser cutting out the photo and remove when complete.


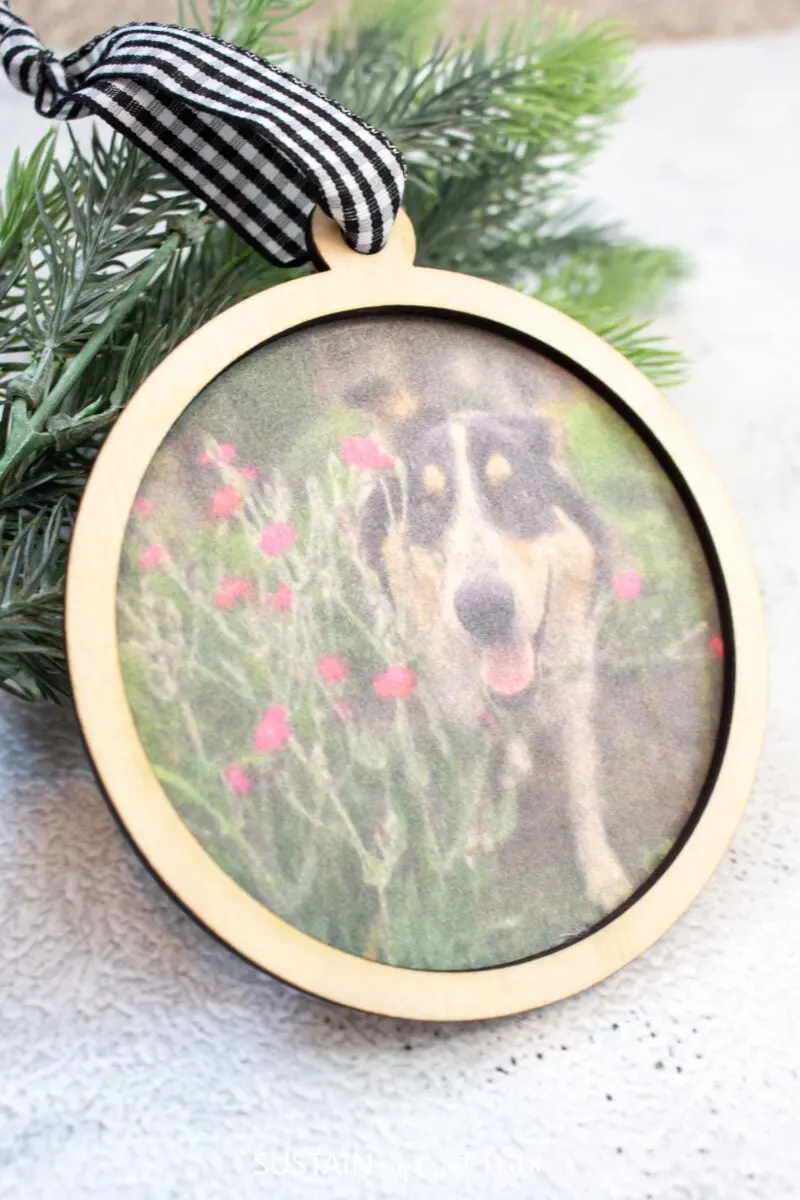
Place the frame piece on top of the printed piece and glue together. Add a ribbon loop for hanging to complete the ornament.


What Kind Of Embellishments Can I Add?
Adding embellishments to your wood-printed photos can elevate your project and make it truly unique. There are numerous ways to enhance your creation after using the xTool M1 Ultra. Decorative elements like small wooden shapes, buttons, or beads can be glued around the photo to create a collage effect. For a rustic look, try distressing the edges of the wood or adding a weathered finish. Metallic accents using gold or silver leaf can add a touch of elegance.
If you’re feeling adventurous, experiment with resin to create a glossy, protective finish that also adds depth to your image. Remember, the key is to complement your photo without overwhelming it, so choose embellishments that enhance rather than detract from your printed image.

An Exciting Way To Preserve Memories
Printing photos on wood with the xTool M1 Ultra is an exciting way to preserve memories and create beautiful, personalized art. With the right wood selection, a bit of practice, and some creative embellishments, you’ll be able to produce stunning pieces that combine the warmth of natural materials with the sentiment of your favorite photos. Whether you’re making gifts or decorating your own space, this craft offers endless possibilities for creativity and personalization.
More XTool Crafts to Make at Home
- Engrave Rocks with xTool P2
- 4 In a Row Game
- How to Cut Mirror Acrylic
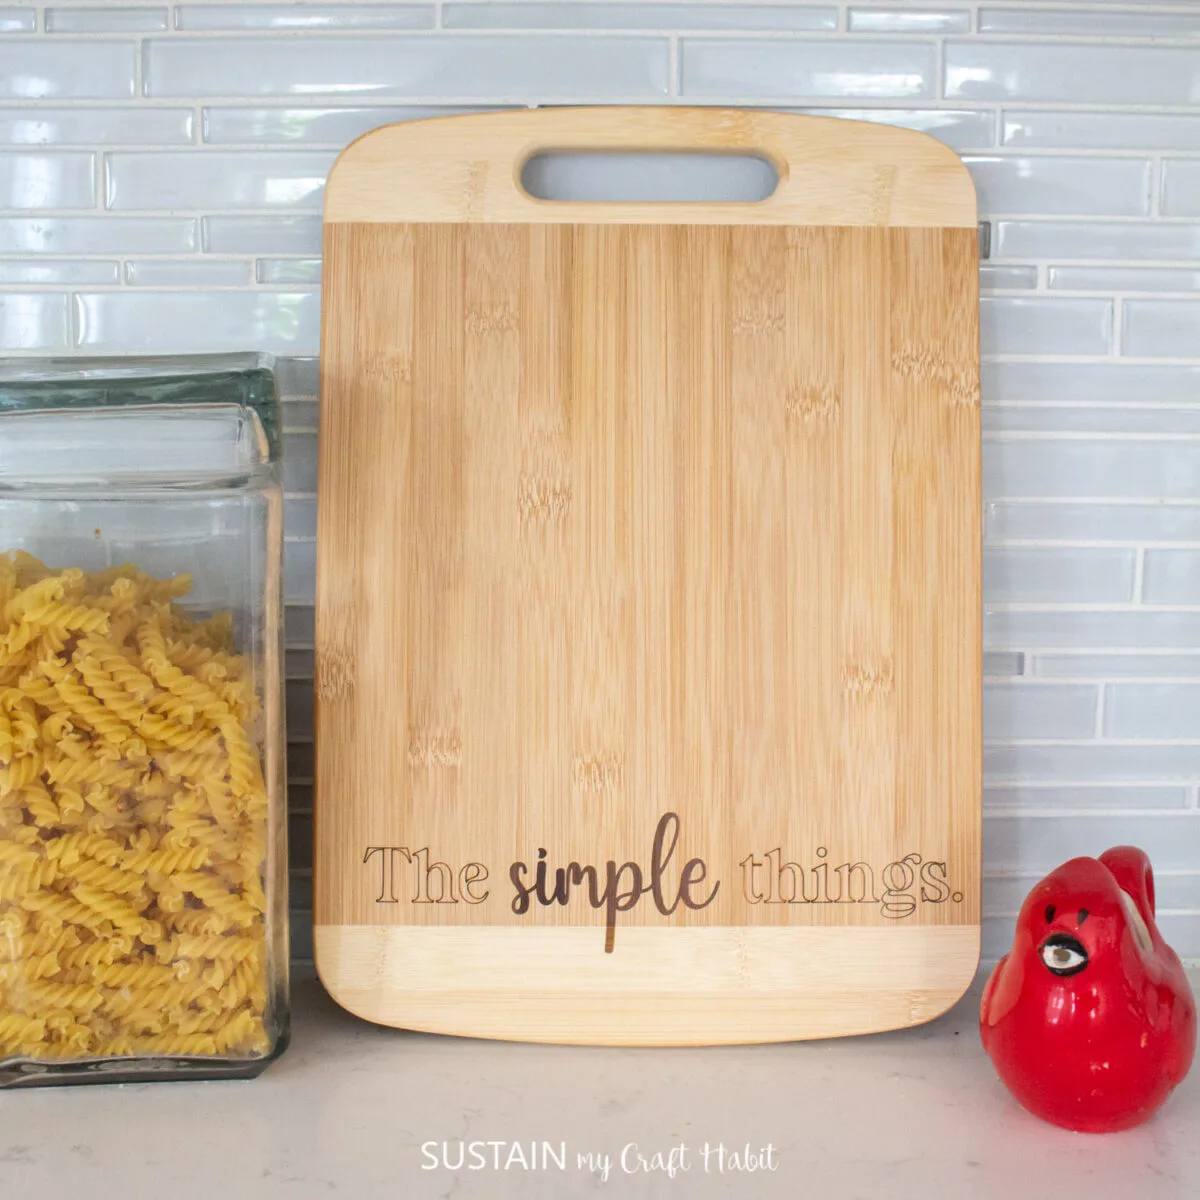
- Engraved Cutting Boards
- Coffee Bar Sign


Get access to our resource library filled with SVG cut files and laser cutting craft ideas!
Like it? Pin it for later!

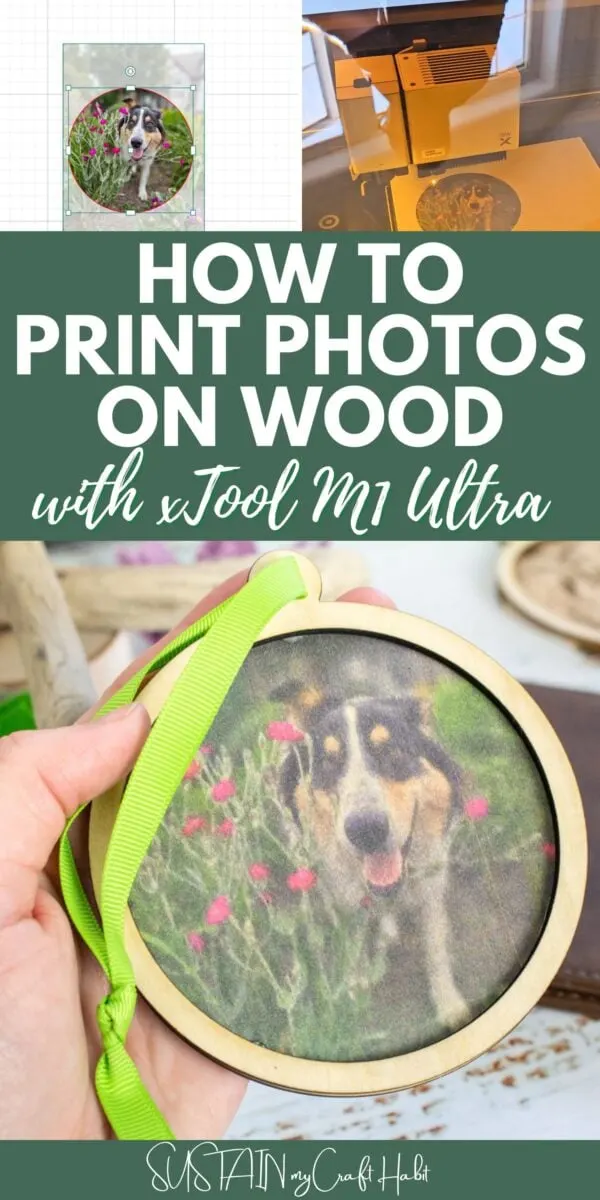


How to Print Photos on Wood with xTool M1 Ultra
Materials
- xTool M1 Ultra
- InkJet Cartridge
- 3 mm Basswood
- Photo JPEG of your choosing
- Painter’s Tape
- Ribbon
- Wood Glue
Instructions
Using the XTool M1 Ultra
- Open the Creative Space app on your computer. Turn on xTool M1 Ultra and connect the machine to your computer.
- Import the photo you wish to print onto the canvas.
- Add a circle shape to the canvas, sized 4” and select the image together with the circle. Click on create mask to cut out the portion of the photo you don’t want to print. Adjust the size and placement within the circle.
- Adjust the masked image size to 3.875” wide x 3.875” high.
- Set material type to “3mm basswood plywood” (an xTool material)
- Load the wood sheet into the cutting machine flat against the base plate.
- Remove the laser module and insert the ink cartridge instead.
- Mark the area to be printed following the steps on the screen.
- Auto measure the distance to the surface of the sheet.
- Double check framing to ensure the area to be printed is where you want it to be.
- Select proceed and continue on to printing using the default settings.
- When printing is complete, open the lid and remove the printed picture.
- Import the ornament base shapes onto a new canvas.
- Change the module to the laser module.
- Add the xx slats on to the base plate for laser cutting.
- Position the printed wood sheet back in the machine on top of the slats.
- Mark the area to be cut by selecting the circle shape and choose points surrounding the printed picture. When done, move the 4” circle over top of the printed part and within the marked circular area. Set to cutting using desired settings.
- Proceed with laser cutting out the photo and remove when complete.
- Next, position the other piece of the ornament base (the upper framed piece with loop) on to the canvas for cutting. Also, mark the area to be cut and place the shape within the marked area.
- Proceed with laser cutting out the photo and remove when complete.
- Place the frame piece on top of the printed piece and glue together. Add a ribbon loop for hanging to complete the ornament.