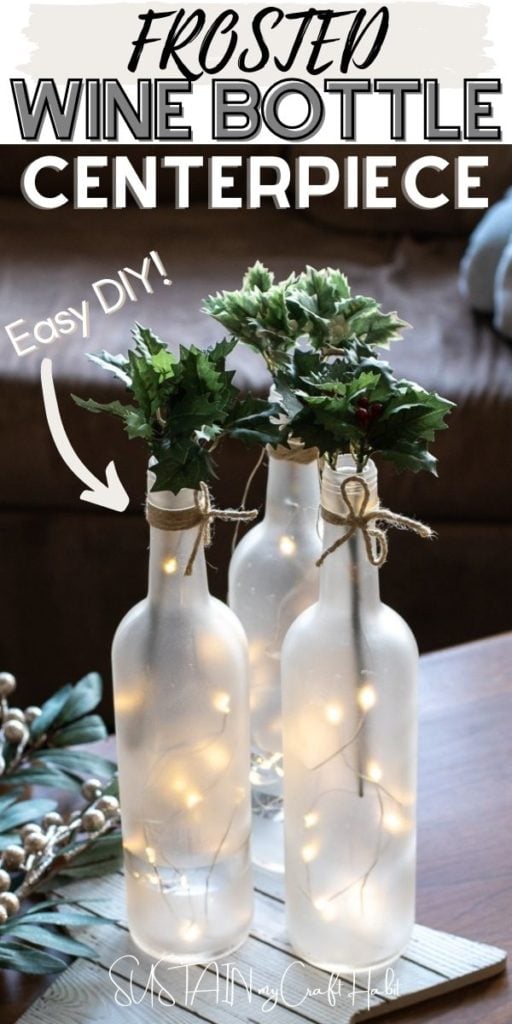
Frosted Wine Bottle Centerpiece Idea and Blog Hop
This year we are celebrating Christmas with 25 days of upcycling crafts using supplies we find around the house. This frosted wine bottle centerpiece is today’s holiday craft idea. Additionally, we are excited to be participating in the Celebrating Christmas blog hop with our blogging frends! We can’t wait to see how they are celebrating their Christmas’ this year.
Stay in the know on our latest crafts, special offers and freebies by joining our mailing list.

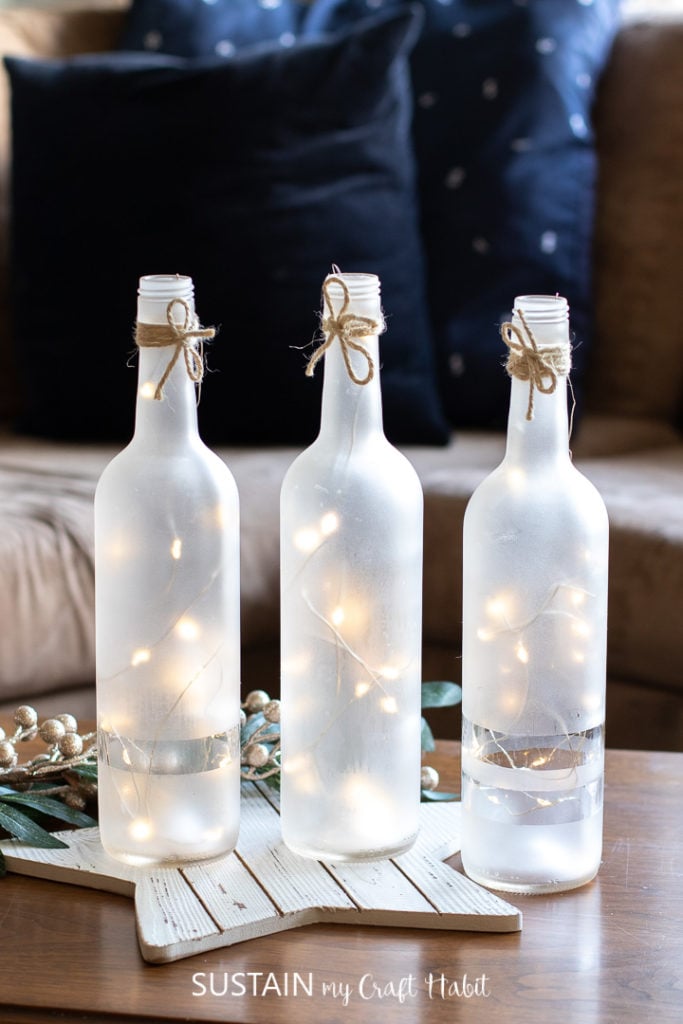
A Pretty Twinkling Wine Bottle Centerpiece
Full disclosure here, I may have collected more wine bottle empties this past year than I would otherwise like to admit. But hey, it is 2020 and a little bit more vino here and there is acceptable, right? Lucky for me, that also means I now have more supplies to craft with!
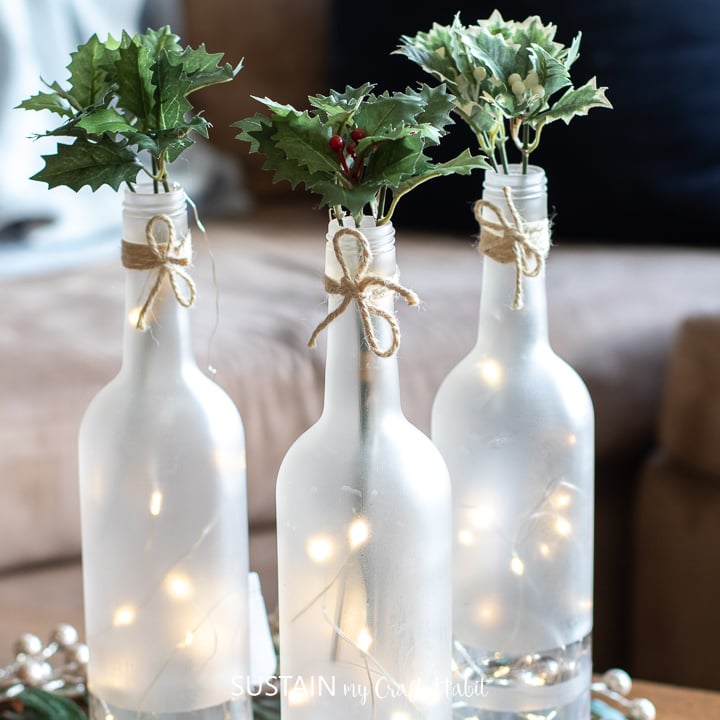
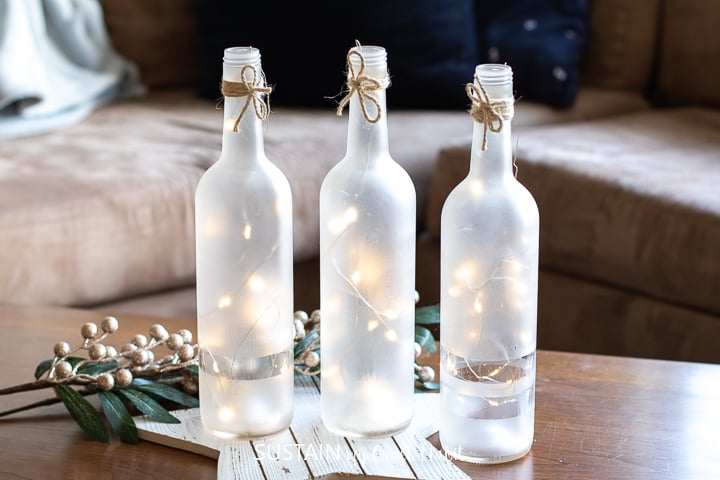
It not only feels good knowing I repurposed stuff I had at home, I love how these frosted wine bottles look on my coffee table. Adding the mini twinkle lights inside each bottle makes it feel so cozy and elegant. If you also have some empties lying around, you’ll find the steps for making your own centerpiece below.
Get updates on the latest posts and more from Sustain My Craft Habit straight to your inbox by joining our weekly newsletter. We promise to send you only the good stuff.
But First…
It’s time to check out our blogging friend’s holiday crafts, everything from Christmas trees, wreaths and even more festive tablescapes like the ones made by Hearth and Vine as well as My Family Thyme! A big thank you to Leen at Sand Dollar Lane for hosting this fun blog hop! Now grab a cup of coffee and enjoy!


Atta Girl Says // Harbour Breeze Home // Kippi at Home // A Life Unfolding

Thistle Key Lane // Aratari At Home // Postcards from the Ridge // What Meegan Makes
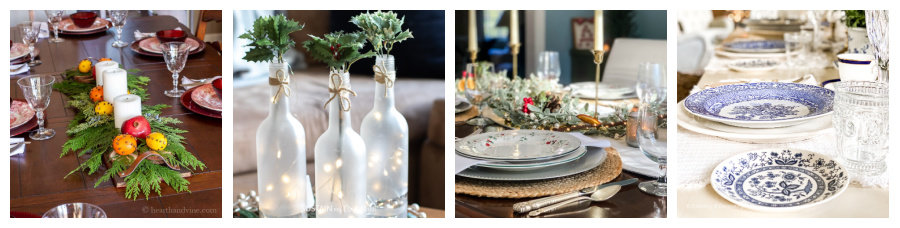
Hearth and Vine // Sustain My Craft Habit // My Family Thyme // Dabbling & Decorating


Worthing Court // The Tattered Pew // Zucchini Sisters // Sweet Pea
Noting Grace // Sonya Burgess Blog // White Arrows Home // The Little by Little Home
Materials Needed to Make a Frosted Wine Bottle Centerpiece:
Disclosure: This post contains affiliate links for your shopping convenience. Should you choose to purchase through them, we will make a small commission at no extra cost to you. You can read our full disclosure policy here.
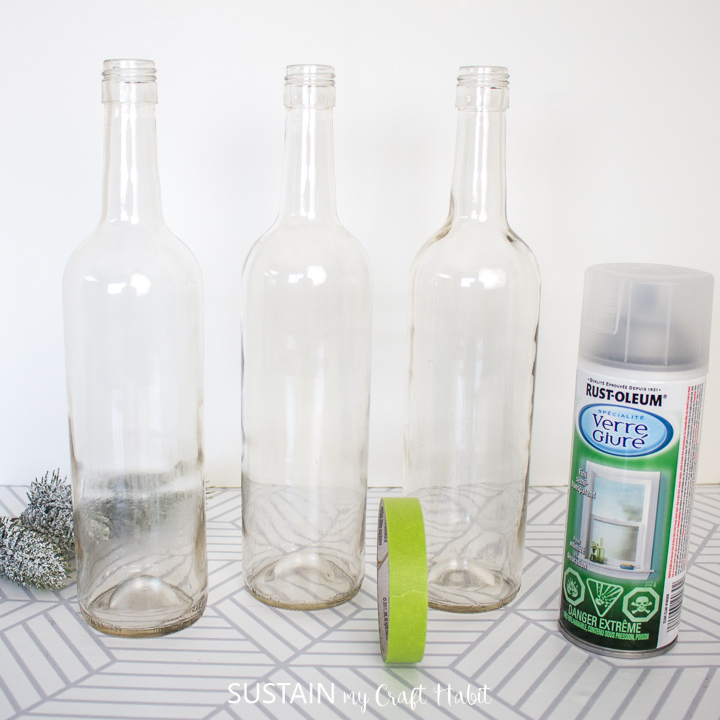
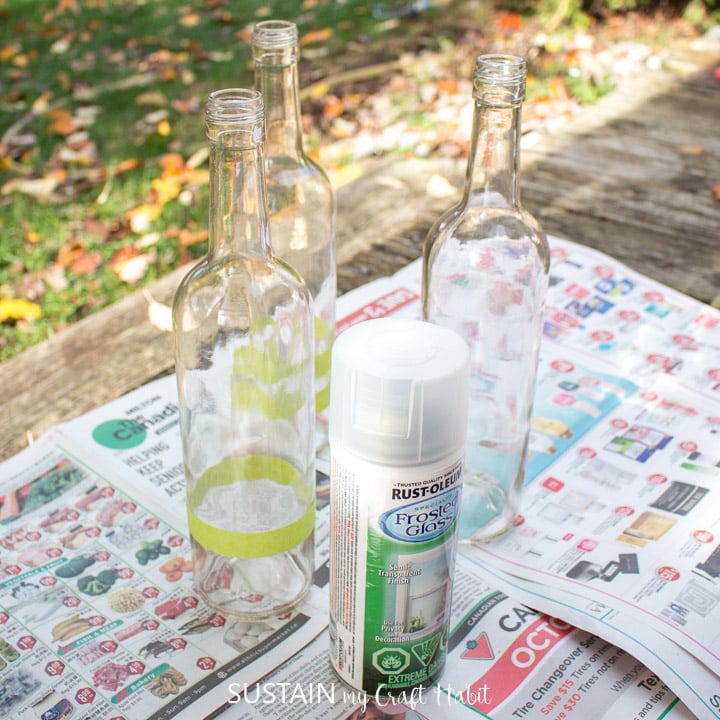
- 3 Clear glass wine bottles, washed and labels removed
- Rust-Oleum Specialty Frosted Glass, semi transparent finish
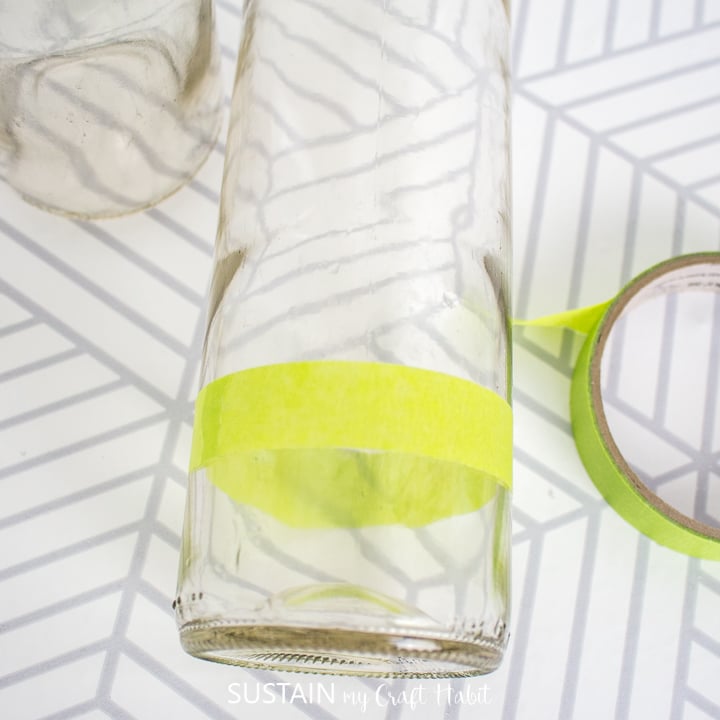
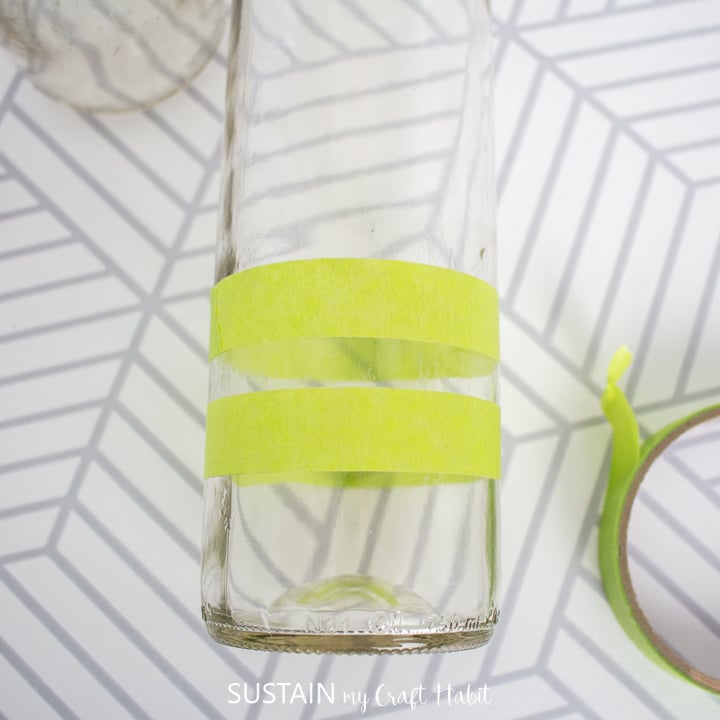
- Painter’s tape, ¾” wide
- Natural Jute Twine
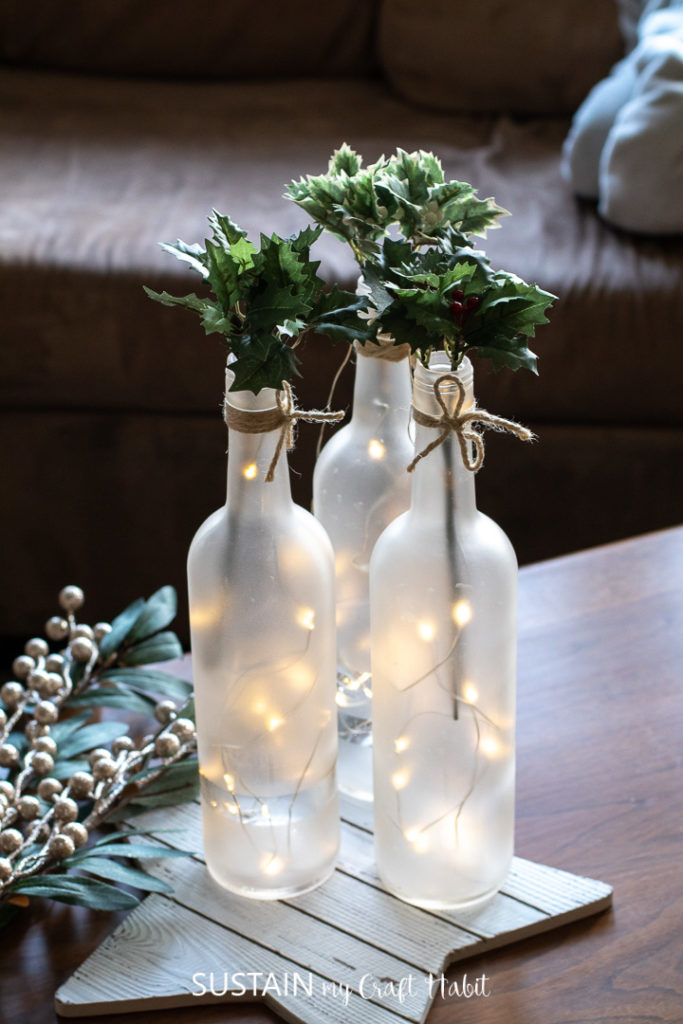
- Fresh or faux greenery
- Twinkle (mini fairy) lights, one strand per bottle (optional)
How to Make a Frosted Wine Bottle Centerpiece:
Remove all wine bottle labeling
Place wine bottles submerged in hot water for 15 minutes. Peel away the labels and scrape the excess off if needed using a plastic scraper.
Alternatively, you can also spray the bottle with Goo Gone and rub away the glue left behind from the labels.
Getting Started
Wash the bottles in hot soapy water to remove all oils and rub them with rubbing alcohol to ensure the surface is clean and the spray will adhere.
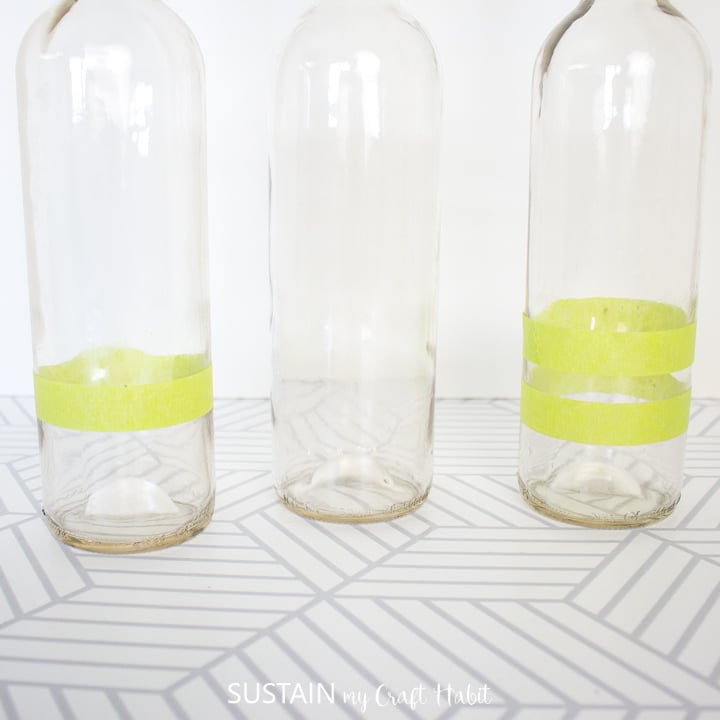
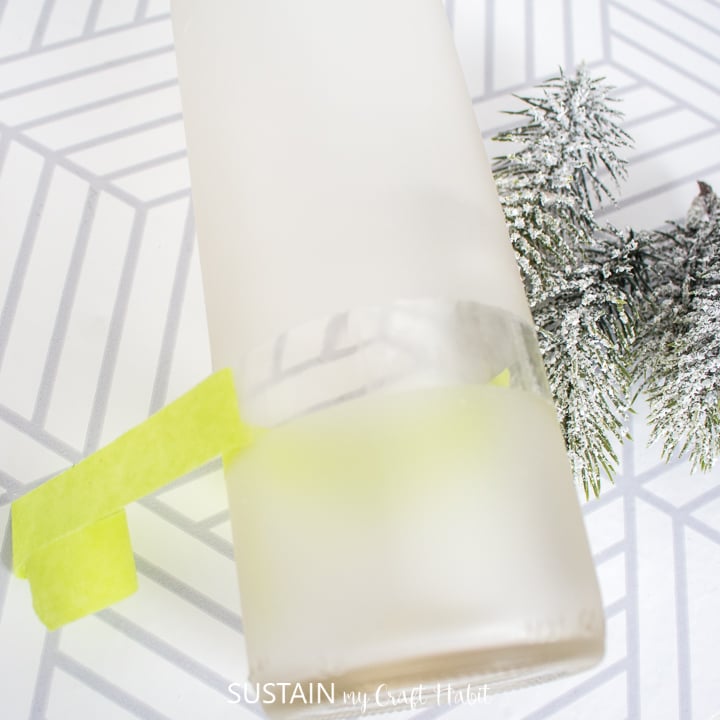
Place painter’s tape around the bottle to make a stripe pattern. I placed one strip of painter’s tape around the lower half of one bottle, then I did two strips of tape on another bottle and I left the third bottle without any tape.
In a well ventilated area, place the bottles on a protected surface and spray with the frosted glass spray paint.

Try to apply the spray paint on to the bottle evenly from all directions. The paint when sprayed looks clear initially but turns frosted while it dries.
Hold the spray bottle upright about 10″ from the bottle and spray in a steady back and forth motion.
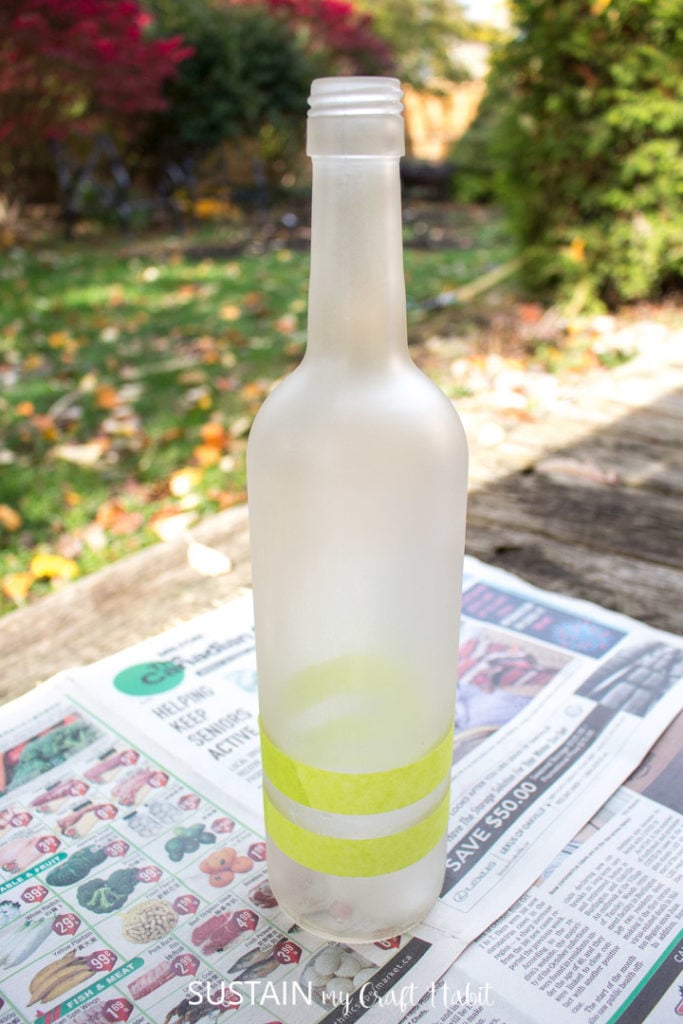
Leave the paint to dry for about 5 minutes and then apply another wet coat.
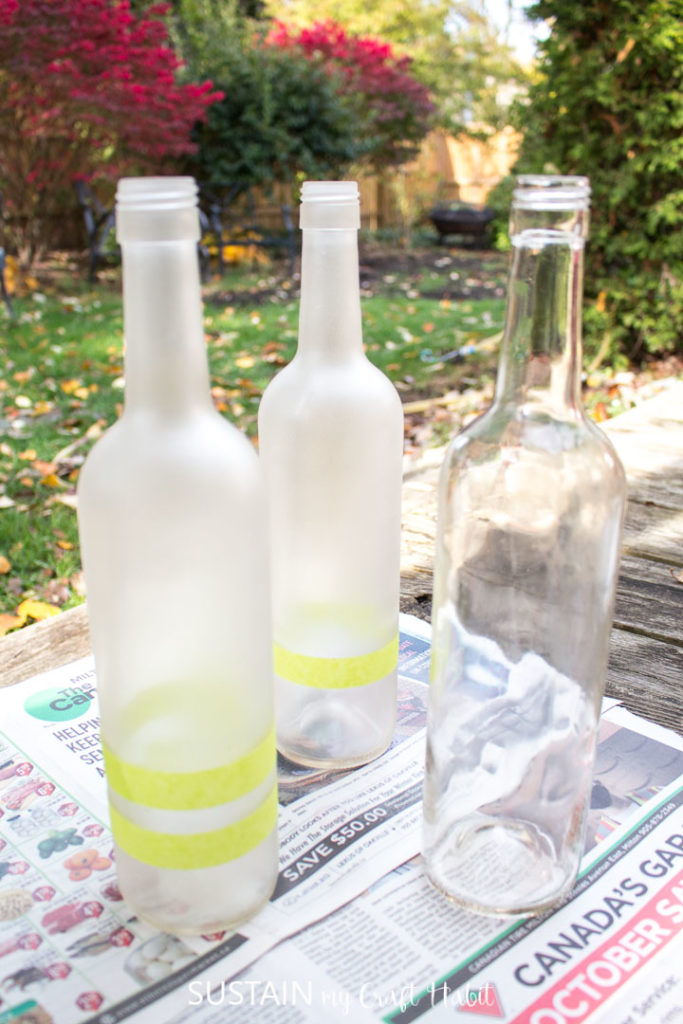
The frosted paint will dry fully in 10 minutes. Once dry, peel off the painter’s tape carefully.
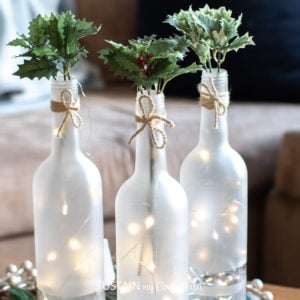
To finish, wrap a piece of twine around the tops of the bottles, then insert a strand of twinkle lights inside each botttle. The battery won’t fit inside these bottles so it’s left hanging on the back side. And lastly, insert some fresh or faux greens and place them all together in a grouping on your table to enjoy!
More “Wine-Related” Upcycling Crafts
If you enjoyed this craft, then you will also enjoy these other fun and creative ways of repurposing bottles and wine corks:
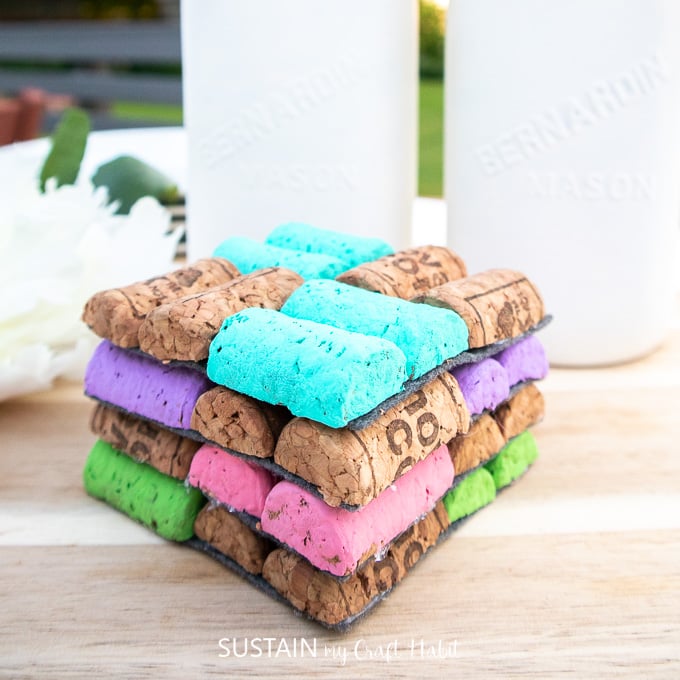
- Colorful Wine Cork Coasters
- Sparkling Star Wine Cork Decor
- 20+ Creative Wine Cork Crafts
- Upcycled Bottle Crafts
- Wine Cork Bath Mat
- Elegant Wine Glass Centerpiece
Wine Cork Coasters 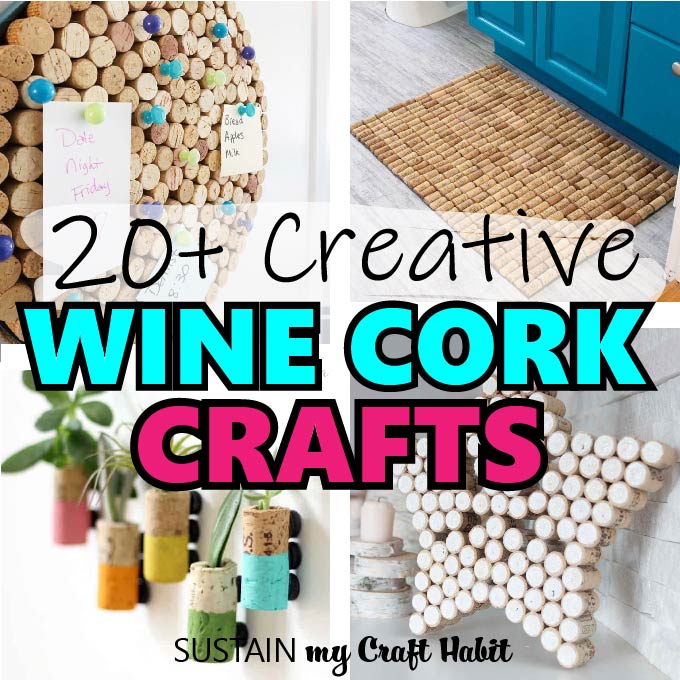
20+ Wine Cork Crafts 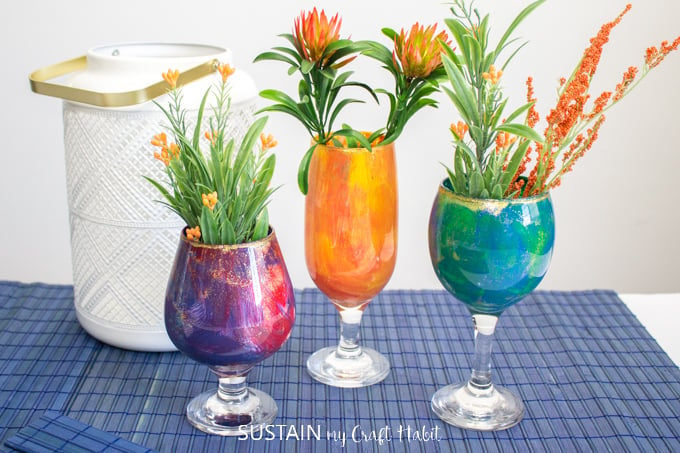
Glittering Wine Glass Centerpiece 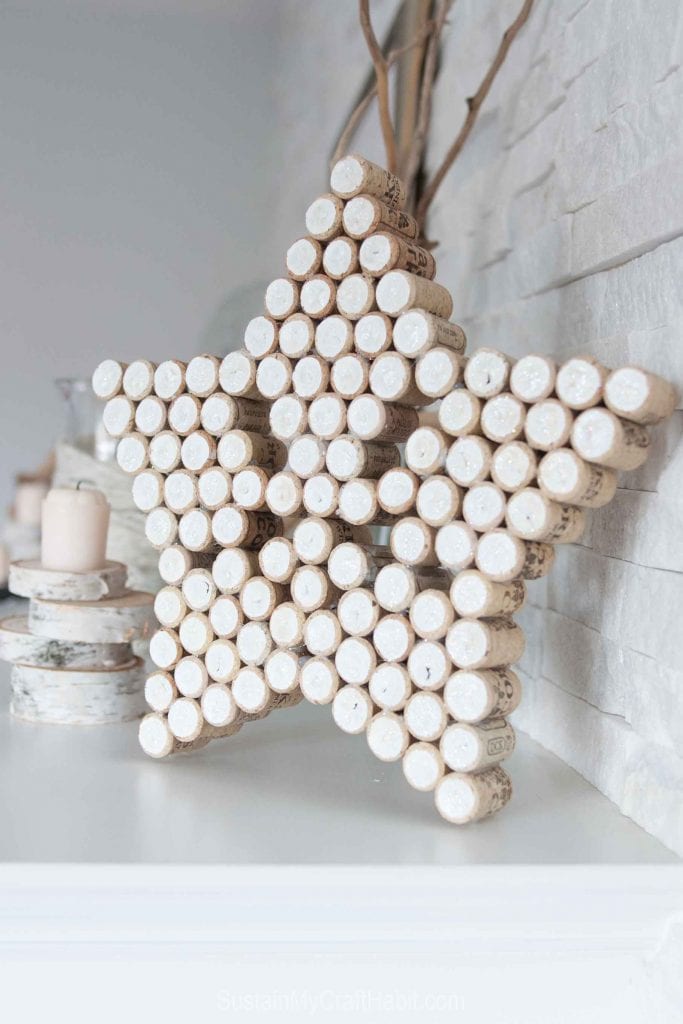
Wine Cork Star Decor 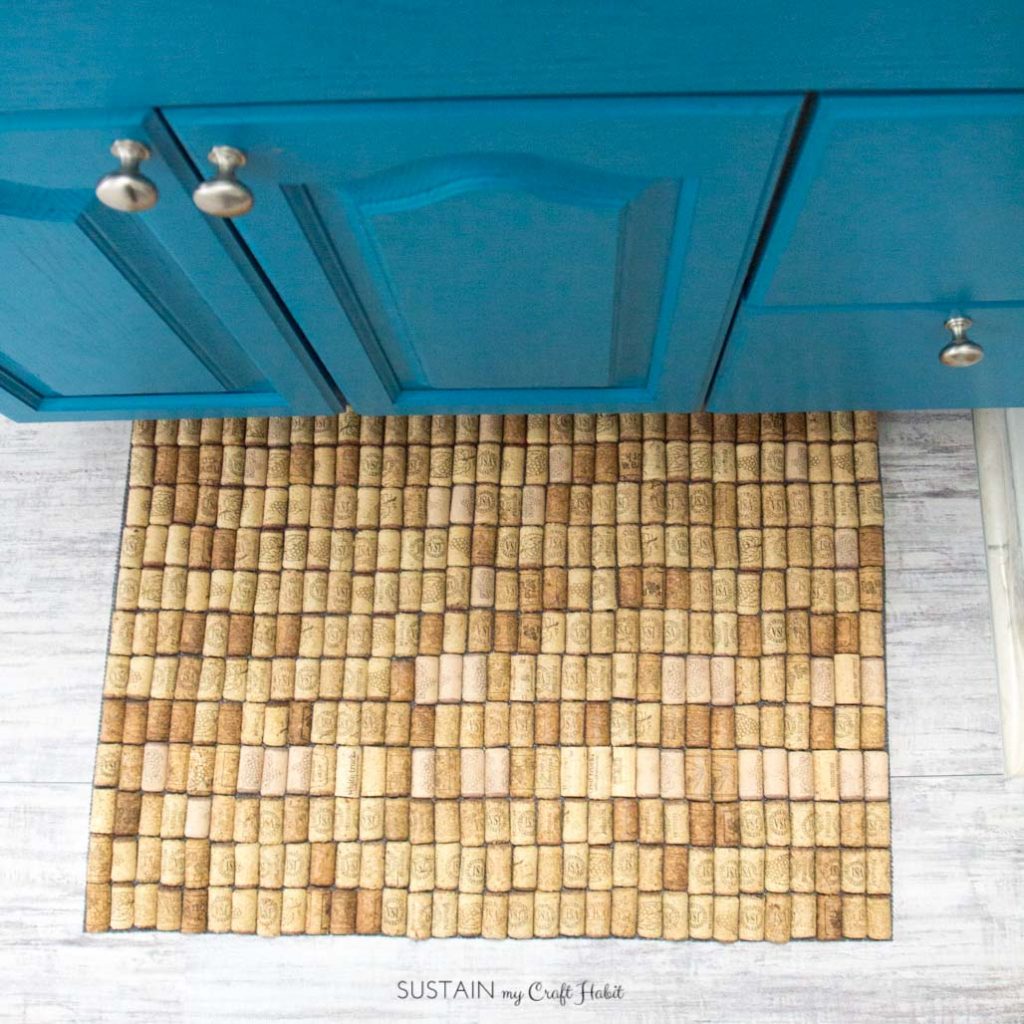
Wine Cork Bath Mat 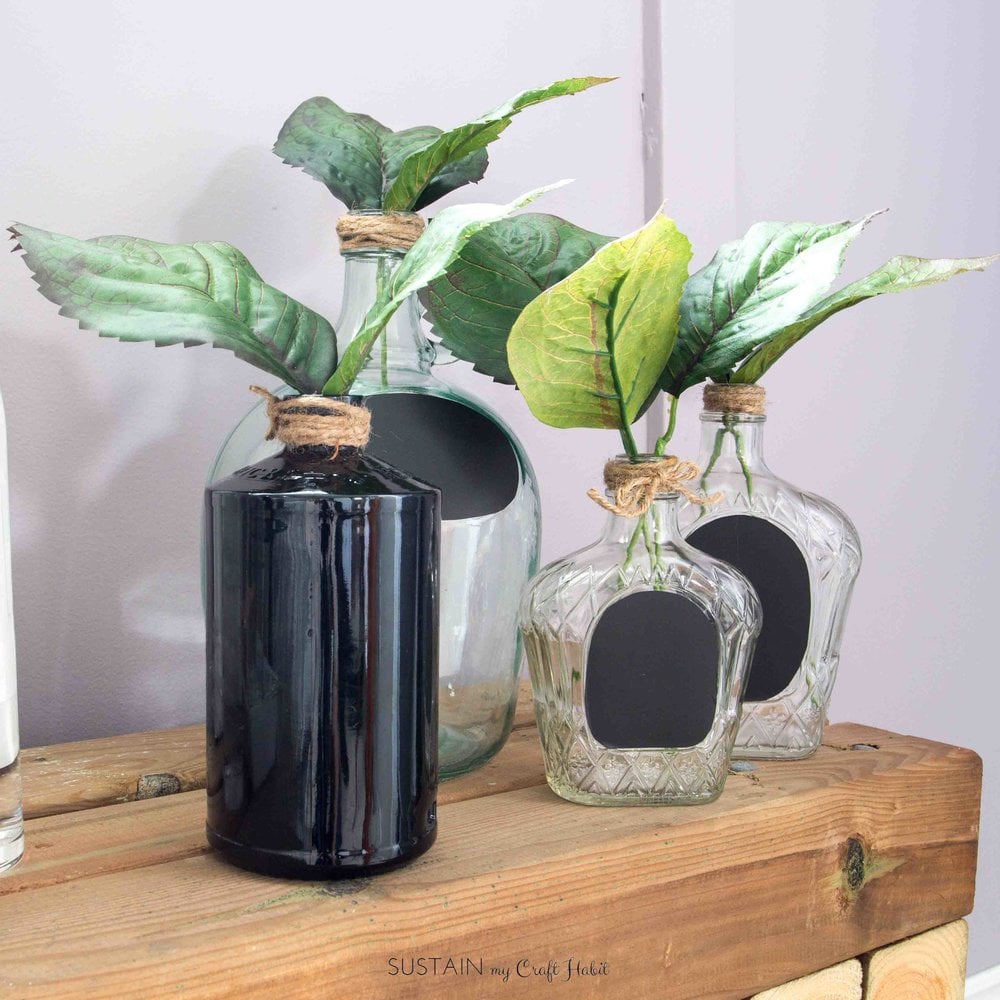
Repurposed Bottles
We’d love to know how you plan on celebrating Christmas this year?
Like it? Pin it for later!
Frosted Wine Bottle Centerpiece Idea
Materials
- 3 Clear glass wine bottles washed and labels removed
- Rust-Oleum Specialty Frosted Glass semi transparent finish
- Painter’s tape ¾” wide
- Fresh or Faux Greenery
Instructions
- Remove all wine bottle labeling.
- Wash in hot soapy water to remove all oils. Additionally you can rub with alcohol to ensure the surface is clean and spray will stick.
- Place one strip of painter’s tape around the lower half of the bottle. Place an additional strip of painter’s tape on one bottle. Leave the third bottle without painter’s tape.
- In a well ventilated area, place the bottles on a protected surface and spray with the frosted glass spray paint.
- Hold the spray bottle upright about 10“ from the bottle and spray in a steady back and forth motion.
- Apply 2 or more wet coats a few minutes apart.
- Frosted paint will dry fully in 10 minutes.
- Peel off the painter’s tape carefully.
- Insert fresh or faux greens and place together in a grouping on your table to enjoy.


Jane and Sonja these are so pretty and I could see them used in so many settings in addition to Christmas. I have frosted bottles of my list of crafts I want to try and you’ve shown me that it’s definitely something I need to do soon. Merry Christmas!
Your frosted wine bottle look so elegant and I’m just imagining all the different ways I can style them. Great tutorial! Making a note to save my wine bottles for this project. Pinning!
Hey guys!
I love the frosted bottle centerpiece (and I may have a few wine bottles to work with) Pinned for next weekend when I will be crafting with my adult daughters. So fun! Thank you fair sharing!
Thanks so much for sharing. I actually have quite a few jam and jelly jars that would be perfect for this. I am excited to give it a try very soon. Thanks for inspiring me.
This is such a great idea! I love how the fairy lights glow against the frosted glass!! Pinned and can’t wait to try!
This is so pretty! I want to make some for my coffee table!
I love this so much, especially since you are repurposing something that most throw away. So fun being on the hop with you, happy holidays.
What a fun Christmas DIY decor project! I love it. Thanks for sharing your inspiring ideas with us. Merry
Christmas.
Gorgeous DIY Centerpiece. I like how you used recycled bottles to create it.
Have a beautiful holiday,
Kippi
Wow these turned out so good! I love the light in them and how pretty they are grouped together. Such a fun and easy idea! Merry Christmas!
These are so pretty and something that you can enjoy long after Christmas is over. I’ll bet at night when the lights are off, these look great with the twinkle lights.
Sonja and Jane: this is such a neat idea! I love the added lights inside too.
Such a beautiful idea! I love the twinkle lights and holly berries.
Hey, if 2020 isn’t a reason to drink all the wine, I don’t know what is! Love how you repurposed the wine bottles for Christmas. That frosted glass paint is magical with the fairy lights.
I love this creative and beautiful idea, Sonja and Jane! The lights are the perfect touch! These could be used all year long! Pinned!
I didn’t know about frosted glass spray paint…what a cool craft! I love how they look with the twinkle lights. They look so pretty on your coffee table! These would be great outdoors during the summer, too. Thanks for sharing!
What a cute idea! The twinkle lights are such a nice touch. Great display that you can use all winter!