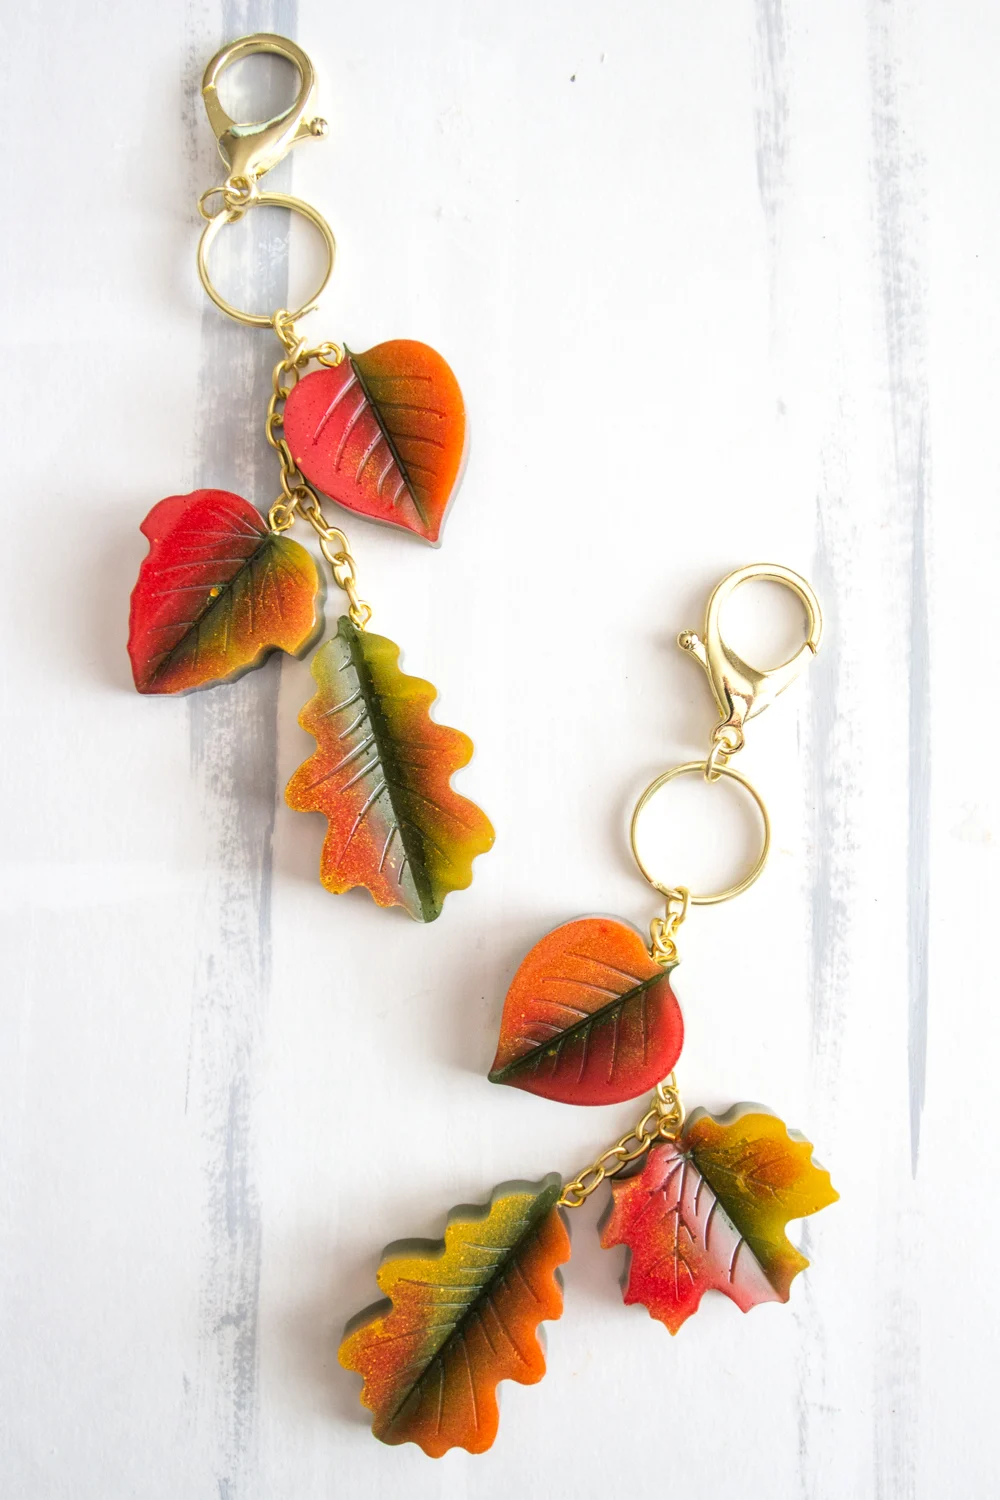
Pull out your favourite autumn colours to make these lovely resin leaves. Use them to make a fall necklace, keychain or zipper pull!

My lovely November,
A Waltz for Zizi
Have you seen my heart, somewhere in your castle of yellow leaves?
It’s hard to believe that it’s November already! The beautifully coloured trees have half-lost their leaves and soon will be covered in snow.
Autumn colors of yellow, red, orange and green provide tons of crafting inspiration. For example, last year we made this gorgeous DIY maple leaf resin paperweight and used lots of rustic fall touches in our woodland themed Thanksgiving tablescape.


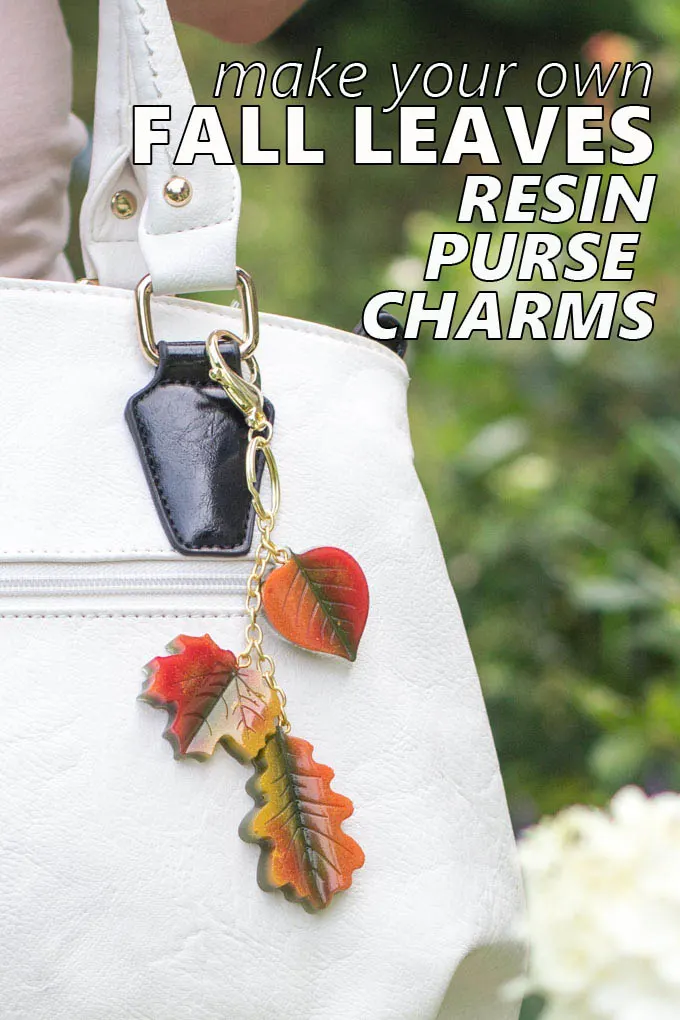
When I found this lovely silicone leaf mold at our local craft store, fall-colored resin leaves came quickly to mind. And I can’t get over how nicely all those tones blended together for this resin craft.
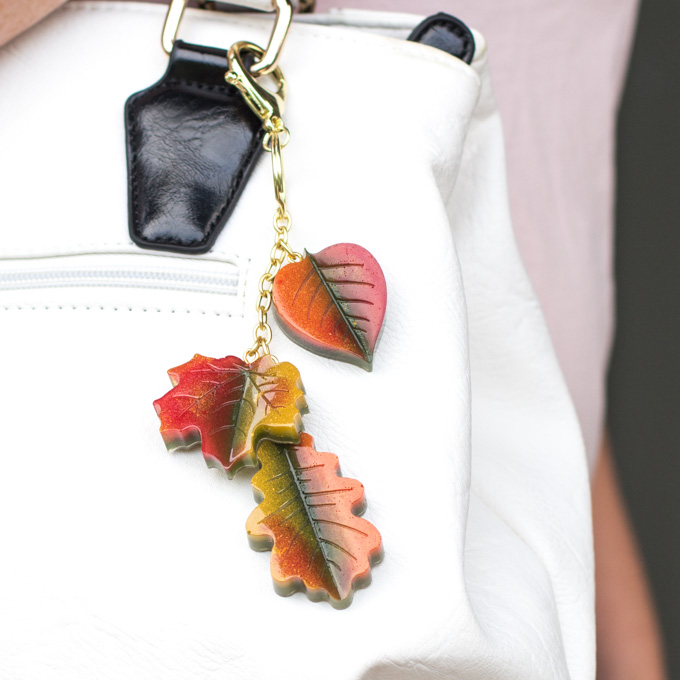
Although I ended up putting them together as a decoration for my purse, they would also be beautiful as key chain charms, strung together for a nature-inspired wall hanging, or made into a pretty fall necklace such as our resin jewelry with flowers.
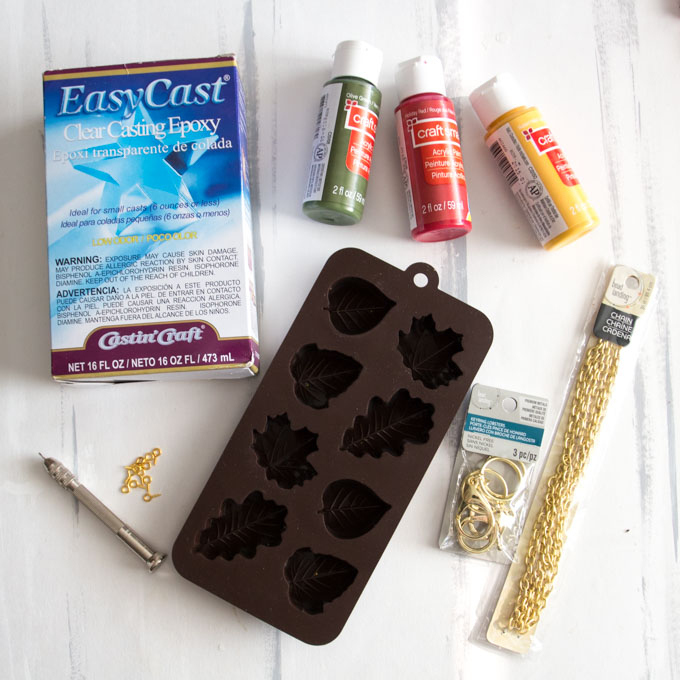
Materials Needed to Make DIY Resin Leaves
- Leaves silicone mold
- EasyCast Clear Casting Epoxy (use the Coupon Code CRAFTHABIT10 for 10% off your order!)
- Acrylic craft paint in red, yellow and green (we used Craftsmart Acrylic Paint in Mustard Yellow, Holiday Red and Olive Green)
- Cups, stir sticks, straw or kitchen torch, disposable work surface, gloves
- Small gold eyelet screws
- Drill with fine drill bit
- Gold lobster clasps
- Gold chain
- Needle nose pliers

How to Make DIY Fall Leaf Resin Charms
The First Resin Pour
Read all package instructions. Use gloves and work in a well-ventilated area on a surface protected with plastic or newspaper
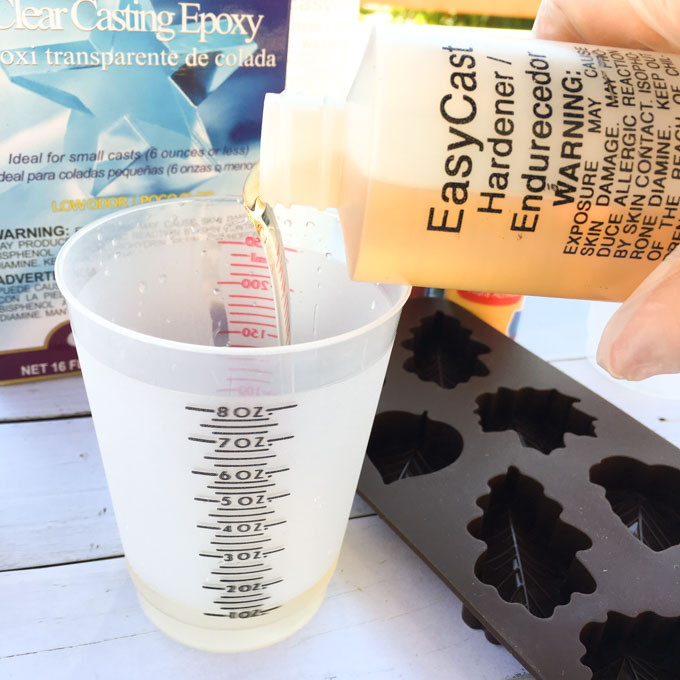
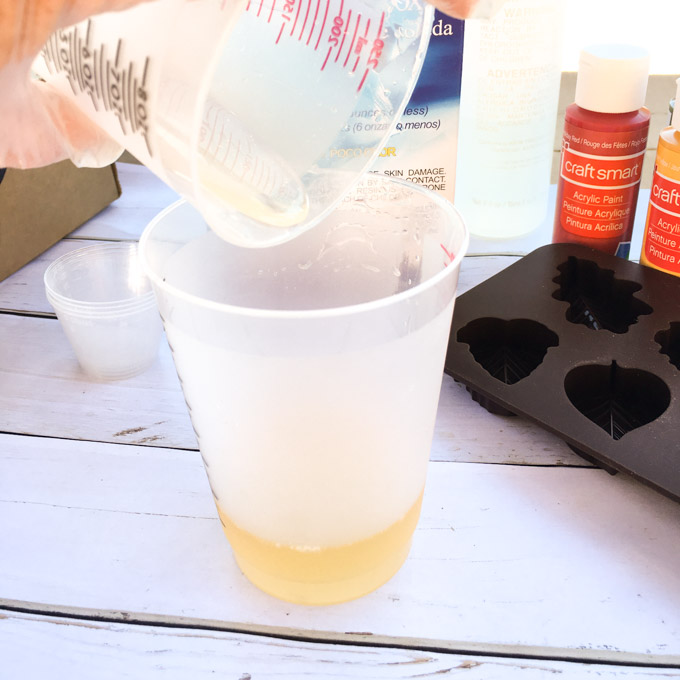
- Mix equal parts of resin and hardener in a clean measuring cup. I initially used 1oz of each which ended up being way too much for this step. ½ oz of each would have been perfect.


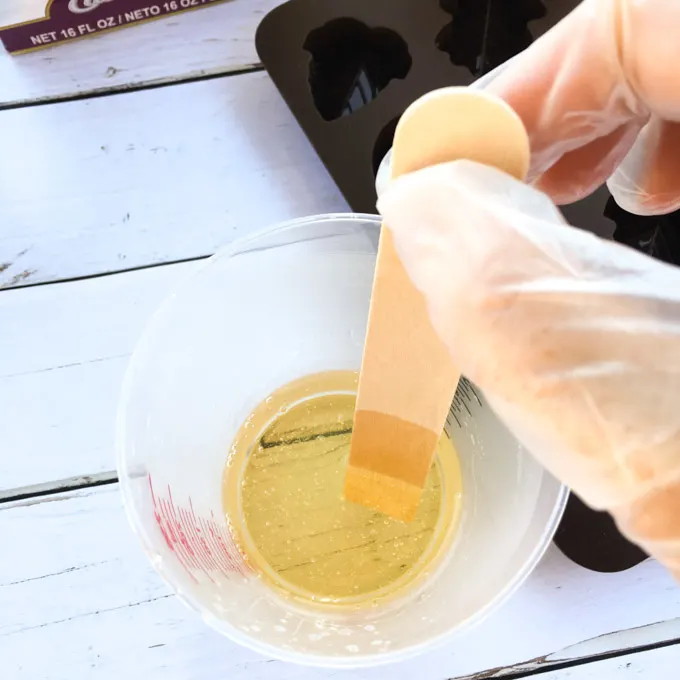
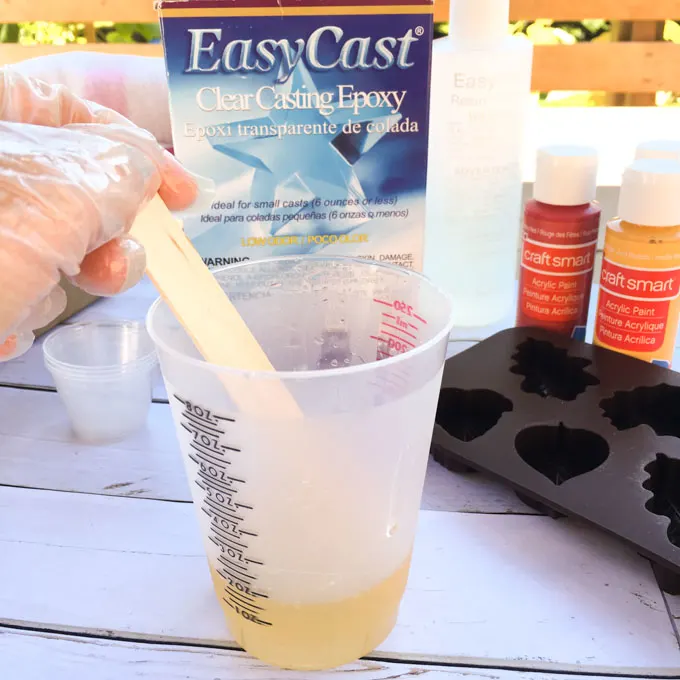
2. Stir for 2 minutes then transfer into a second clean measuring cup. Stir with a clean stir stick for another minute.


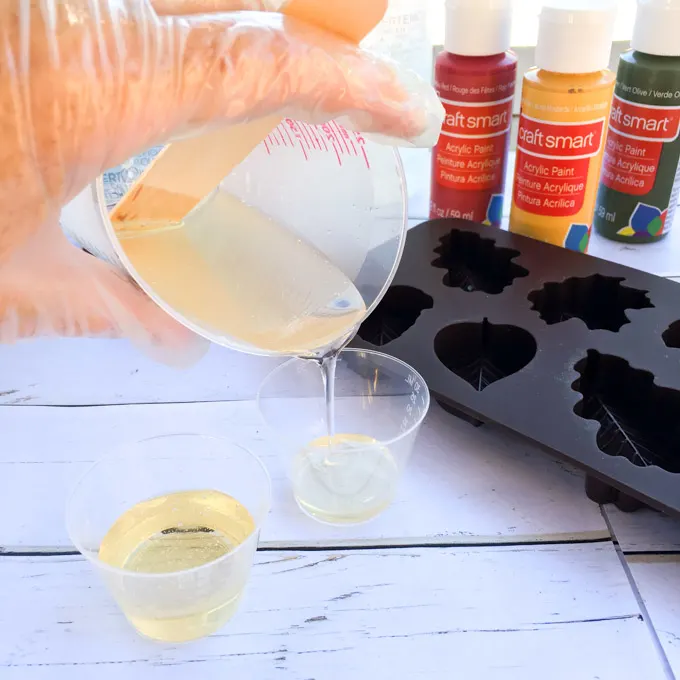
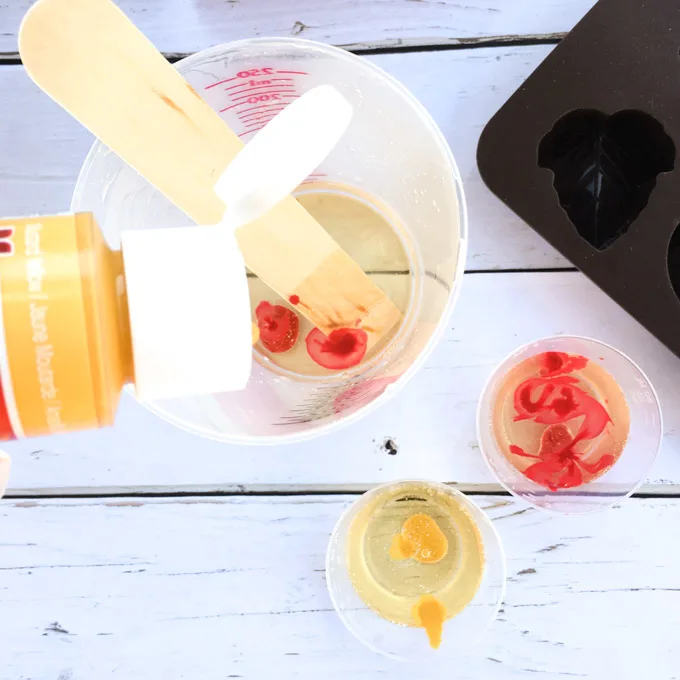
3. Divide the resin evenly into thirds in separate cups. Add 1-2 drops of yellow acrylic paint to one, 1-2 drops of red to a second and one drop each of red and yellow to the third cup. Mix the resin and paint together thoroughly.


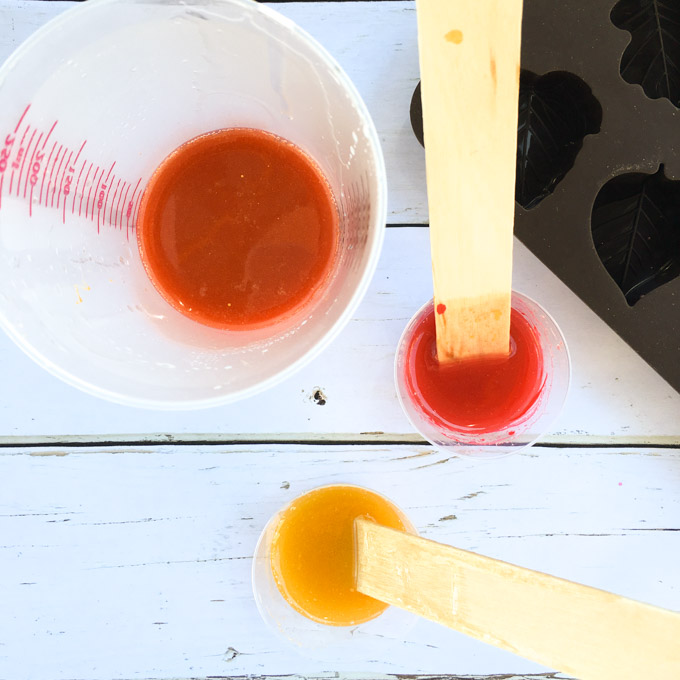

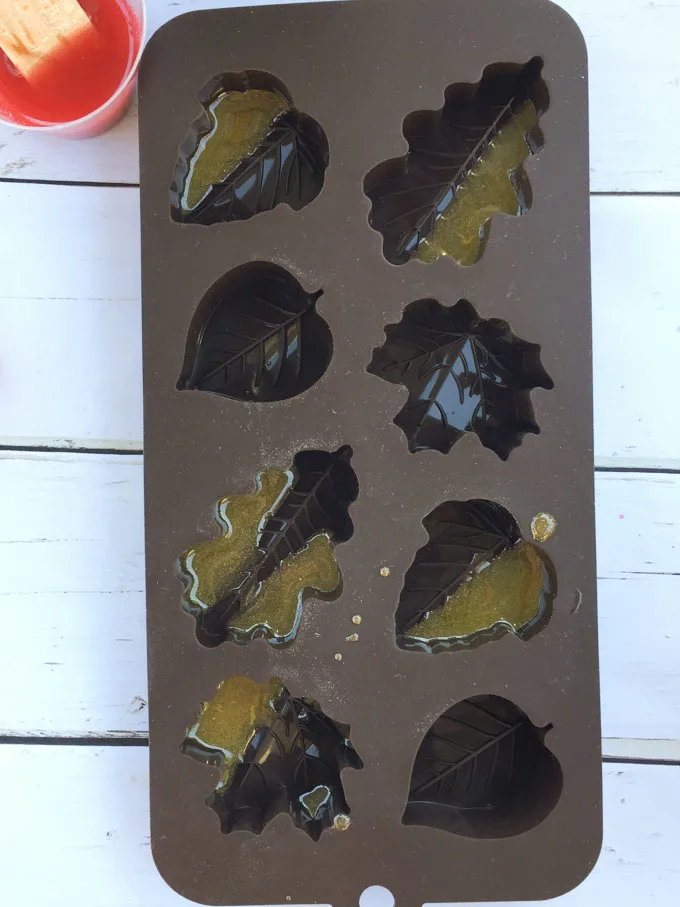
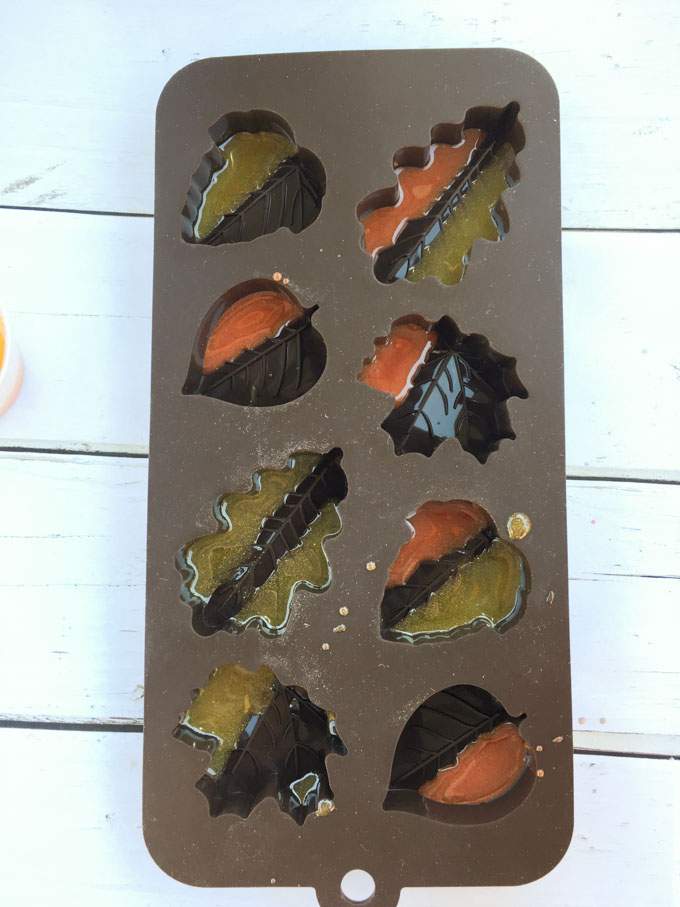
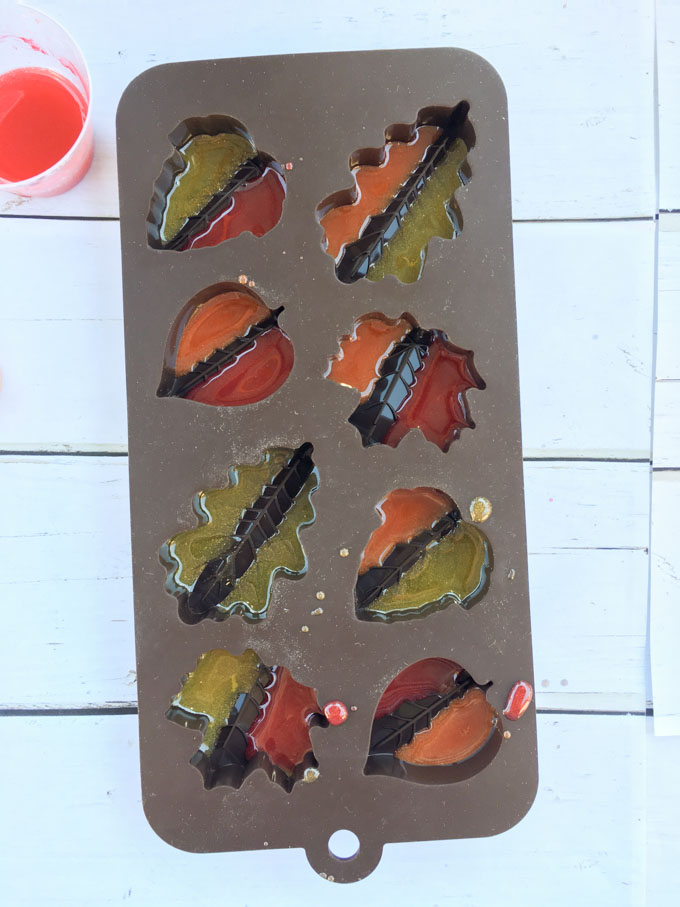
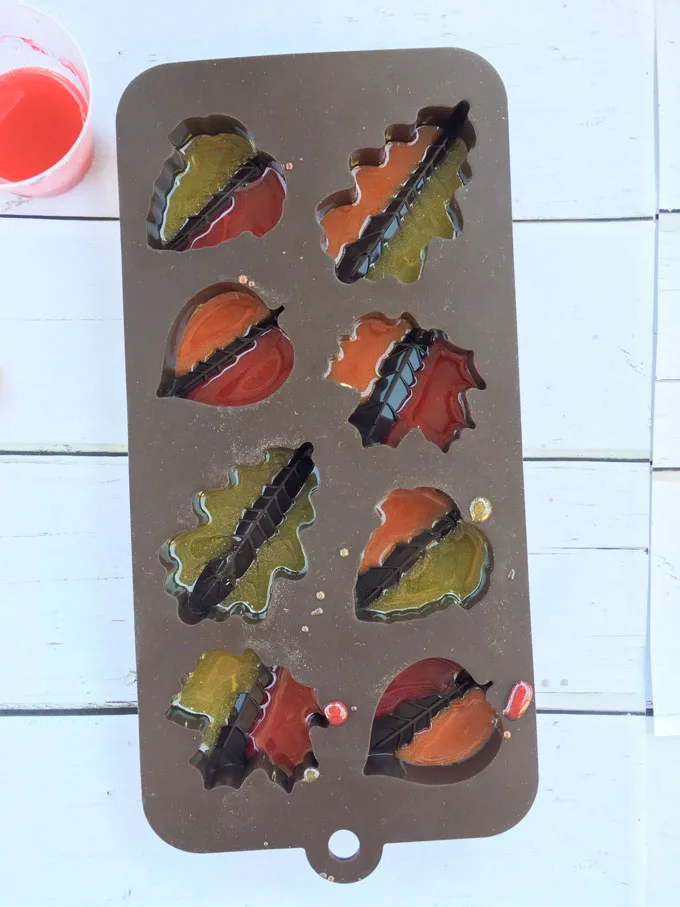
4. Starting with the yellow-tinted resin, carefully pour a small amount into one section of each leaf mold. Repeat with red and then orange tinted resin.
Drop in alternating colors to add additional depth to the resin leaves. Do not overfill the molds – you’ll want the green from the second pour to show through, particularly along the center vein of each leaf.


5. After 10-15 minutes blow off any air bubbles rising to the surface of the resin using a straw. Repeat as necessary over the next 1-2 hours.
6. Place the mold on a level surface and cover to keep dust from settling in. Leave to cure at least 12 hours before proceeding to the second resin pour.
The Second Resin Pour
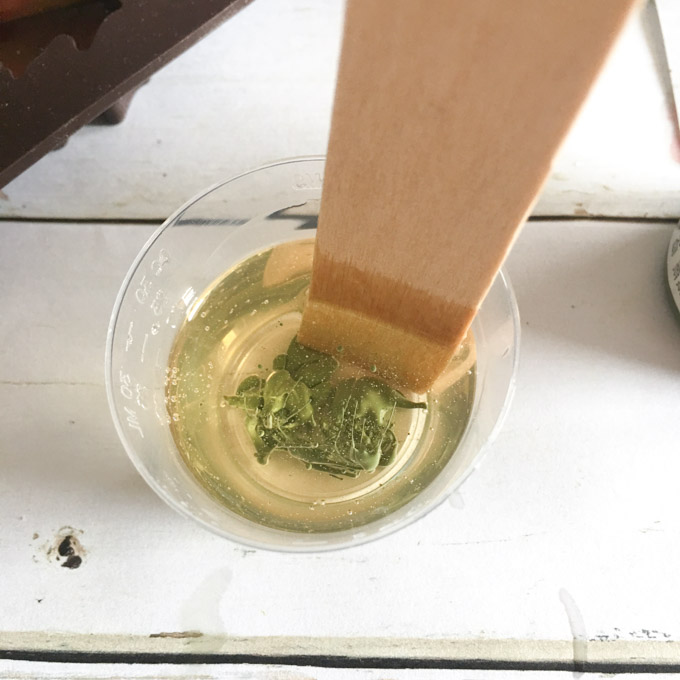
7. Repeat steps 1-2 above to mix a second batch of resin (1 oz each of the resin and hardener were needed for this step).
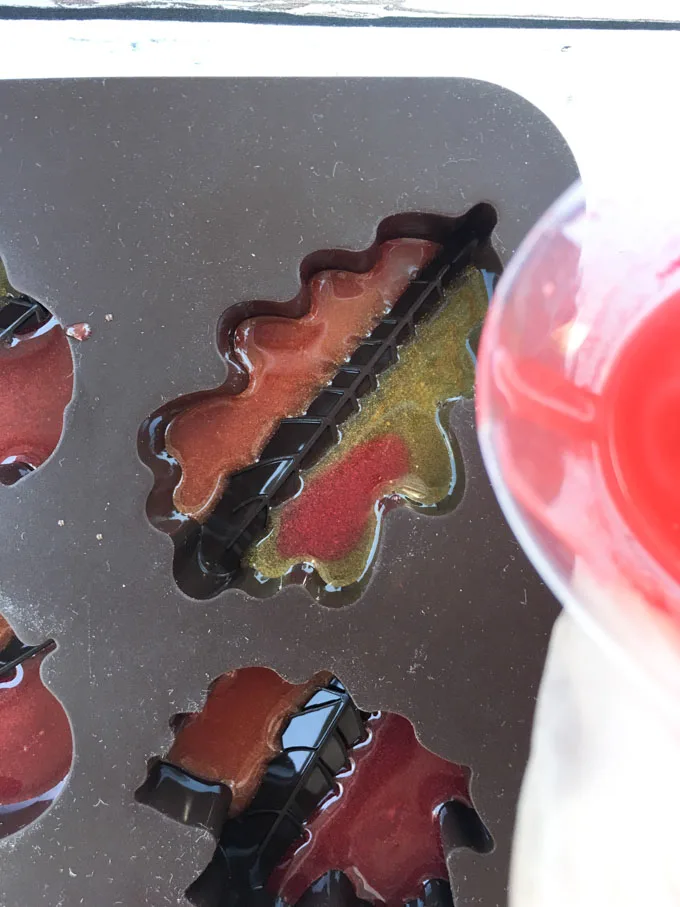
8. Once mixed, squirt 3-4 drops of the green acrylic paint into the resin and blend together thoroughly.

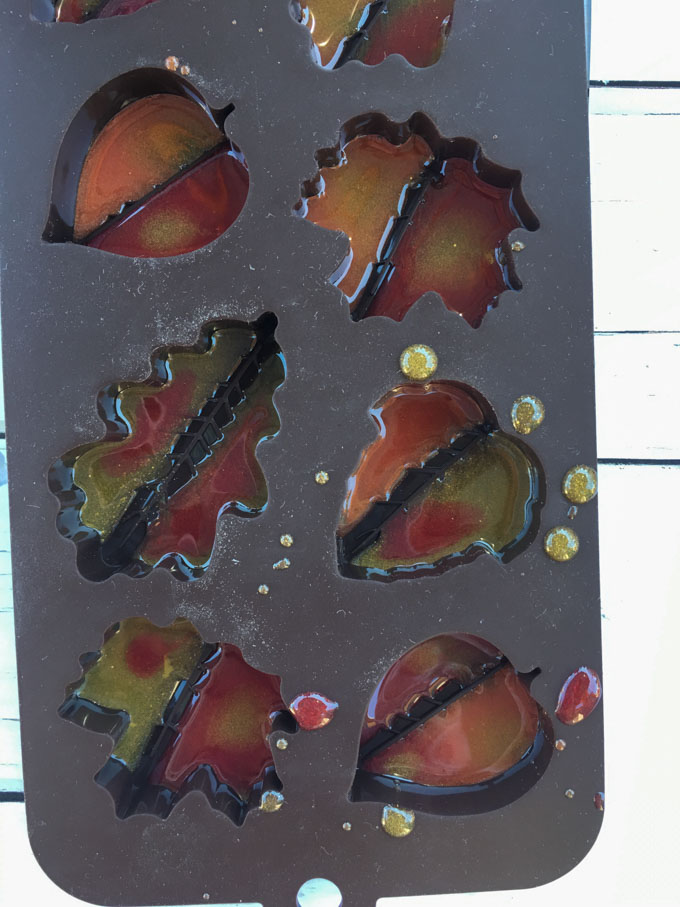
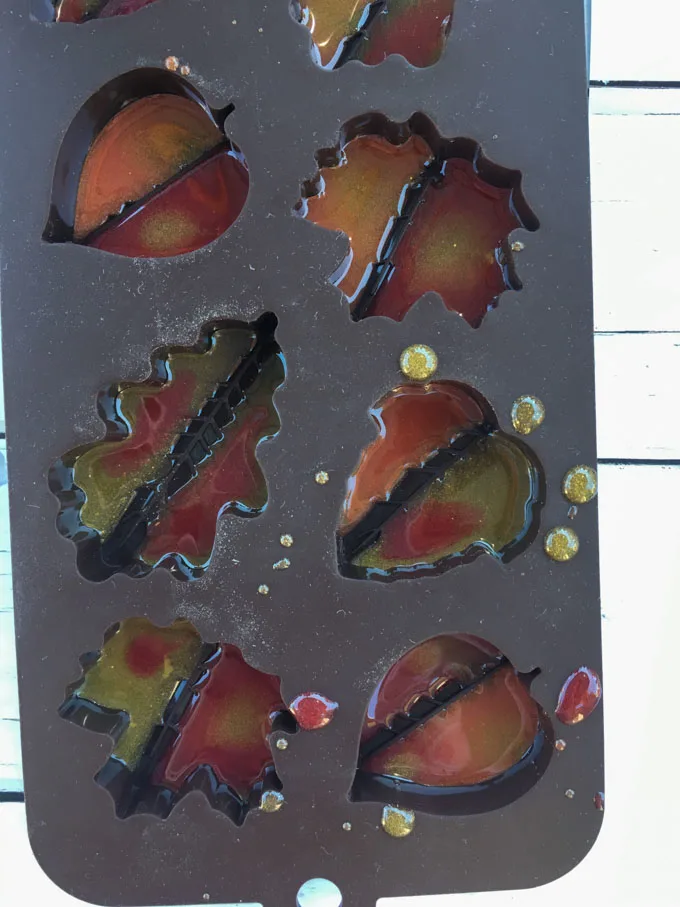
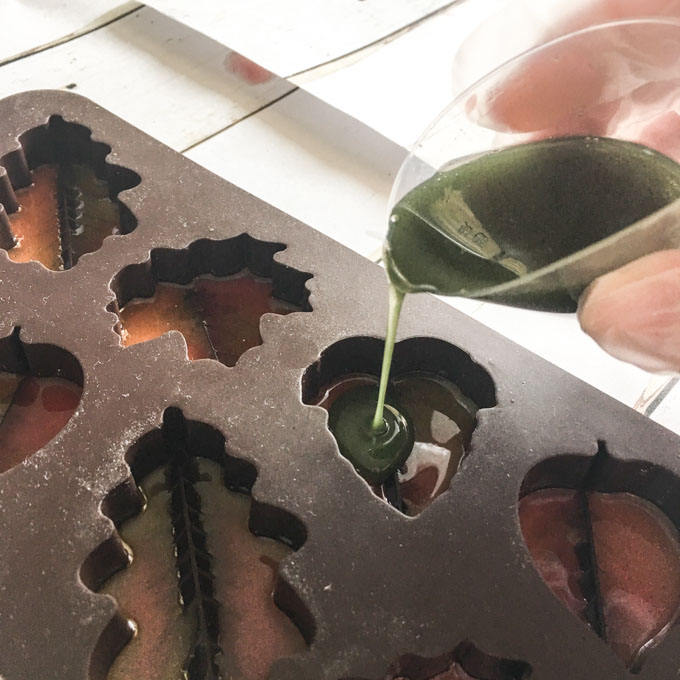
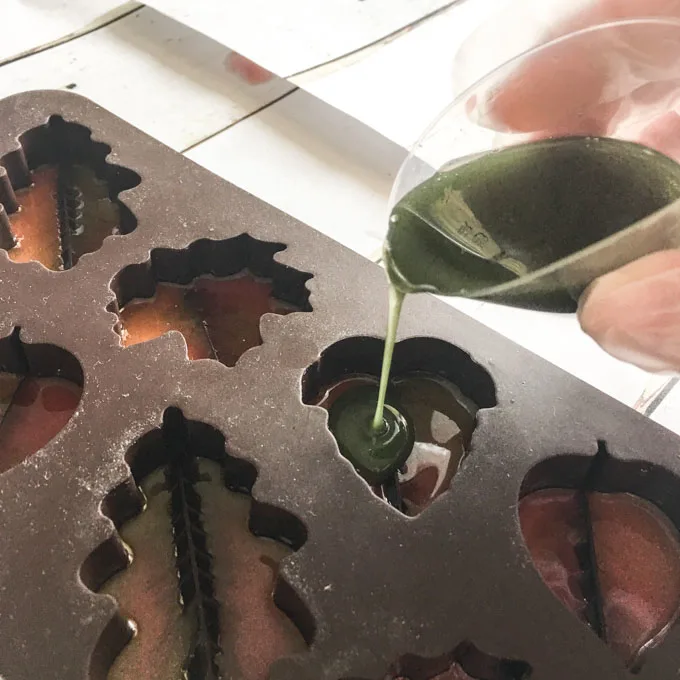
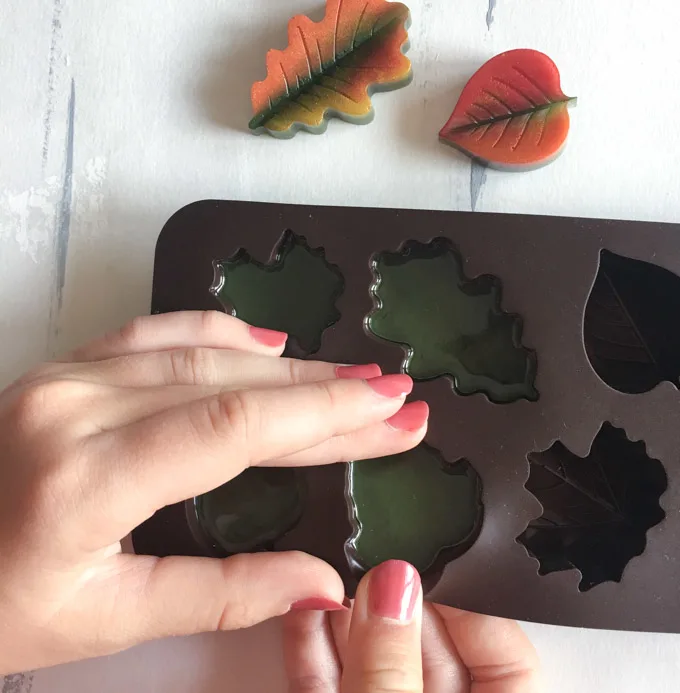
9. Pour the green-tinted resin into each leaf mold, covering the previously poured layers.
10. After 10-15 minutes blow off any air bubbles rising to the surface of the resin using a straw. Repeat as necessary over the next 1-2 hours.
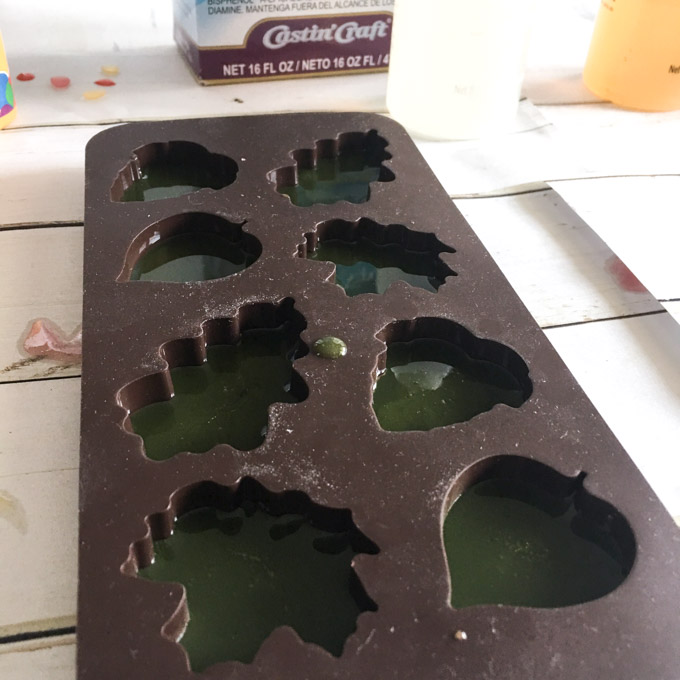

11. Place the mold on a level surface and cover to keep dust from settling in. Leave to cure overnight (24 hours for a soft cure, 72 hours for full cure).
Assembling the Purse Charm
12. Once completely cured, pop the resin leaves out of the silicone molds.

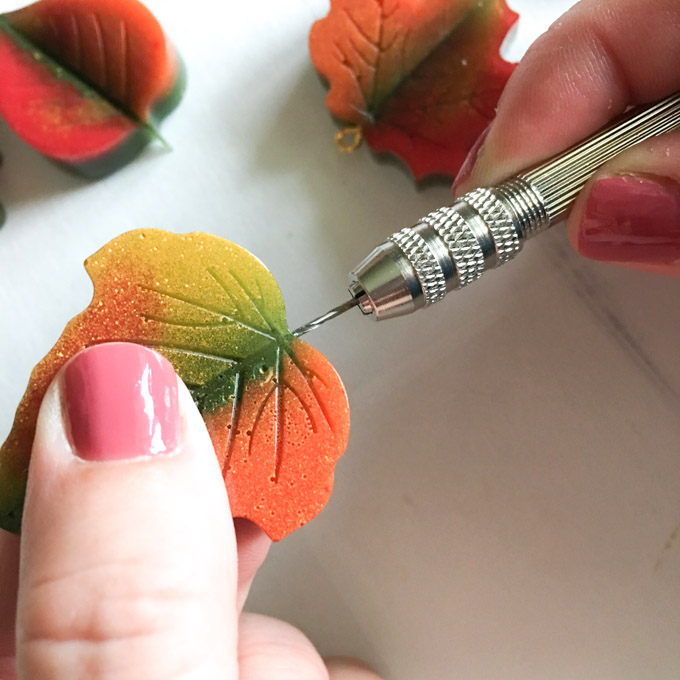
13. Drill a small pilot hole and then screw in a gold eyelet. Repeat with the other leaves.


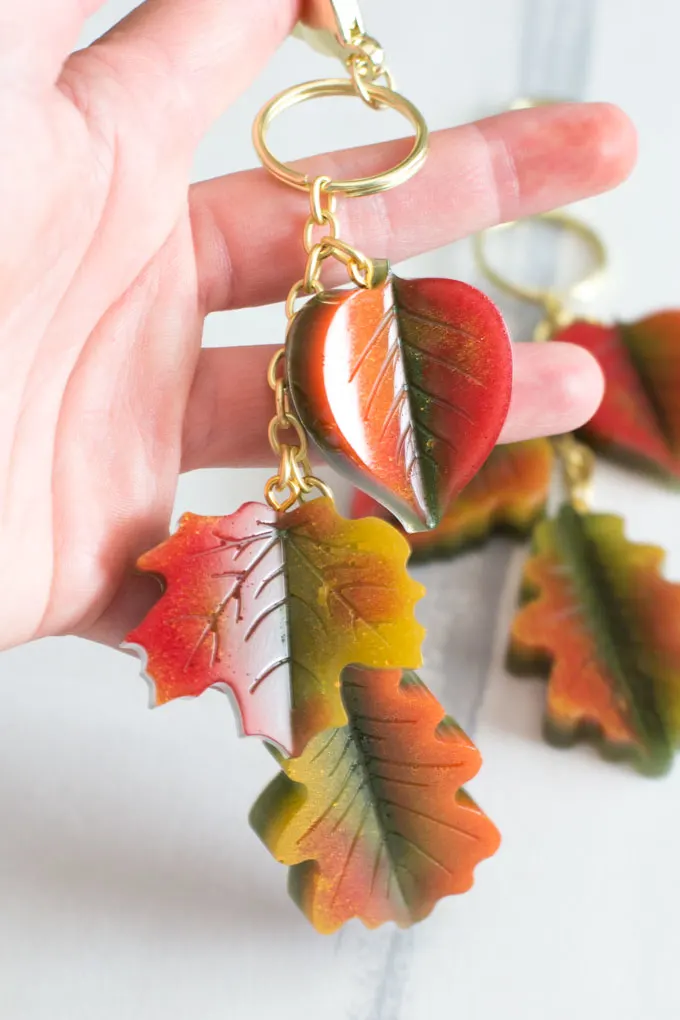
14. Select three different leaves and link them together at varying heights along a gold chain (about 2.5 inches long).
15. Link the chain onto the lobster clip keychain.
I have to say that this project is one of those rare ones that turned out waaaaay better than I had even envisioned!

The kids have each claimed a new purse charm (for their backpacks) and Sonja’s put in a request for hers. It’s alright because I look forward to making another set. I think they’ll be perfect gifts with the holidays coming up.

If you’re looking for more fall resin crafts this DIY Acorn Ring Silicone Mold is the perfect mold for an added touch of nature to any Thanksgiving tablescape.
This post originally appeared on the Resin Crafts Blog.
Like it? Pin it for later!


DIY Fall Leaf Resin Charms
Materials
Instructions
- For the first resin pour, mix equal parts of resin and hardener in a clean measuring cup.
- Stir for 2 minutes then transfer into a second clean measuring cup. Stir with a clean stir stick for another minute.
- Divide the resin evenly into thirds in separate cups. Tint with red and yellow paints.
- Carefully pour a small amount of colored resin into each mold compartment. Alternate colors.
- After 10-15 minutes blow off any air bubbles rising to the surface of the resin.
- Place the mold on a level surface and cover to keep dust from settling in. Leave to cure at least 12 hours before proceeding to the second resin layer.
- Repeat steps 1-2 above to mix a second batch of resin.
- Once mixed, tint with green paint. Pour into each leaf mold, covering the previously poured layers.
- After 10-15 minutes blow off any air bubbles rising to the surface of the resin.
- Place the mold on a level surface and cover to keep dust from settling in. Leave to cure overnight (24 hours for a soft cure, 72 hours for full cure).
- Once completely cured, assemble the purse charms.