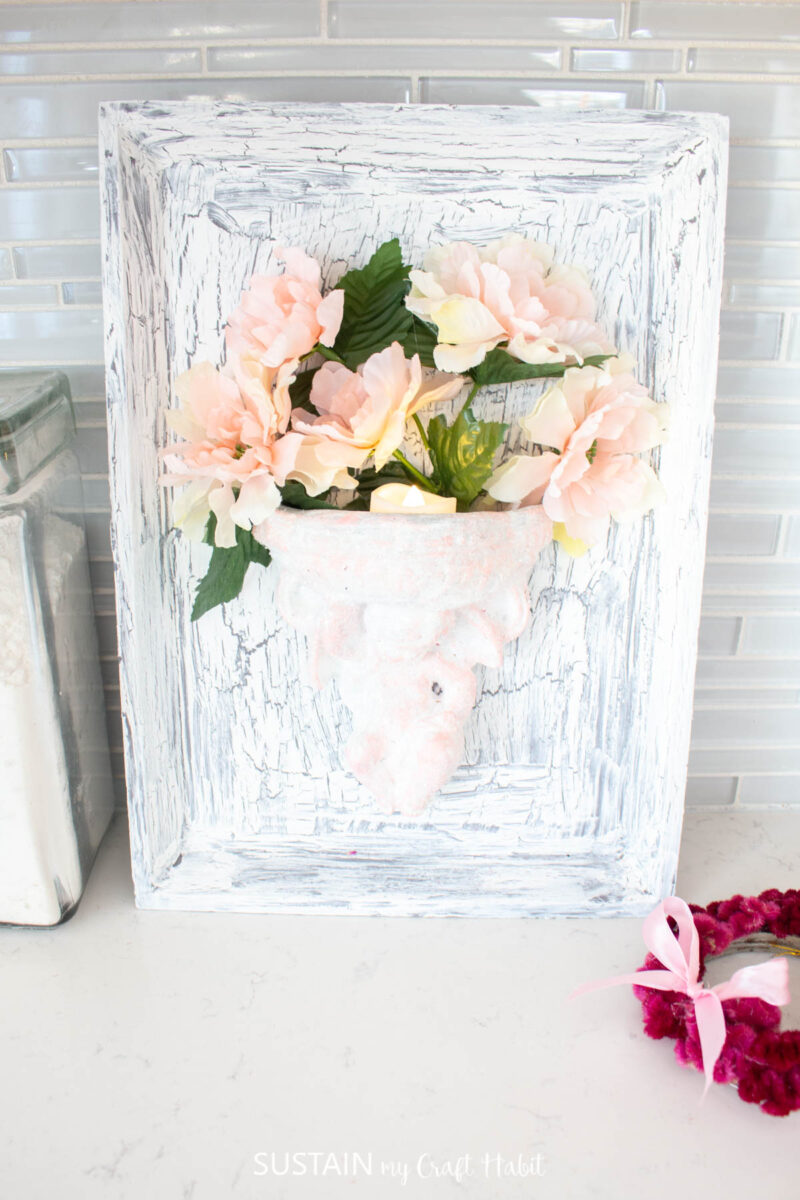
Having come across a decorative cherub I bought from the thrift store years ago, I created this one-of-a-kind decoration for Valentine’s Day using upcycled and repurposed supplies. When was the last time you scoured through your craft supply stash to find inspiration for your next craft?
Upcycled Valentine’s Day Crafting
Hours before creating this latest Valentine’s Day cherub craft on a FB Live video, I really didn’t know what I was going to make! Knowing I wanted to use a thrifted plaster cherub, I gathered some other supplies like an wooden serving tray, faux florals and my acrylic paints and the idea sort of just came together!

I’d love to know, has this ever happened to you? Have you found inspiration to craft just by the supplies you had around you at home with pieces you’ve collected, purchased or acquired?
Want to receive a ton of inspiration and money saving ideas for decorating, gift-giving and crafting? Join HERE!
Materials Needed
Disclosure: This post contains affiliate links for your shopping convenience. Should you choose to purchase through them, we will make a small commission at no extra cost to you. You can read our full disclosure policy here.
- Elmer’s glue
- Wood tray
- Paint brush
- Cherub
- Paint in white and pink
- Diamond dust
- Mod Podge
- Screw
- Faux flowers
- LED candle
How to Upcycle a Cherub for Valentine’s Day Decor
We first shared the tutorial for making this Valentine’s Day decor on a recent Facebook Live which you can catch here. Or continue reading if you wish to follow along with the step by step instructions.
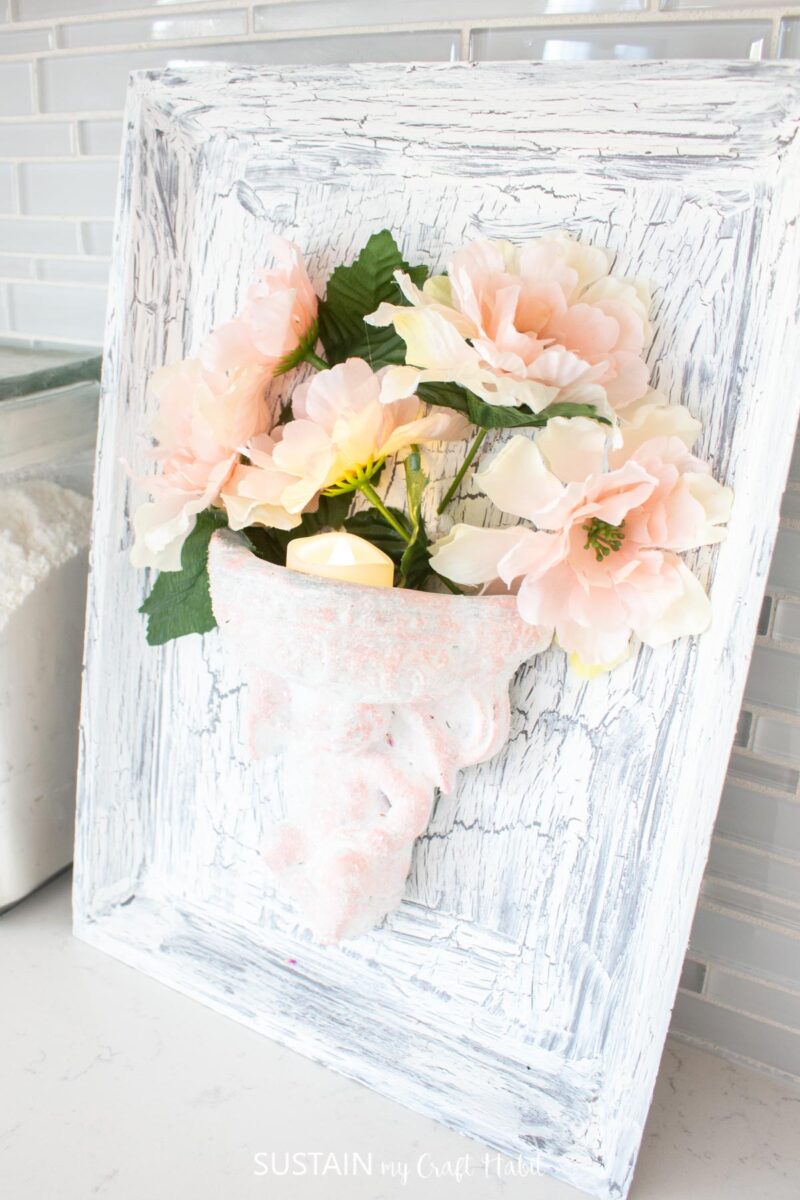
Creating a Crackle Finish with Glue
- Start by pouring some craft glue on your wooden tray. Brush it out using a paint brush.
- Before the glue fully dries, add a coat of white paint on top of the glue.
- As the glue dries, the crackle affect will form.
If you wish to know more about getting a crackle finish with school glue visit this post here.
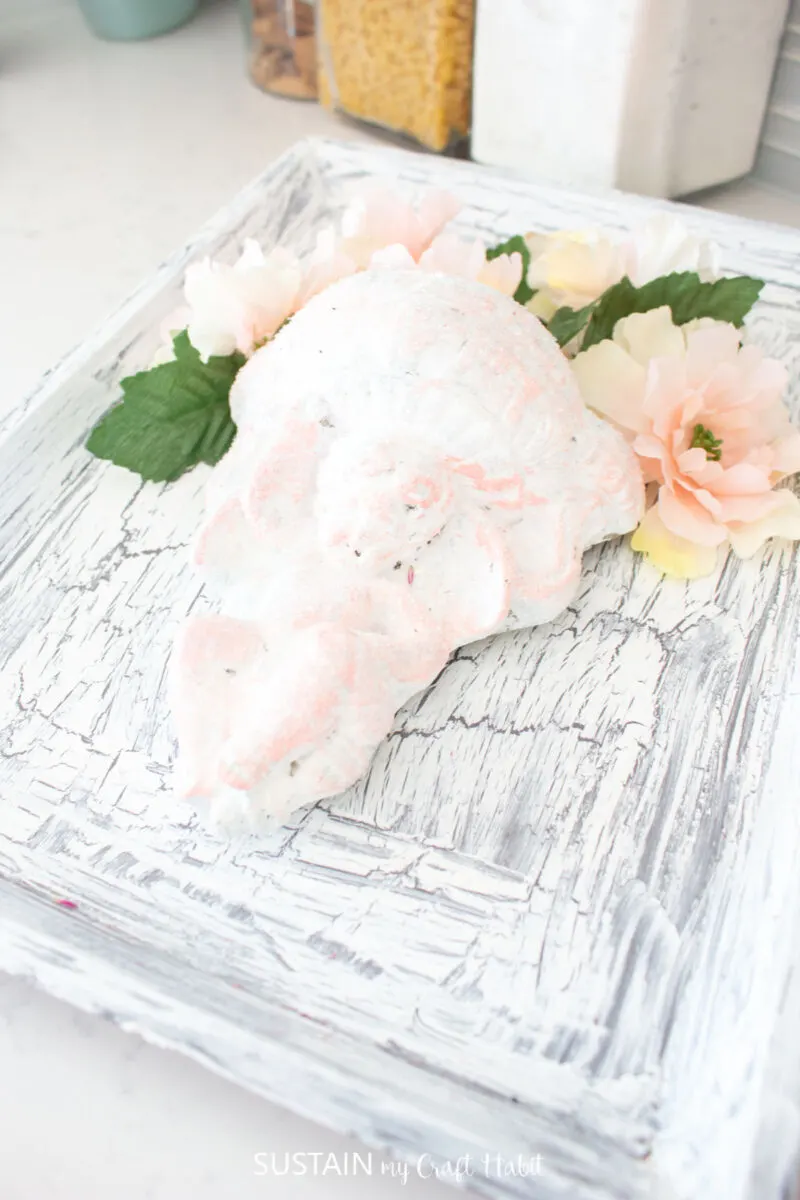
Preparing the Cherub
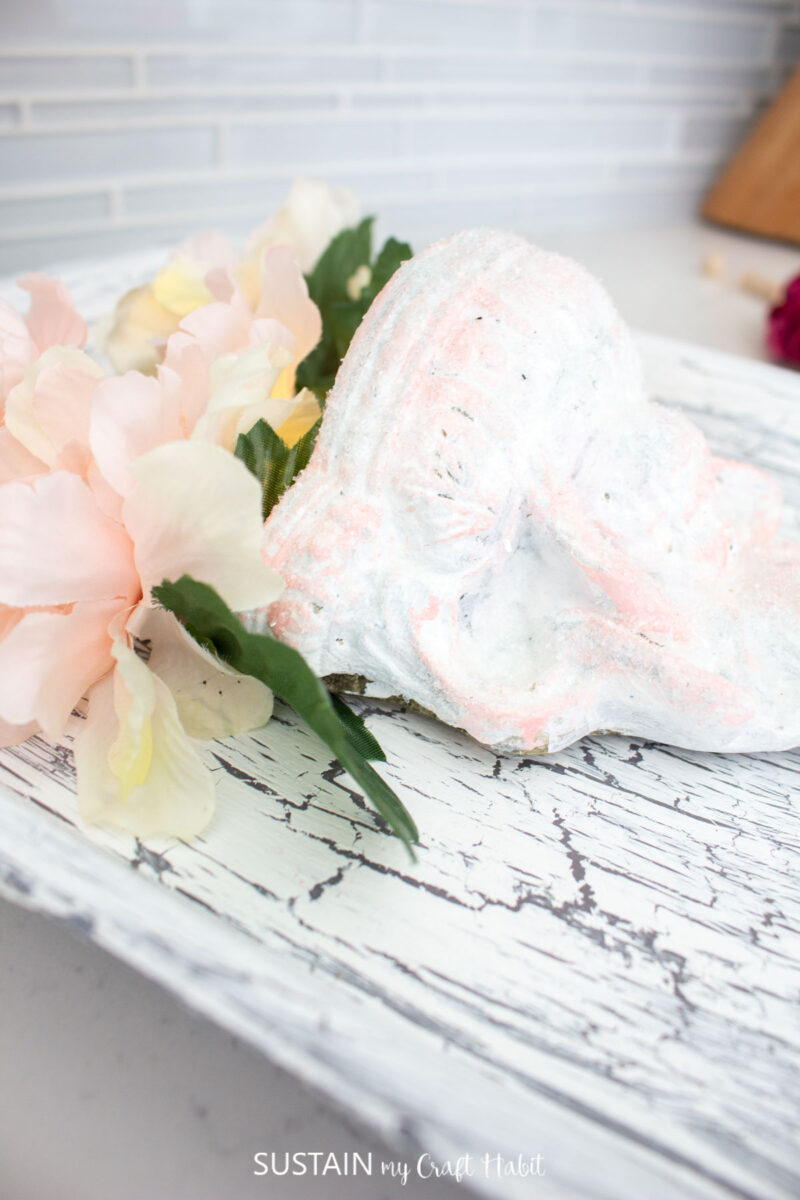
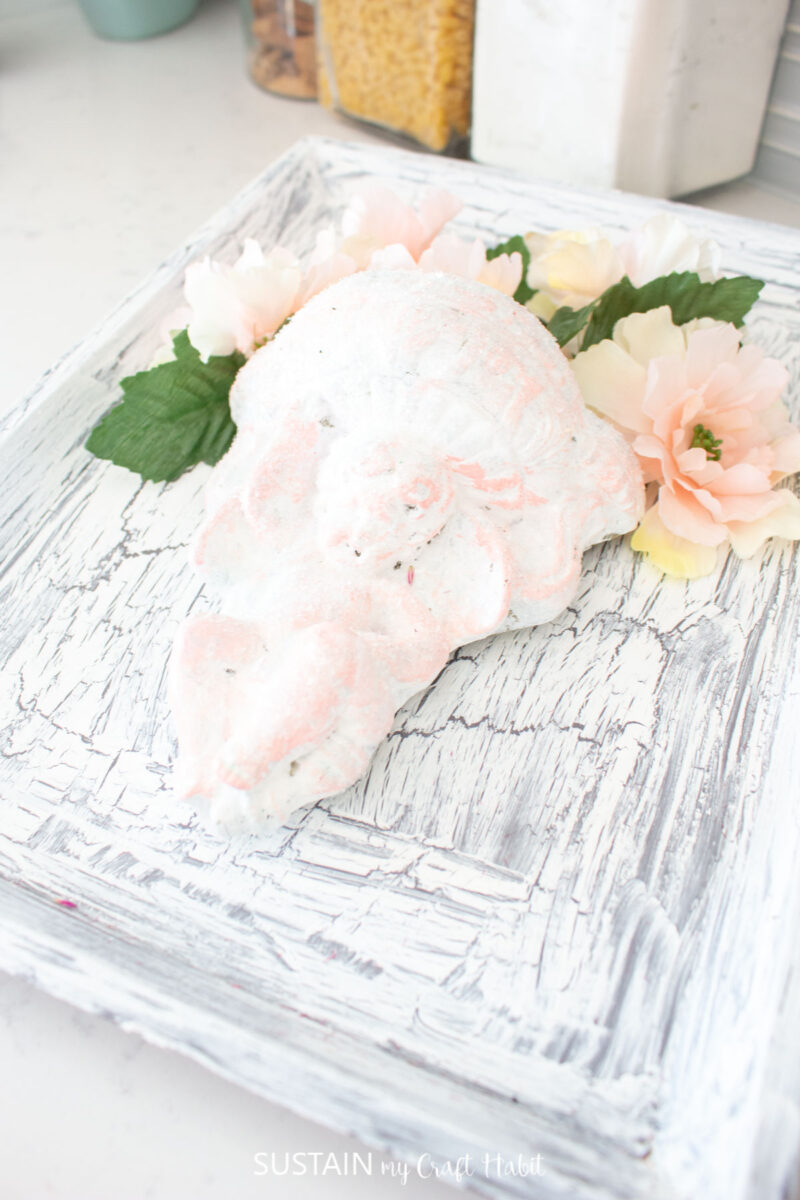
- Paint the plaster cherub in white, giving it some time to dry.
- Using some pink paint, lightly paint it on some areas of the cherub.
- Add some mod podge on the cherub and then pour on your diamond dust or glitter before it dries.
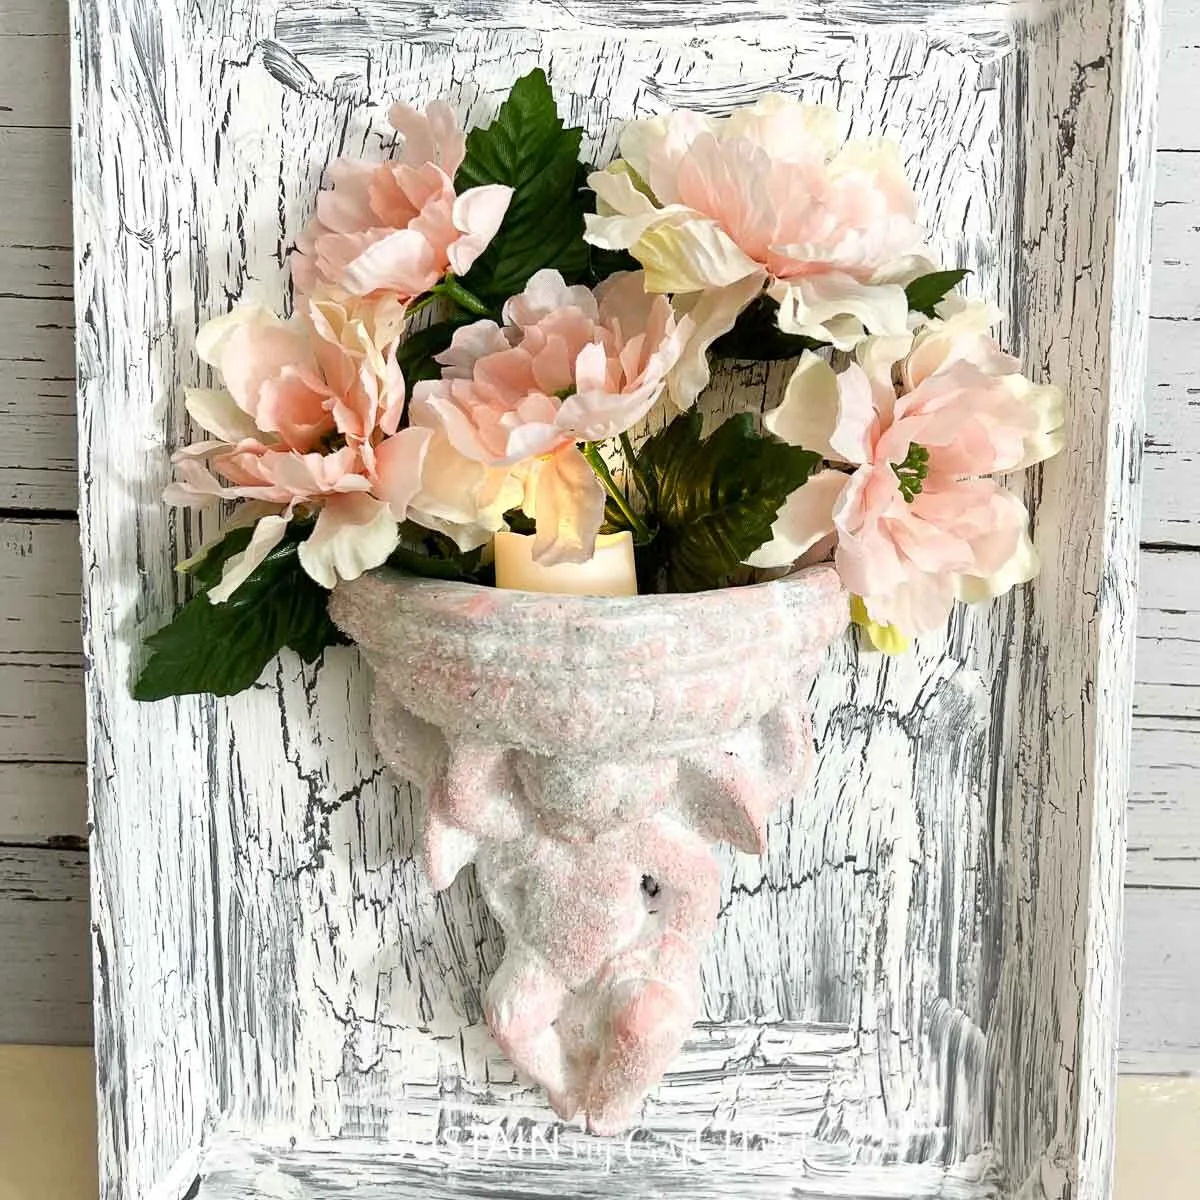
Assembling
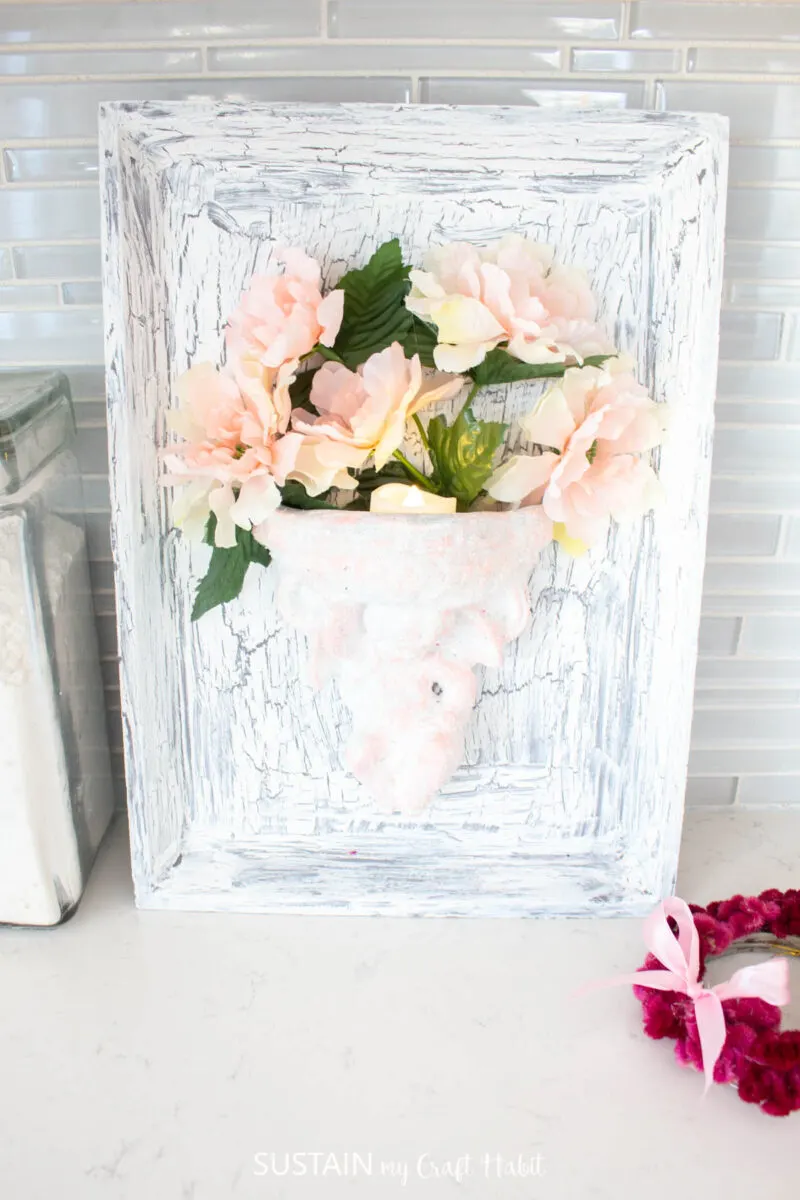
- Hang your cherub on the tray using a screw.
- Add your LED candle and faux flowers into the cherub.

And with that, the upcycled Valentine’s Day decoration is complete and ready for displaying. I love how it turned out, especially knowing I used pieces I had lying around at home!

More Upcycled Valentine’s Day Decor
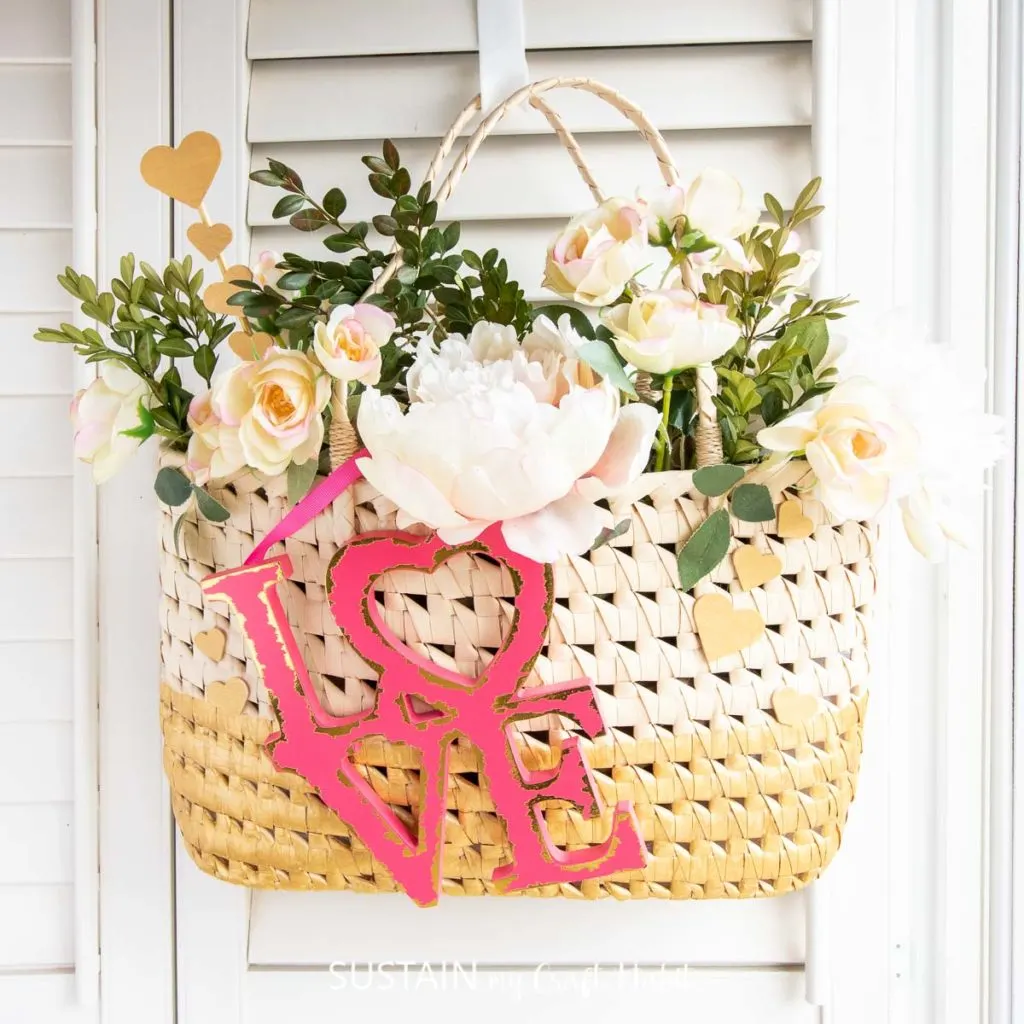
- Upcycled Straw Purse Valentine’s Decor
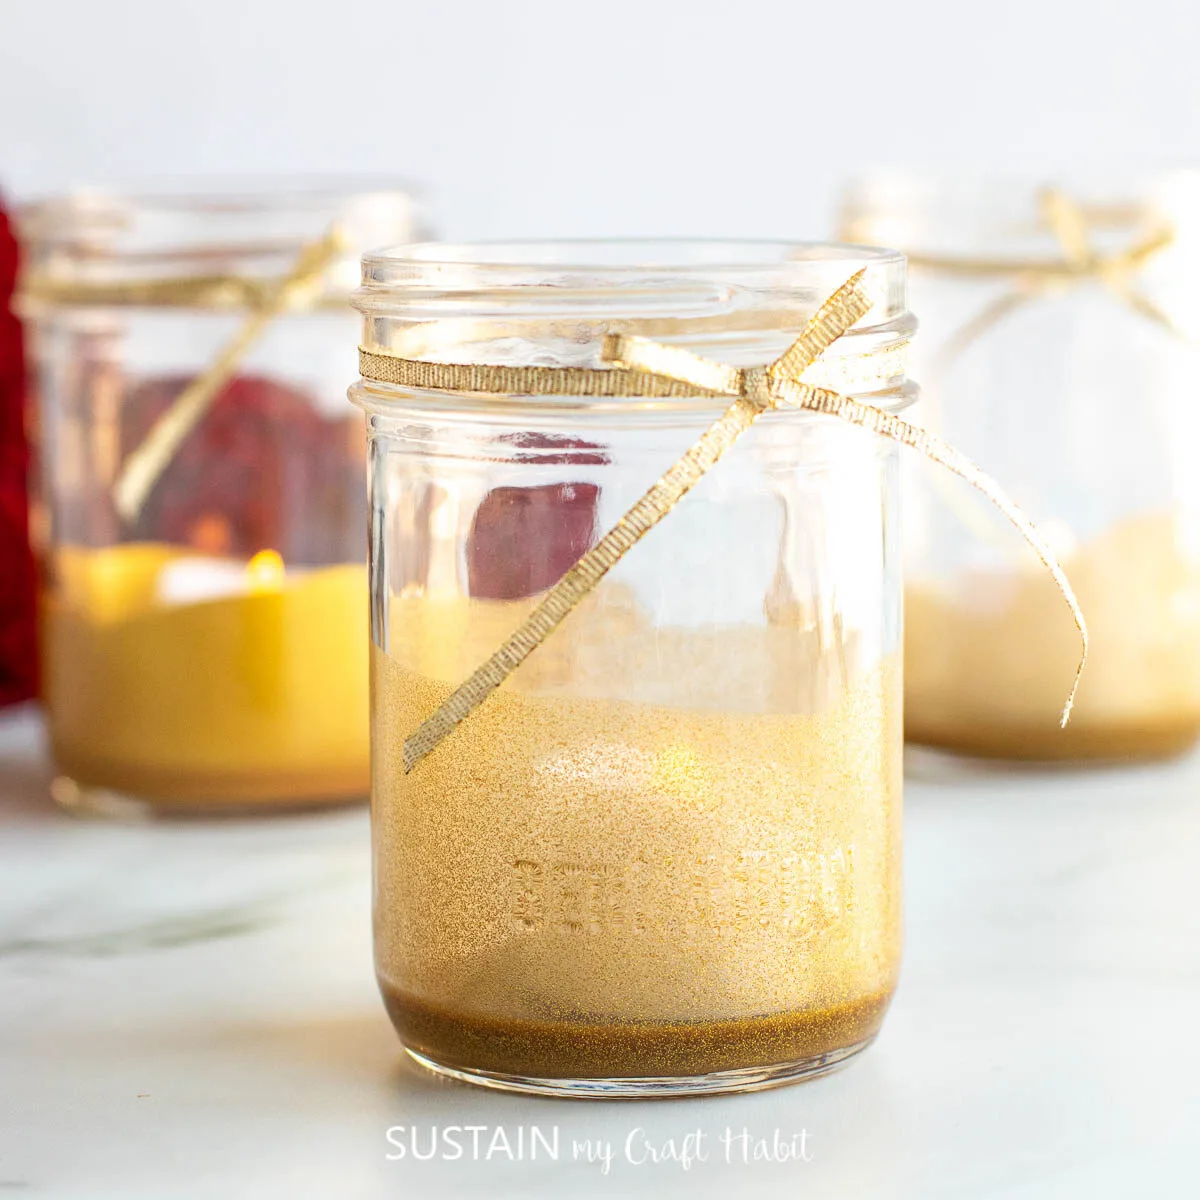
- Romantic Votive Candle Holders
- Valentine’s Day Decor with Scrap Wood
- Heart Garland using Scrap Fabric
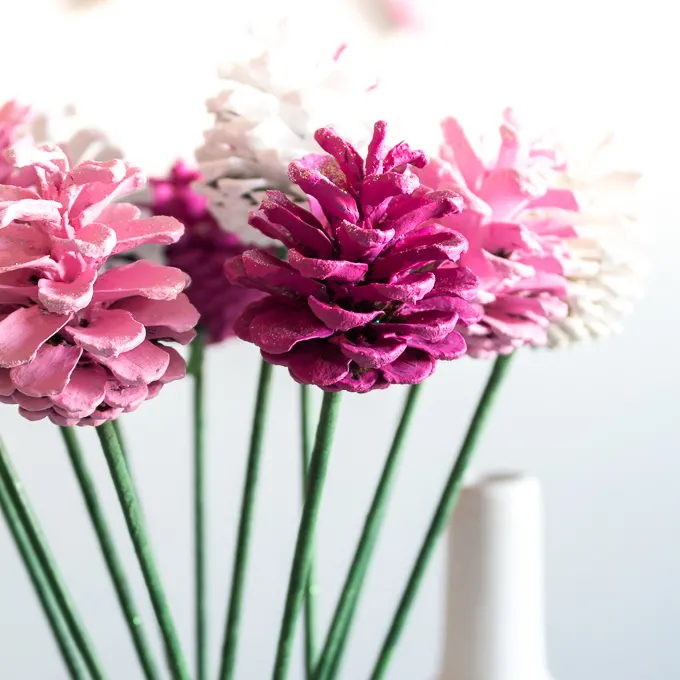
- Pine Cone Flowers
- Sweetheart Shaped Dogwood Wreaths


Upcycled Straw Purse 

Romantic Votive Candles 

Scrap Wood Decor 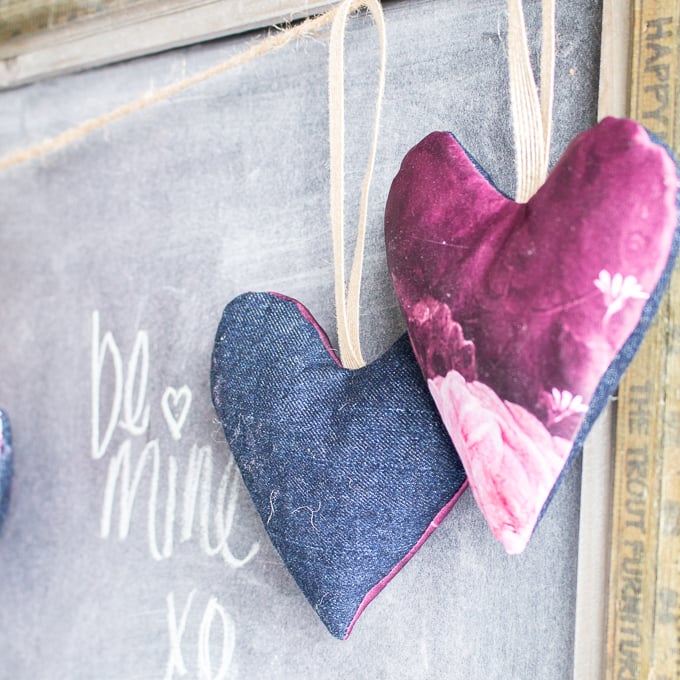
Upcyled Fabric Hearts 
Pine Cone Flowers 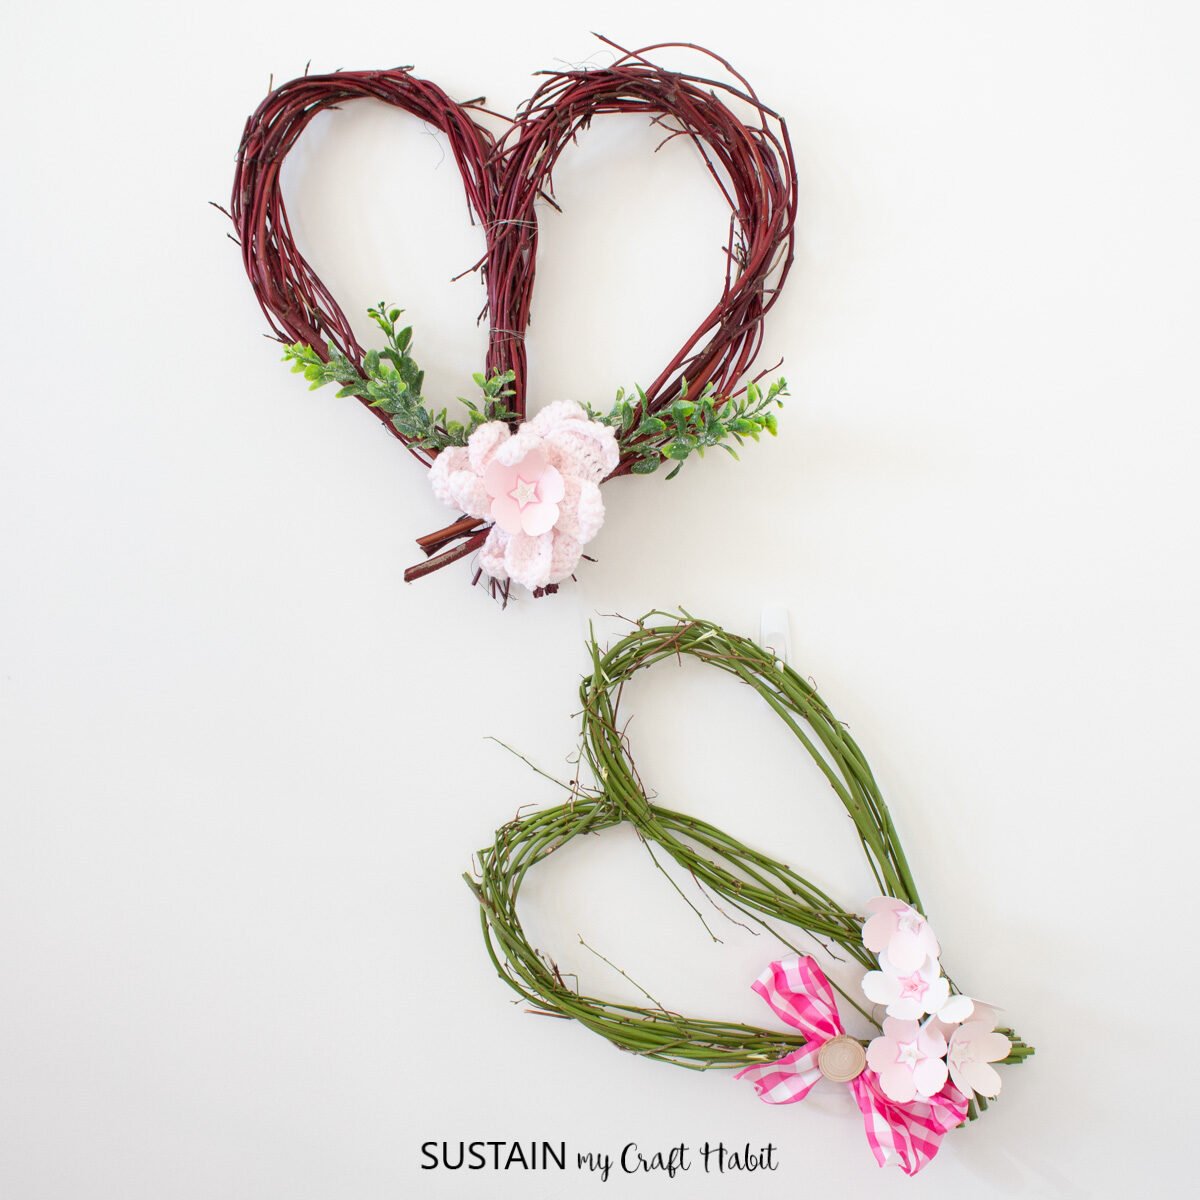
Dogwood Wreaths


Thank you so much for stopping by to visit us. To get updates on the latest posts and more from Sustain My Craft Habit straight to your inbox, join our weekly newsletter. We promise to send you only the good stuff! Happy Valentine’s Day, creative friends!
Like it? Pin it for later!
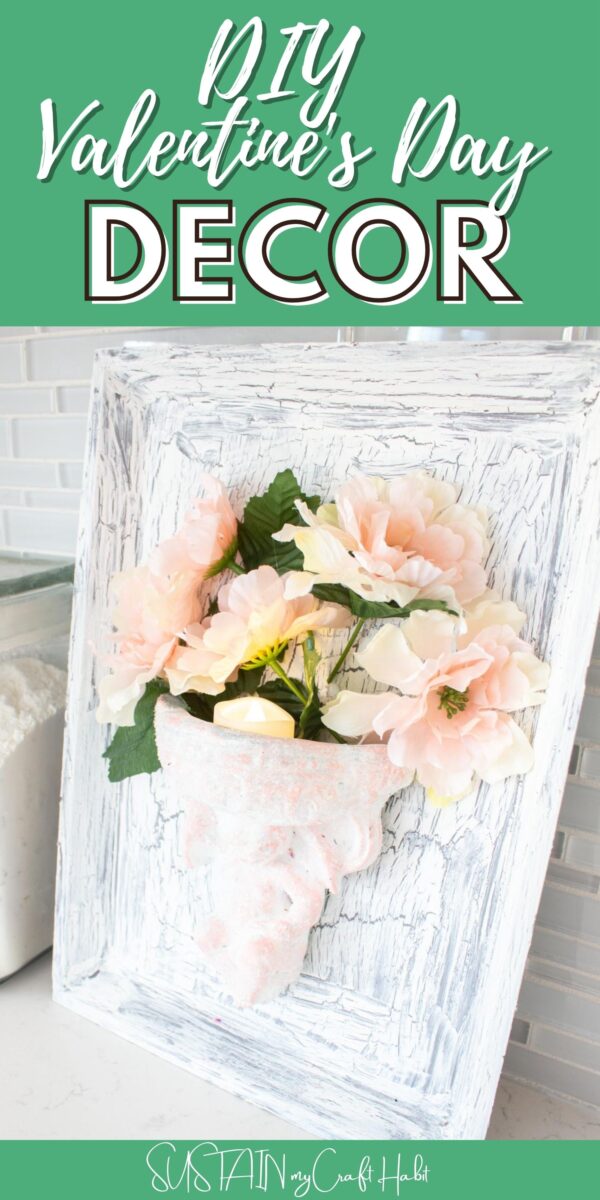
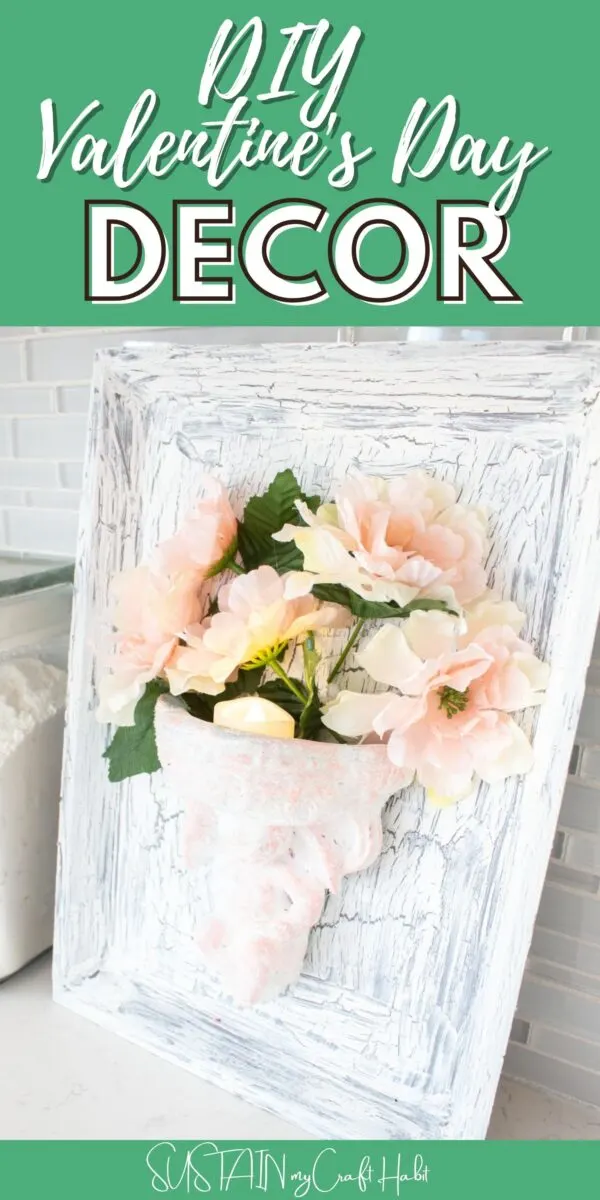

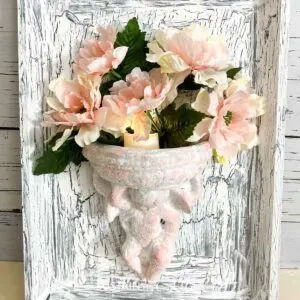
Upcycled Cherub Valentine’s Day Decor
Materials
- Elmer’s glue
- Wood tray
- Paint brush
- Cherub
- Paint in white and pink
- Diamond dust
- Mod Podge
- Screw
- Faux flowers
- LED candle
Instructions
- Start by pouring some craft glue on your wooden tray. Brush it out using a paint brush.
- Before the glue fully dries you want to add a coat of white paint on top of it. This is what’s giving it the “crackle” look.
- Then paint the cherub white. Giving it some time to dry.
- Using some pink paint, lightly paint it on some areas of the cherub but not all of it.
- Add some mod podge on the cherub and then pour on your diamond dust or glitter before it dries.
- Hang your cherub on the tray using a screw.
- Add your LED candle and faux flowers into the cherub.